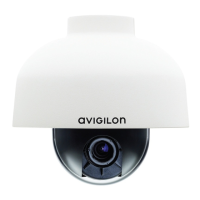
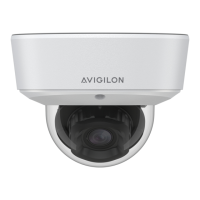
NOTE: Be careful not to scratch or touch the dome bubble. The resulting marks or fingerprints may affect the
overall image quality. Keep the protective covers on the outside of the dome bubble until the installation is
complete.
Preparing the Cables
Before you connect the cables to the dome camera, you must prepare the cables for installation.
If the dome camera is installed outdoors, it is important that the cables be insulated against the weather.
Provided with the dome camera is a rubber grommet for waterproofing the Ethernet cable, and a rubber washer
for the auxiliary cable.
NOTE: The Ethernet cable must be uncrimped to perform this procedure.
The auxiliary cable that is provided with the dome camera includes an I/O terminal, external power connector,
audio input and audio output connectors. You need to connect the auxiliary cable to the dome camera if any
one of the auxiliary cable connectors is used. For more information about each of the connector options, see
Auxiliary Cable Connections on page29.
1. Thread the Ethernet cable into the rubber grommet.
a. Drill a hole through the center of the provided rubber grommet.
b. Push the cable through the hole in the rubber grommet.
Ensure the orientation of the cable and grommet matches the following image.
Preparing the Cables 8
 Loading...

