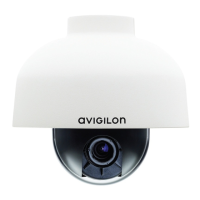
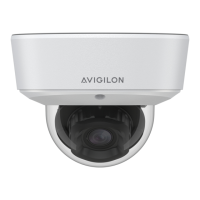
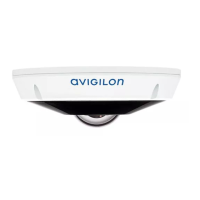
1. Connect a network cable to the camera's Ethernet port (RJ-45 connector).
2. If the camera is connected to any external devices, connect the auxiliary cable to the auxiliary cable
connectors.
3. Power the camera using one of the following methods.
l Power over Ethernet (PoE) Class 3 — If PoE is available, the LEDs will turn on.
l External Power — Connect the auxiliary cable to the auxiliary cable connectors.
The status LEDs turn on when the dome camera receives power.
NOTE: The dome camera may not immediately begin normal operations if the environment is too cold. It
may take up to 20 minutes for the dome camera to warm up and begin operations if the temperature is
below -25°C (-13°F).
Assigning an IP Address
The camera automatically obtains an IP address when it is connected to a network.
NOTE: If the camera cannot obtain an IP address from a DHCP server, it will use Zero Configuration Networking
(Zeroconf) to choose an IP address. When set using Zeroconf, the IP address is in the 169.254.0.0/16 subnet.
The IP address settings can be changed using one of the following methods:
Assigning an IP Address 25
 Loading...