AXIS 212 PTZ/-V Installation Guide Page 11
ENGLISH
Completing the installation
1. Use a blower to remove dust from the lens.
2. Clean the dome with a dry soft cloth to remove dust and finger prints (for AXIS 212 PTZ-V only).
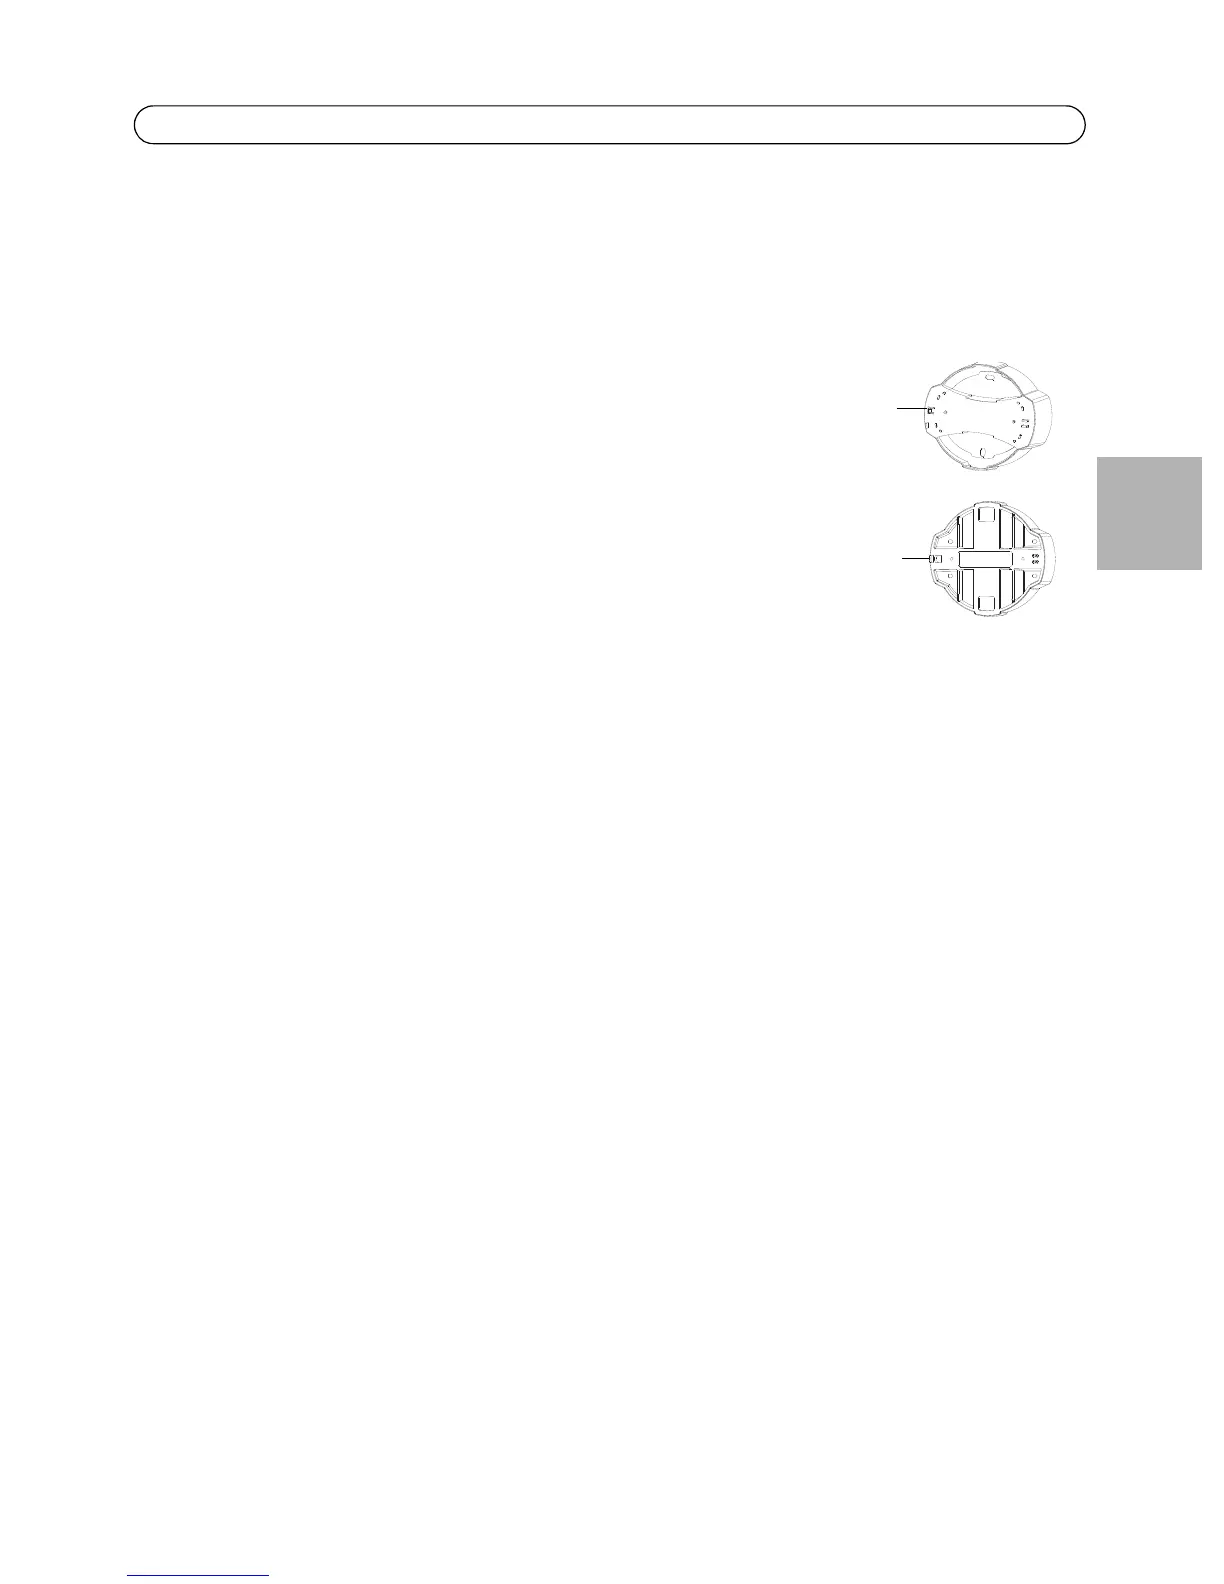
3. Mount the casing using the supplied tamper-proof screws and screw driver.
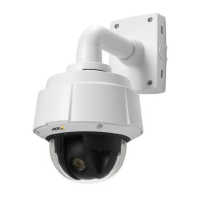
• AXIS 212 PTZ - if using the AXIS 212 PTZ angled wall mount, hook
the side of the casing onto the tab on the angled wall mount and
secure the dome casing on the other side using a tamper-proof
screw.
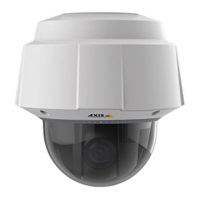
• AXIS 212 PTZ-V - if using the AXIS 212 PTZ-V angled wall mount,
place the dome casing onto the angled wall mount making sure
that the dome casing fits into the slot between the two tabs, and
secure the dome casing on the other side using a tamper-proof
screw.