Page 12 AXIS Q19 Series Installation Guide
5. Route the network cable through the cable gland.
6. Press the gasket into the cable gland and screw the cap on firmly.
Note:
Using any other than the provided cable gland may cause water to seep in and damage the
product. Cables must have a diameter of 4.0 mm - 5.5 mm.
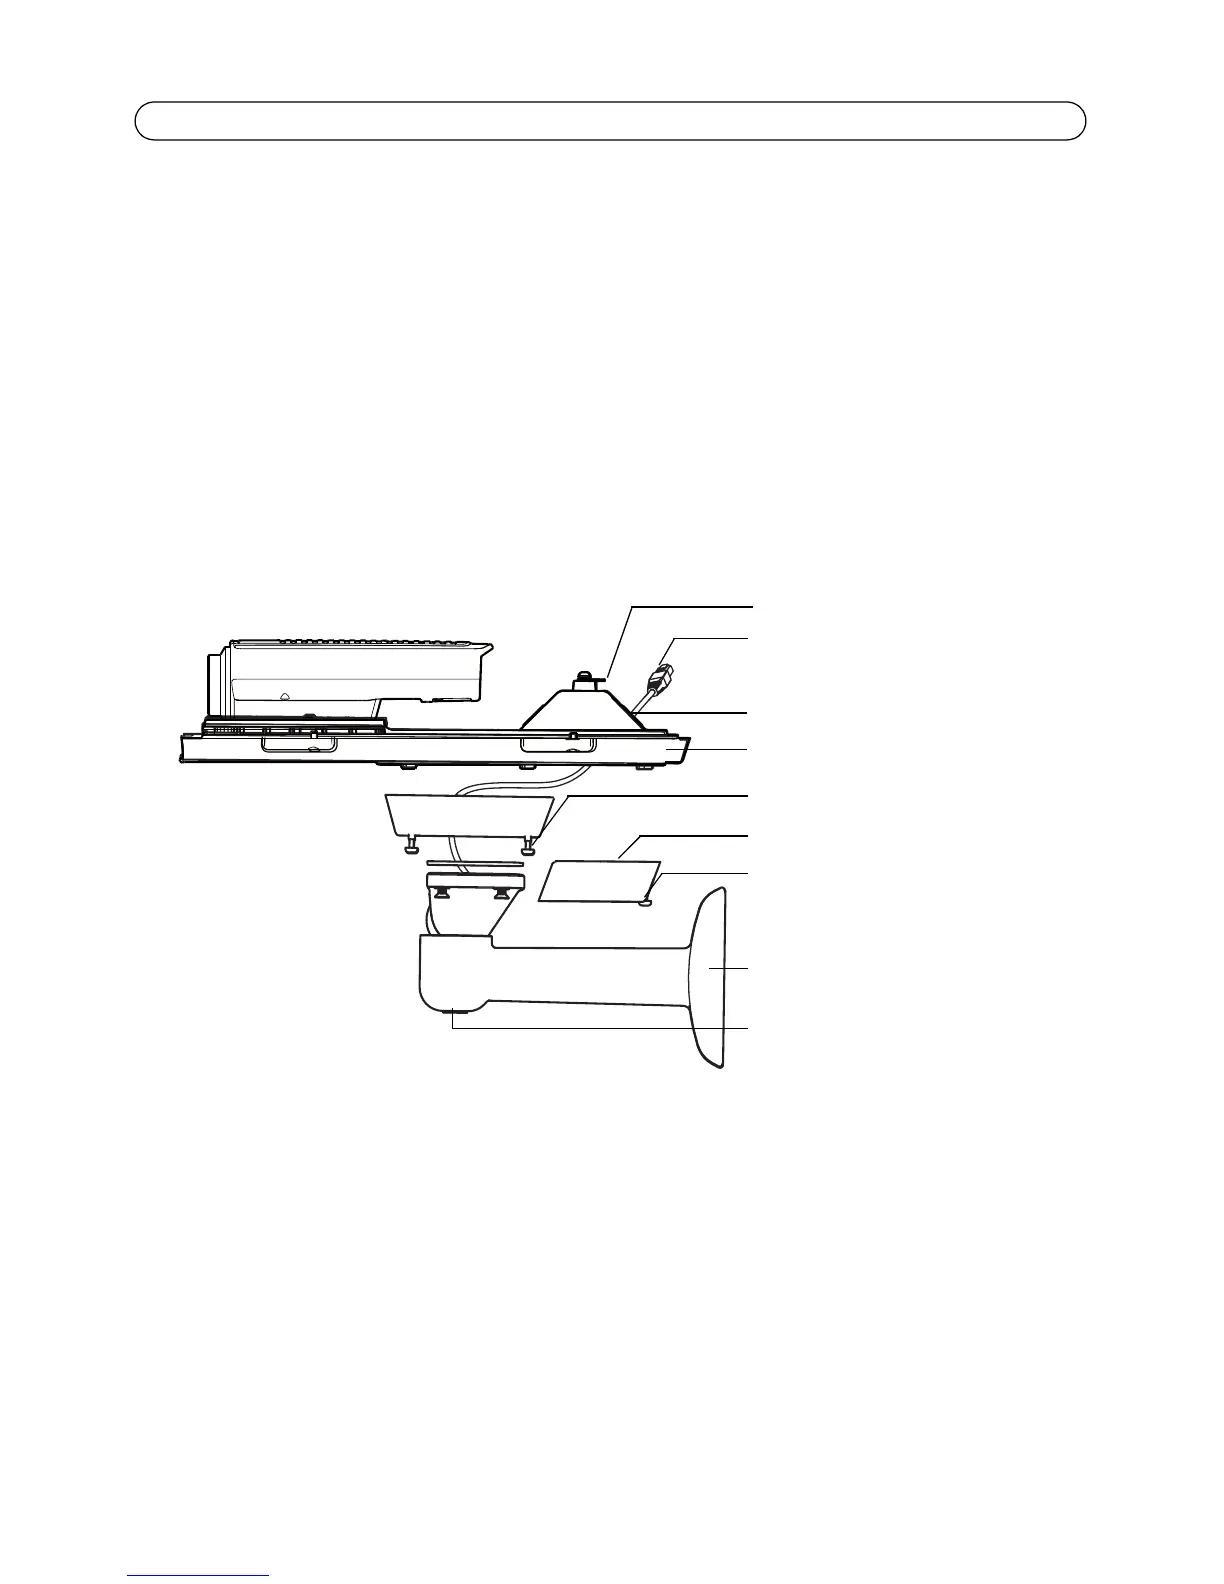
Attach the camera to the wall bracket
1. Place the camera with the bottom cover on the bracket and tighten the bracket adapter screws.
2. Replace the cable cover and tighten the screws.
3. Connect the cables, see Connect the cables, on page 13.
Note: If more than one cable is used, each cable must be routed through a separate cable gland, see
Route the network cable through the cable hole, on page 11.
4. Loosen the bracket adjustment screw to aim the camera to the point of interest and focus the
camera if required, see Focus adjustment - AXIS Q1921/-E/Q1922/-E, on page 19. See Access the
video stream, on page 18, for information on how to view the video stream.
5. Attach the safety wire to the tab on the bottom cover.
6. Connect the window heater cable to the window heater connector on the camera.
7. Attach the top cover to the bottom cover. Make sure to tighten diagonally opposite bottom
cover screws a few turns at a time until all are tight. This will help ensure that the bottom cover
gasket is compressed evenly.
8. Loosen the sunshield adjustment screws and adjust the sunshield to the desired position.
 Loading...