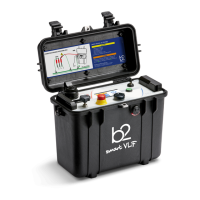
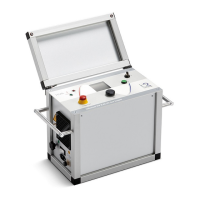
Test Procedure
© b2 electronic GmbH DHV0086 Rev06 37
NOTICE
Establish secure earthing via connection
1
,
3
and
4
.
Connect HVA main earth lead
1
rstandremovelast!
Instrument is not earthed by connection
2
.
Step Procedure Art� Nr�
S1 Connect all earthing cables
• Discharge and earth the DUT complying with local safety regulations.
• Connect earthing cable to the HVA earthing connector
1
.
• Prepare earthing for measurement
3
4
.
GH0522
S2 • Connect power supply
30
. KEK0038
S3 Connect all HV cable connections.
• Screw the HV test lead into the HVA HV output connector
10
.
• Earth the HV cable shield
2
.
• Connect the other end of the HV test lead to the DUT
17
.
GH0570
GH0570
S4 Verify connections.
• Check that all cables are attached securely.
S5 Congureinterlockplug(onlyforHVA45andHVA34-1).
• Verify that the HV emergency adapter is connected
47
.
If operating with remote controls (optional):
• Connect external lamps or remote switches
(see 3.3 External Interlock and Control on page 15)
S6 Congurecommunicationport.
ForUSBdatatransfermode,insertUSBashdrive
31
.
KDD0012
S7 Turn key switch
43
to “ON” position. KEC0007
S8 The HVA system automatically boots.
• Start-up default screen appears.
Select appropriate option from default screen and proceed to appropriate
section for further instructions:
• see 5.2 Manual Test Mode on page 40 or
• see 5.3 Automatic Test Mode on page 55