TROUBLESHOOTING
198
d
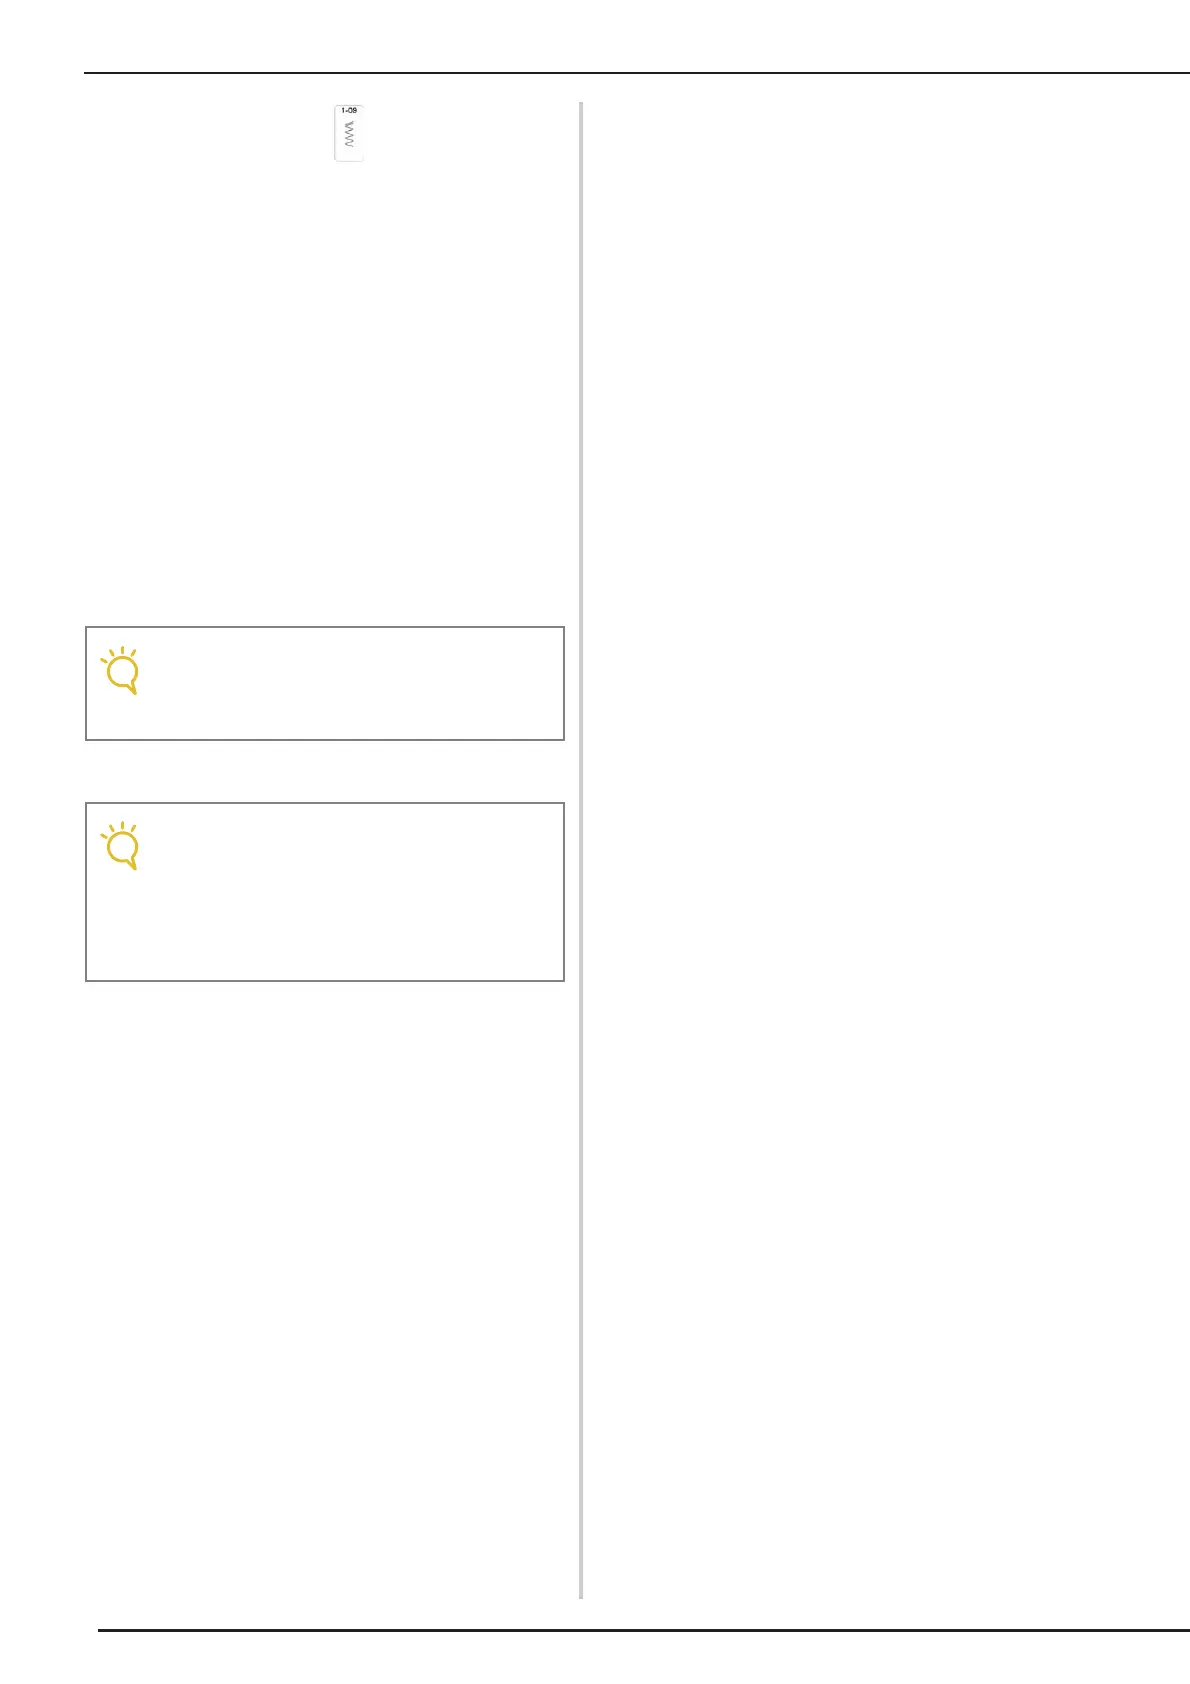
Select zigzag stitch . At this time,
increase the stitch length and width to their
maximum settings.
e
Slowly turn the handwheel toward you
(counterclockwise) and check that the
needle bar and feed dogs operate correctly.
If the needle or feed dogs contact the needle plate, the
machine may be malfunctioning; therefore, contact
your authorized Baby Lock retailer.
f
Turn off the machine, and then install the
bobbin and presser foot.
* Refer to “Setting the Bobbin” on page 58 and
“CHANGING THE PRESSER FOOT” on page 72.
g
Correctly thread the machine.
* For details on the machine, refer to “UPPER
THREADING” on page 61.
h
Perform trial sewing with normal fabric.
• The thread may have become tangled as a
result of incorrect upper threading. Make
sure that the machine is correctly threaded.
• Remember when sewing thin fabrics, select
a center stitch that is shorter in length and
use the straight stitch needle plate for
straight sewing stitches. A lightweight
paper stabilizer can also be placed on the
underside of the fabric.
 Loading...