27
Smart Pro, Smart & Secure installation instructions
The Safety Obstruction Force is calculated
automatically during setup. Adjusting this is normally
only necessitated by environmental conditions such
as windy or dusty areas, and areas with extreme
temperature changes.
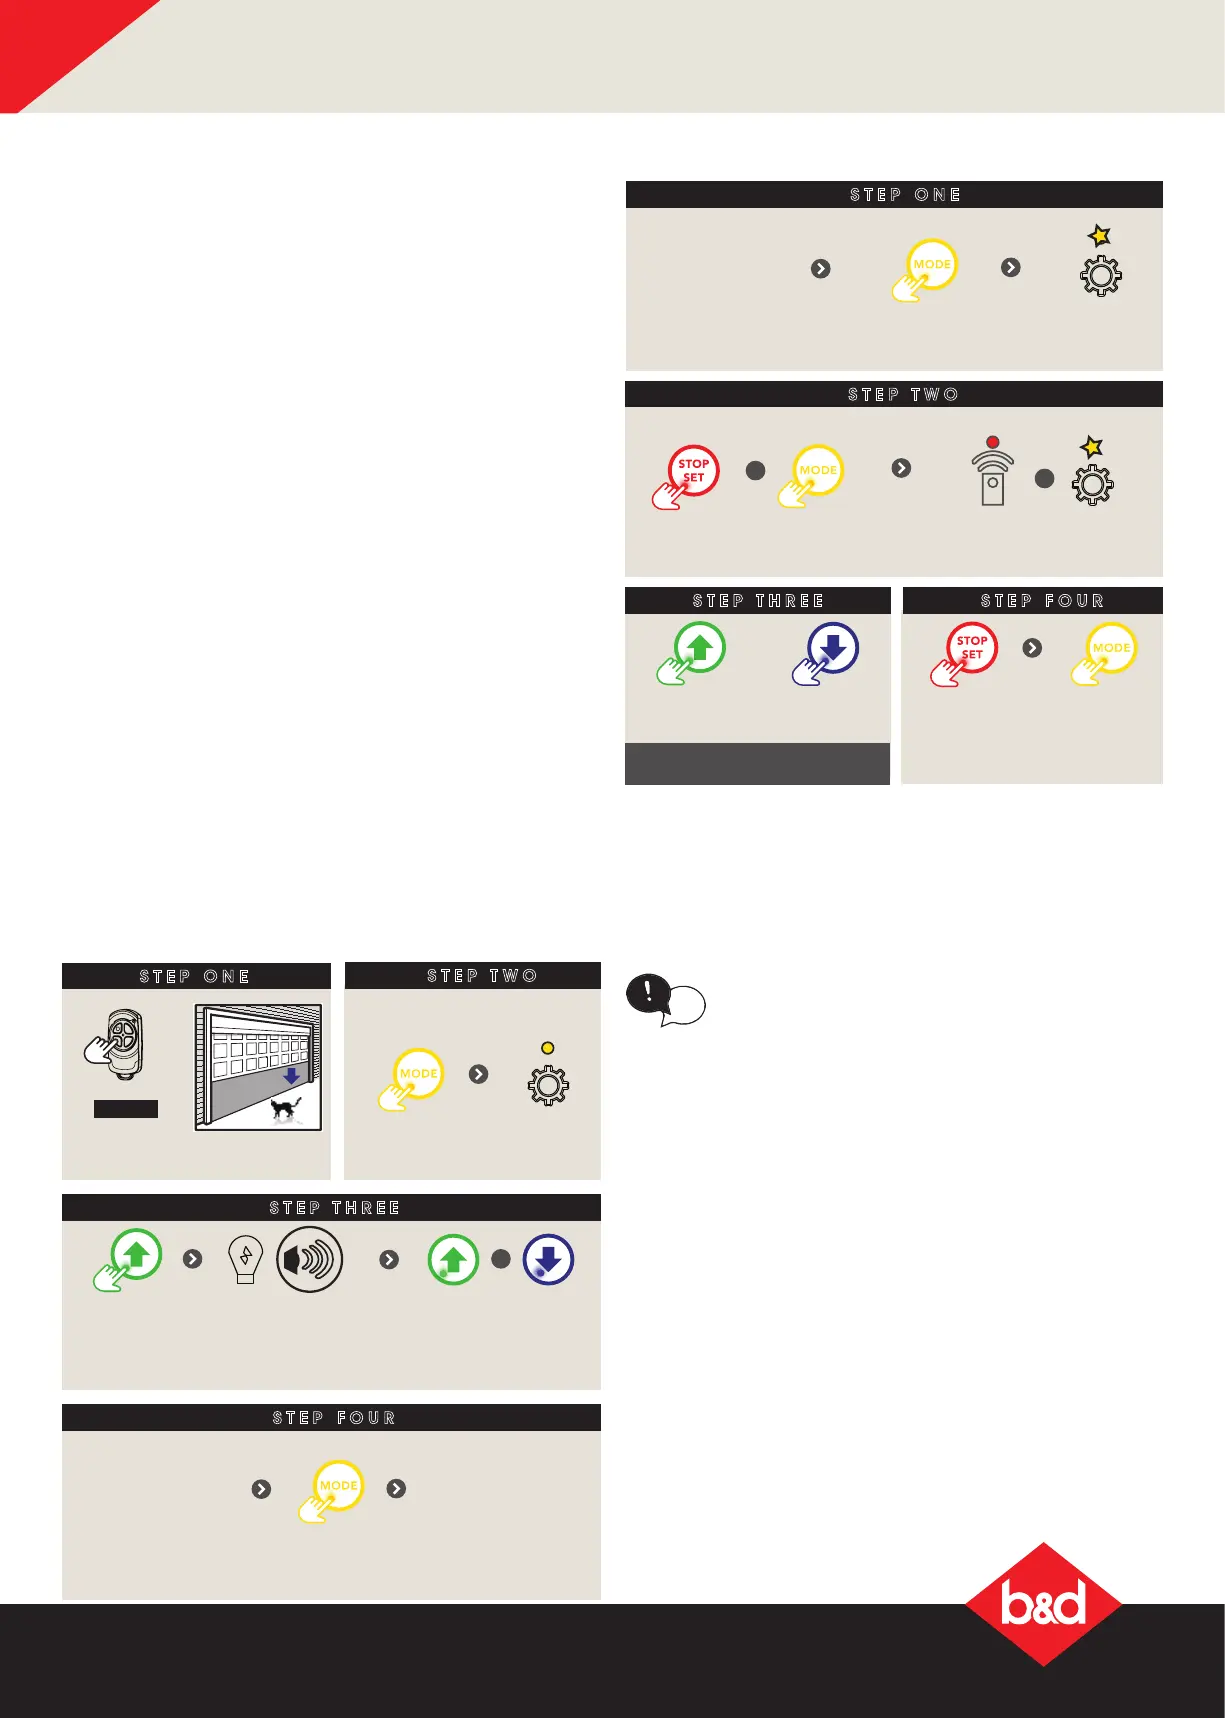
C - Adjusting Force Margins
D - Battery Functions
a. Holding the STOP button for 10secs when running from battery backup will shut the PCB down so as to reduce
battery current consumption to a minimum.
b. Holding the STOP button for 4secs when a battery is tted and running from mains power will cause the controller to
test the battery state to determine if it is disconnected / open circuit, missing, faulty or ready.
E - Setting the PET mode position
STEP ONE
STEP THREE
STEP TWO
STEP FOUR
Light will dim or brighten
OR
+
+
Press together
remote LED is on and
gear LED ashing
Press to
increase
Press to
decrease
Press to save
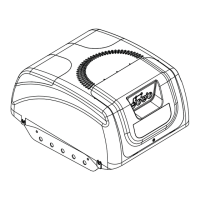
Then ret controls cover
Press to exit
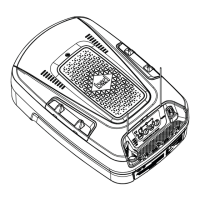
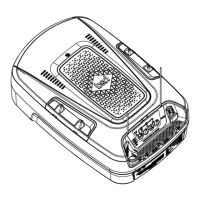
Remove controls
cover
till gear LED
ashing
Press
repeatedly
When activated, PET mode drives the door to a
preset position from the close position, therefore
allowing a pet or parcel to go under the door.
tip
SETTING THE PET MODE POSITION
STEP ONE
HOLD
Close to
desired position
STEP TWO
Remove controls cover
till gear
LED lit
Press
repeatedly
STEP THREE
Press to
save
LED will light up
Opener will
ash and
beep
+
STEP FOUR
Proceed to Storing
the transmitter
Code to code a
remote button to
PET Mode
Press
to exit
Ret controls
cover
When activated, PET mode drives the door to a
preset position from the close position, therefore
allowing a pet or parcel to go under the door.
tip
SETTING THE PET MODE POSITION
STEP ONE
HOLD
Close to
STEP TWO
Remove controls cover
till gear
LED lit
Press
repeatedly
STEP THREE
Press to
save
LED will light up
Opener will
ash and
beep
+
STEP FOUR
the transmitter
Code to code a
remote button to
PET Mode
Press
to exit
Ret controls
cover