Installation Instructions
Mounting Instructions
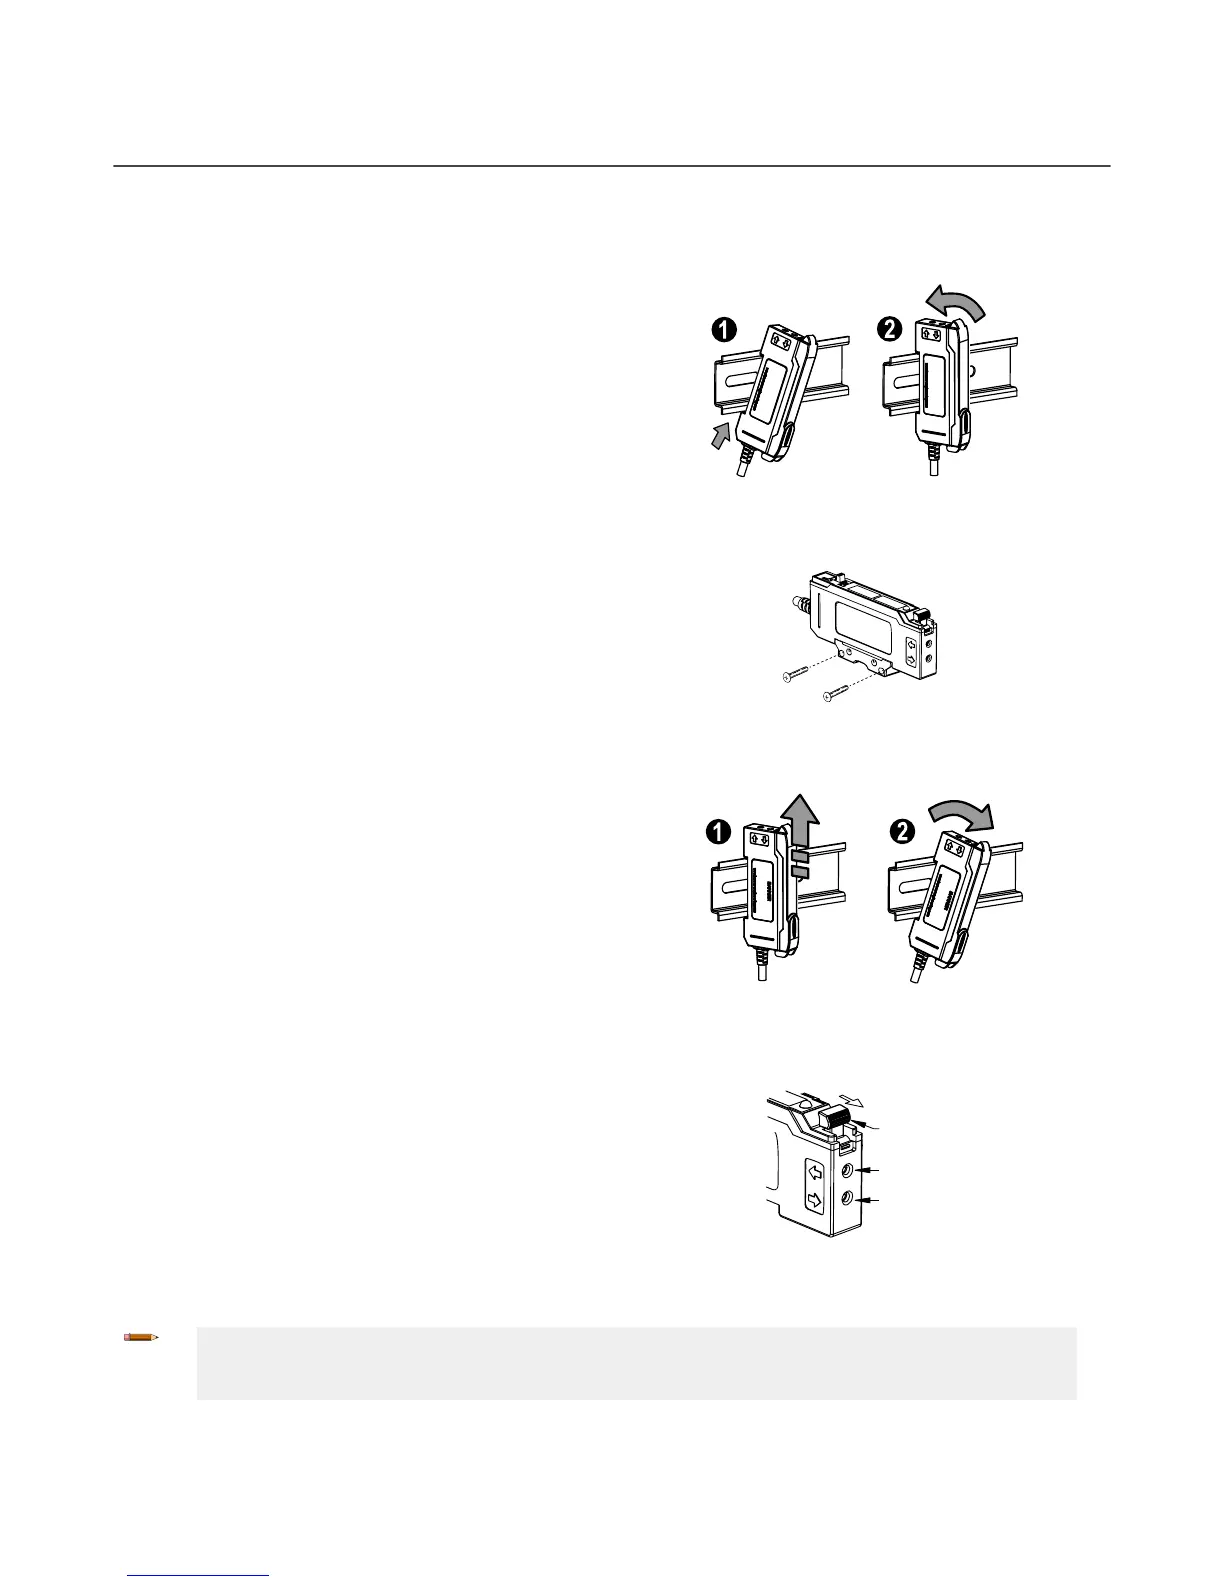
Mount on a DIN Rail
1. Hook the DIN rail clip on the bottom of the DF-G1 over
the edge of the DIN rail (1).
2. Push the DF-G1 up on the DIN rail (1).
3. Pivot the DF-G1 onto the DIN rail, pressing until it snaps
into place (2).
Mount to the Accessory Bracket (SA-DIN-BRACKET)
1. Position the DF-G1 in the SA-DIN-BRACKET.
2. Insert the supplied M3 screws.
3. Tighten the screws.
Remove from a DIN rail
1. Push the DF-G1 up on the DIN rail (1).
2. Pivot the DF-G1 away from the DIN rail and remove it
(2).
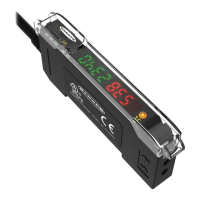
Installing the Fibers
Follow these steps to install glass or plastic
fibers.
1. Open the dust cover.
2. Move the fiber clamp forward to unlock it.
3. Insert the fiber(s) into the fiber port(s) until they stop.
4. Move the
fiber clamp backward to lock the fiber(s).
5. Close the dust cover.
Fiber Emitter
Port
Fiber Receiver
Fiber Clamp
Port
Move forward
to release the
fibers
Fiber Adapters
Note:
If a thin
fiber with less than 2.2 mm outer diameter is used, install the fiber adapter provided with the fiber
assembly to ensure a reliable fit in the fiber holder. Align the fibers to the end of the adaptors. Banner includes
the adapters with all fiber assemblies.
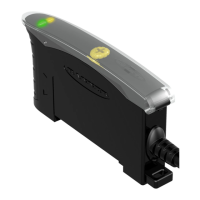
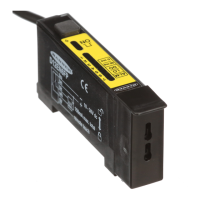
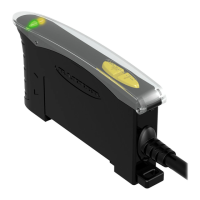
DF-G1 Expert
™
Dual Display Fiber Amplifier
2 www.bannerengineering.com - Tel: + 1 888 373 6767 P/N 161275 Rev. E
 Loading...