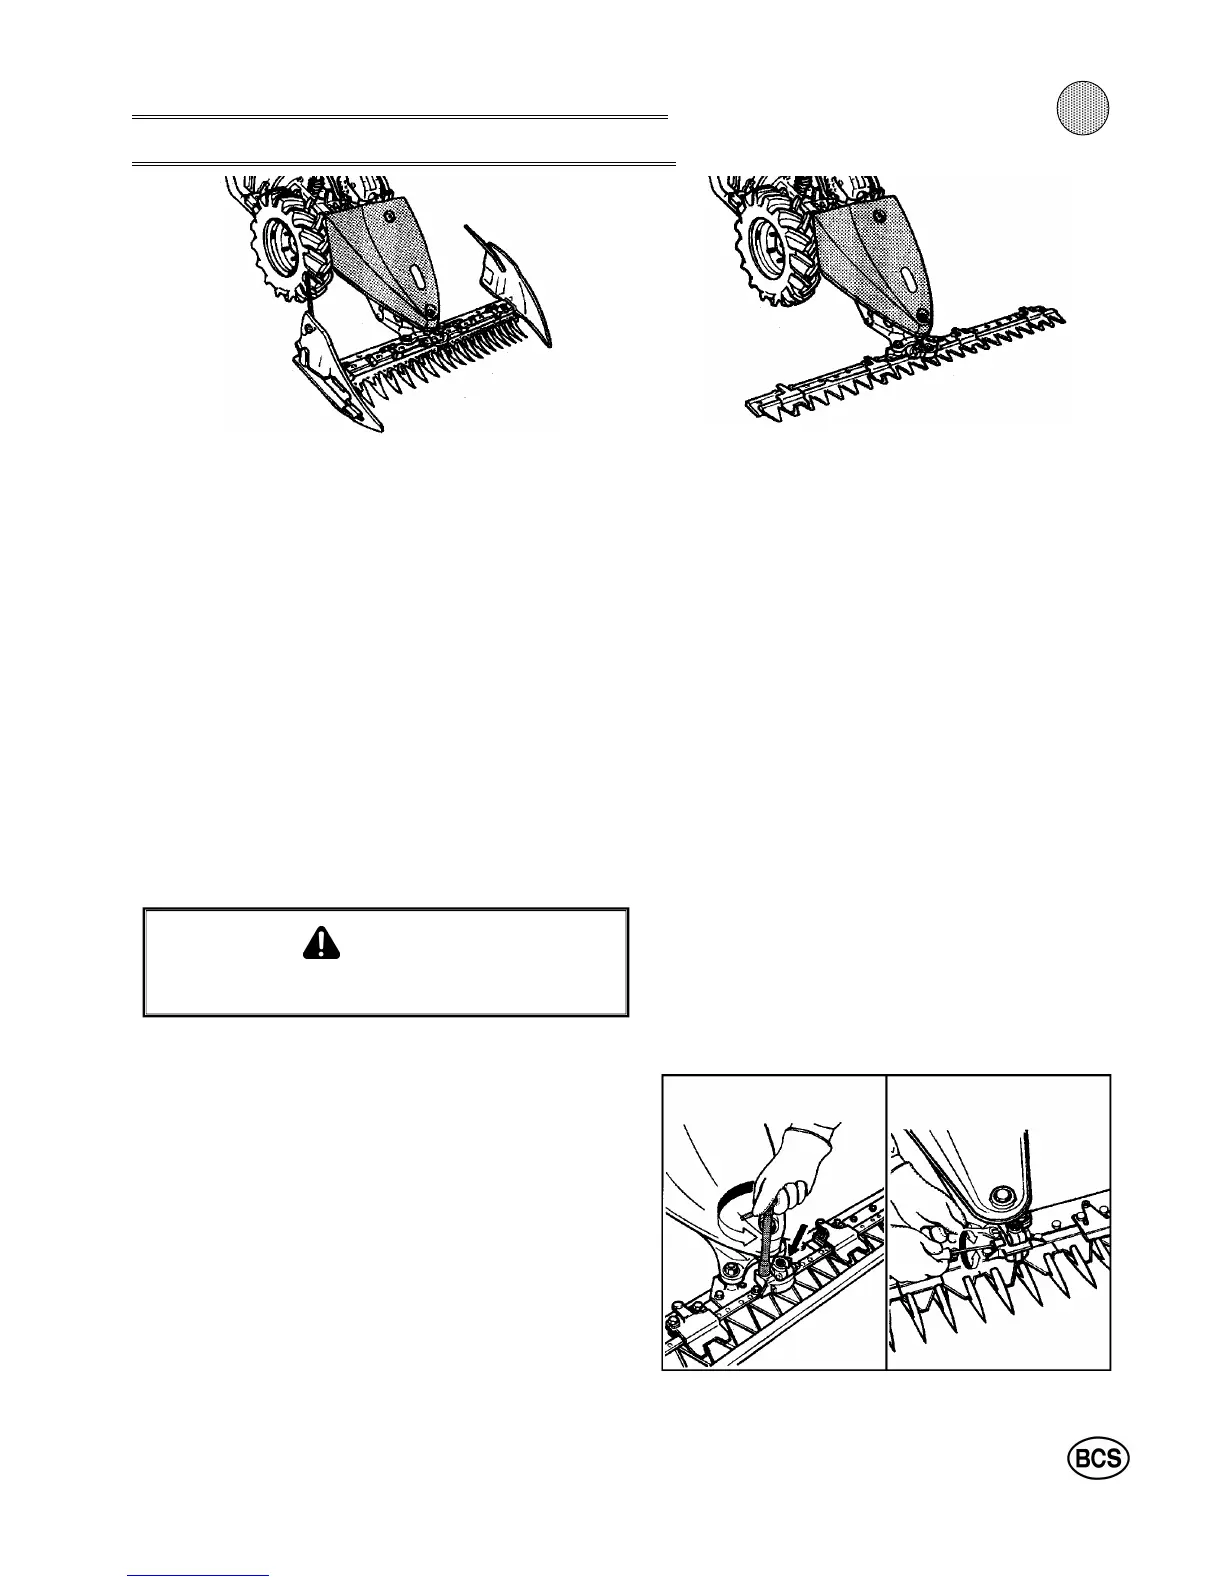
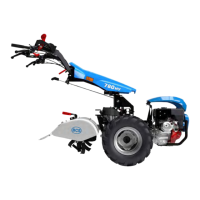
USE AND CARE OF CUTTER BAR
MOWER ATTACHMENTS
.
SICKLE BAR DESIGNED FOR CUTTING FIELD AND CE-
REAL GRASSES-HASLONG, POINTED TOOTH COMB.
DOES NOT RECUT (MULCH).
GENERAL CUTTER BAR MOWER
INFORMATION
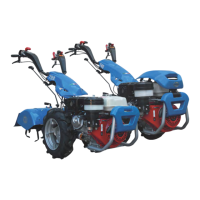
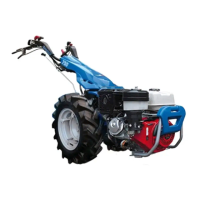
1. ALL THE TRACTORS must be converted to the front-
mount mode.
2. The SICKLE BAR and MULCHER BAR are the two origi-
nal types of BCS mower bars.
The COMBINATION BAR combines features and abili-
ties of both. Although construction of the bars is very si-
milar, there are differences to be encountered in adjust-
ment and maintenance.
RECOMMENDED OPERATION
WARNING
Never operate the mower bar from a mowing sulky.
1. It is unnecessary to run the engine at wide open throttle
for satisfactory performance.
Cutter bar mowers give excellent results when operated
at medium throttle settings and there is less wear and
tear on the reciprocating parts.
If necessary to increase ground speed, select a higher
gear rather than advance the throttle.
2. The short teeth of the Mulching Bar can cut wet grass
without clogging.
COMBINATION BAR COMBINES SOME OF THE ABI-
LITIES OF THE SICKLE BAR AND MULCHING BAR
IN ONE ATTACHMENT.
Both the Mulching and Combination Bars are designed
for re-cutting (mulching) mown grass. For brush cutting
and also when operating in extremely rugged terrain,
go slowly and deliberately with either type attachment.
3. The Sickle Bar is designed specifically for cutting
grass. It cannot re-cut mown grass and is not suita-
ble for cutting brush.
MOWER BAR MAINTENANCE
1. Wash down and re-oil the sliding parts after each
use.
2. Every four operating hours pump a lithium base
grease into the blade control mechanism through
the two grease fitting on the central housing (no
gear oil is required for this attachment).
3. The cutting teeth should be removed and sharpened
with a grinder. For blade removal, remove the two
bolts and the blade coupling. Then slide out the bla-
de.
39
3