75.0084.05 20110720 Page 3 of 17
MECHANICAL
INSTALLATION-
PREPARING AND
MOUNTING THE
SENSOR – Cont.
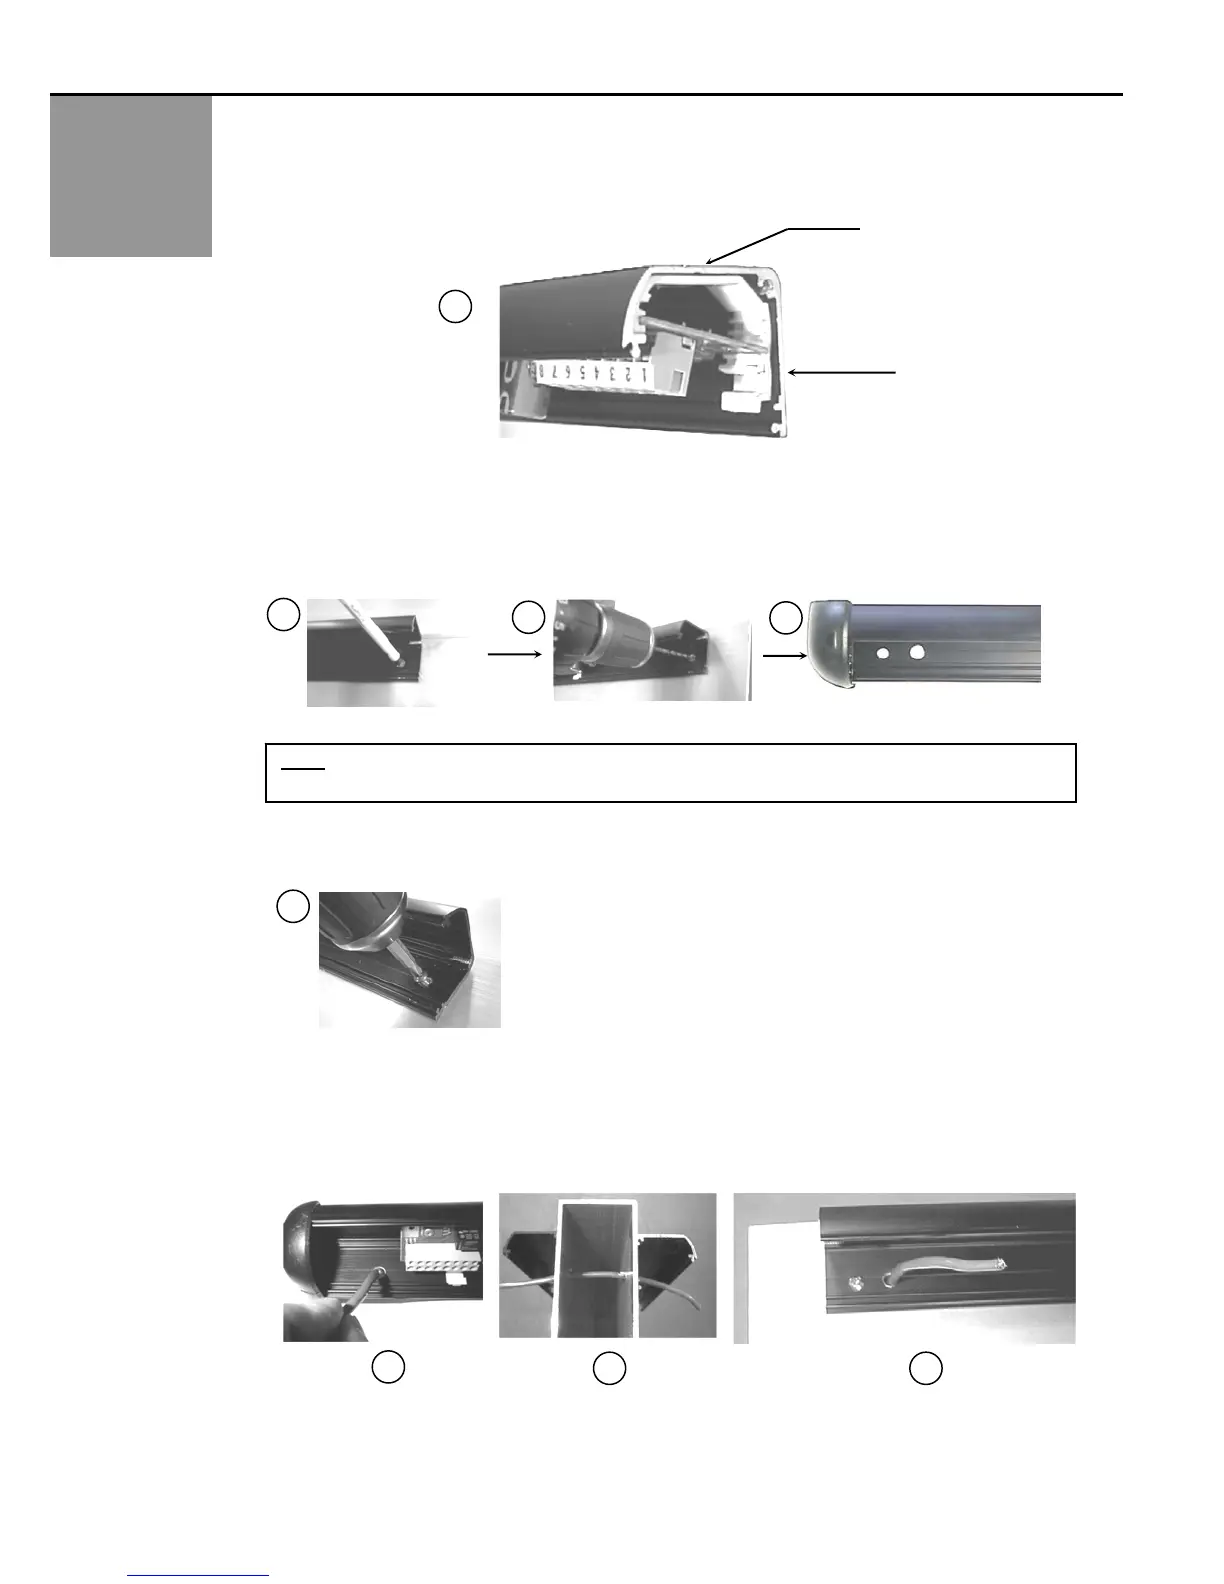
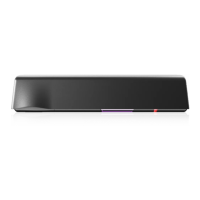
4. Hold the SuperScan extrusion up to the top of the door. Insure that the extrusion is oriented correctly as shown
below.
Top Side
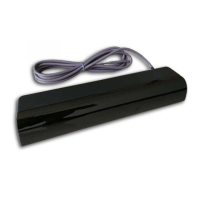
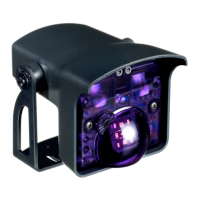
5. Mark and drill the extrusion (in the approximate locations as shown below) where the mounting holes (one at each
end) should be located. Also, be sure to mark and drill the proper end for an additional hole to be used for wire
passage. Wire passage hole should be approximately ¼” diameter. Screw mount holes only serve as a pilot hole for
ease of installing the self-drilling screws that are provided.
7
8
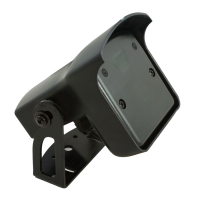
Back Side
9 10
NOTE: Take care to avoid screw holes near the seams of the door, where it may be difficult to drill and install
a screw, and possibly damage the inside structural braces of the door.
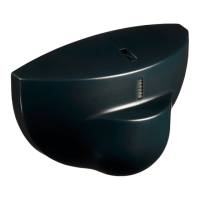
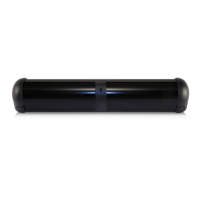
6. Hold the SuperScan back up to the door at the pre-drilled location and attach the unit to the door with the 2 screws
provided. Insure that the SuperScan extrusion is tight against the door.
11
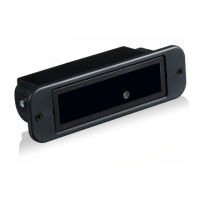
7. If SuperScans are to be mounted on both sides of the door, a wire passage hole will be required through the door to
go from the approach side to the safety side, as shown below. Again, be sure not to drill through any through-bolts
or braces within the door. A cutaway view below (Picture 13) shows wire passage through the door. Picture 12 and
14 shows an approximate location for the wire passage hole. The extension wire going between the terminal blocks
should be approximately 18” long and can then be cut back if needed.
12
13 14