Programming the remote control
Note
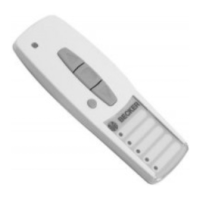
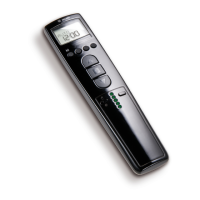
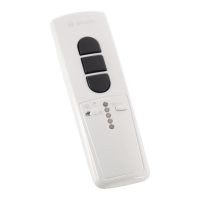
Operate the programming button on the transmitter using a suitable
cylindrical tool (e.g. a ballpoint pen).
Programming the first transmitter (master transmitter)
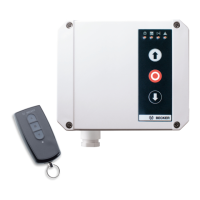
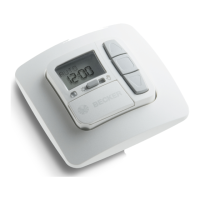
Press the programming button on the radio receiver (B) for 3 seconds.
[ The LED (D) flashes and the radio receiver goes into programming mode for 3
minutes.
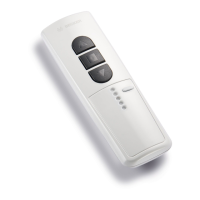
Then press the programming button on the transmitter (C) for 3 seconds.
[ The LED on the hand-held transmitter lights up for 3 seconds and the LED (D)
goes out.
Æ Programming is thereby completed and the control unit switches back to the normal
operating status.
Now close the cover of the control unit again using the four cover screws.
Programming additional transmitters
Note
In addition to the master transmitter, up to 7 further transmitters can
be programmed in the radio receiver.
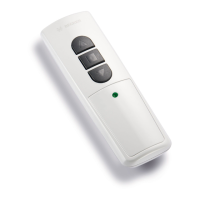
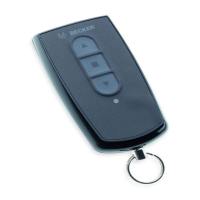
Press the programming button (C) of the master transmitter for 3 seconds.
[ The LED (D) lights up once to confirm.
Now press the programming button of a new transmitter which has not yet been pro‐
grammed in the radio receiver for 3 seconds. This activates the programming mode of
the radio receiver for a new transmitter for 3 minutes.
[ The LED (D) lights up once to confirm.
Now press the programming button of the new transmitter again for 3 seconds.
[ The LED (D) lights up twice to confirm.
Æ The new transmitter has now been programmed.
8