13 LM DRUM User Manual
2. USB
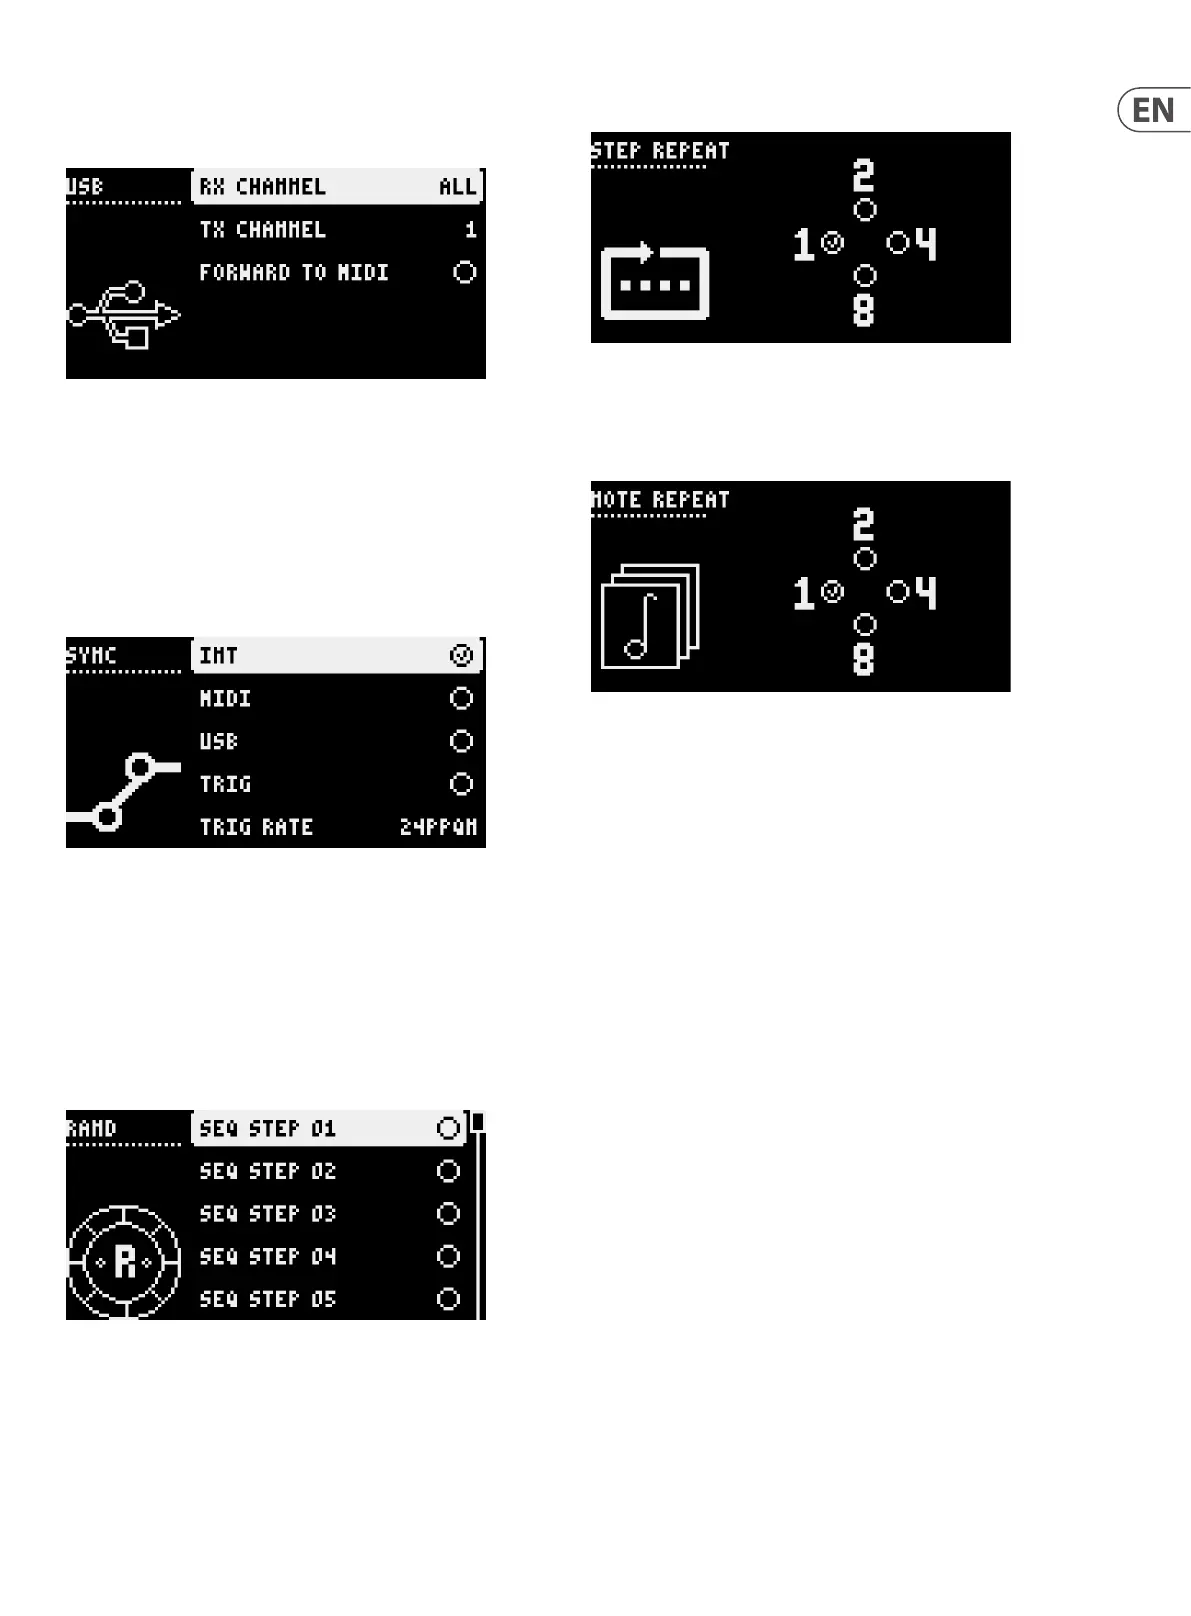
The USB button accesses the USB options menu, with the available alternatives
shown on the display:
RX Channel – choose between All, 1 – 16 or Out, which matches the RX channel
to that selected for TX.
TX Channel – choose between All, 1 – 16 or O, which disables transmission of
MIDI messages.
Forward to MIDI – when this option is selected any MIDI messages received on
the USB socket, will be forwarded to the MIDI Out socket.
3. SYNC
The sync button accesses the sync options menu, with the available alternatives
shown on the display:
INT – the internal clock will be used.
MIDI – the LM DRUM will synchronize to MIDI clock on the MIDI In socket.
USB – the LM DRUM will synchronize to MIDI clock on the USB socket.
TRIG – the LM DRUM will synchronize to an analog clock on the Sync In socket.
TRIG RATE – the clock value of the internal clock feeding the Sync Out socket, or
the incoming Sync In when TRIG is selected can be set to either 1 pulse per step
(pps), 1 pulse per quarter note (ppqn), 2 ppqn, 4 ppqn, 24 ppqn (default) or 48
ppqn. The selection does not aect MIDI or USB clocks, which will always be set
to 24 ppqn.
4. RAND
The LM DRUM can be set to allow the random triggering of sounds on any
given step in a pattern. Pressing the rand button opens up the rand menu.
Any number of sounds can be selected for randomization by using the voice
select buttons (53). Any button that is ashing is not selected, those that are
will be continuously lit. Use the data control and/or buttons 35 and 38 to scroll
through the steps and buttons 36 and 37 to turn randomization on or o for any
given step.
Randomization is stored on a pattern-by-pattern basis.
5. STEP REPEAT
Step repeat is used to loop a number of steps. Use buttons 35 – 38 to select
whether 1, 2, 4 or 8 steps will be repeated. Pressing the trigger button will cause
that number of steps to repeat until the button is released.
6. NOTE REPEAT
Note repeat adds a rachet eect to any drum while playing. Use buttons 35 – 38
to select whether a note will repeat once, twice, four times or eight times. Use
the voice select buttons (53) to select which drum will be aected. The selected
drum’s button will be continuously lit. In the case of the hi-hat if the closed hat
is selected the button will light in red, open in white. Pressing the trigger button
while a pattern is playing will add the selected number of repeats until the
trigger button is released.
Note that Note Repeat can also be programmed on a drum-by-drum basis in the
main menu; and is stored separately for each pattern.
7. AUTOFILL
Autoll is used to add a ‘ll’ pattern while the LM DRUM is in pattern mode and
playing. Any pattern can be set as the Autoll pattern by pressing the Autoll
button and using the corresponding step/pad button (39) for the pattern
required. When the ll has nished the LM DRUM will either revert to the pattern
that was playing previously, or a new pattern if one has been selected while the
ll was playing.
8. TRIGGER
The Trigger button will trigger whichever drum sound is selected when the
LM DRUM is stopped or paused; or will activate step or note repeat when it
is playing.