20 LM DRUM User Manual
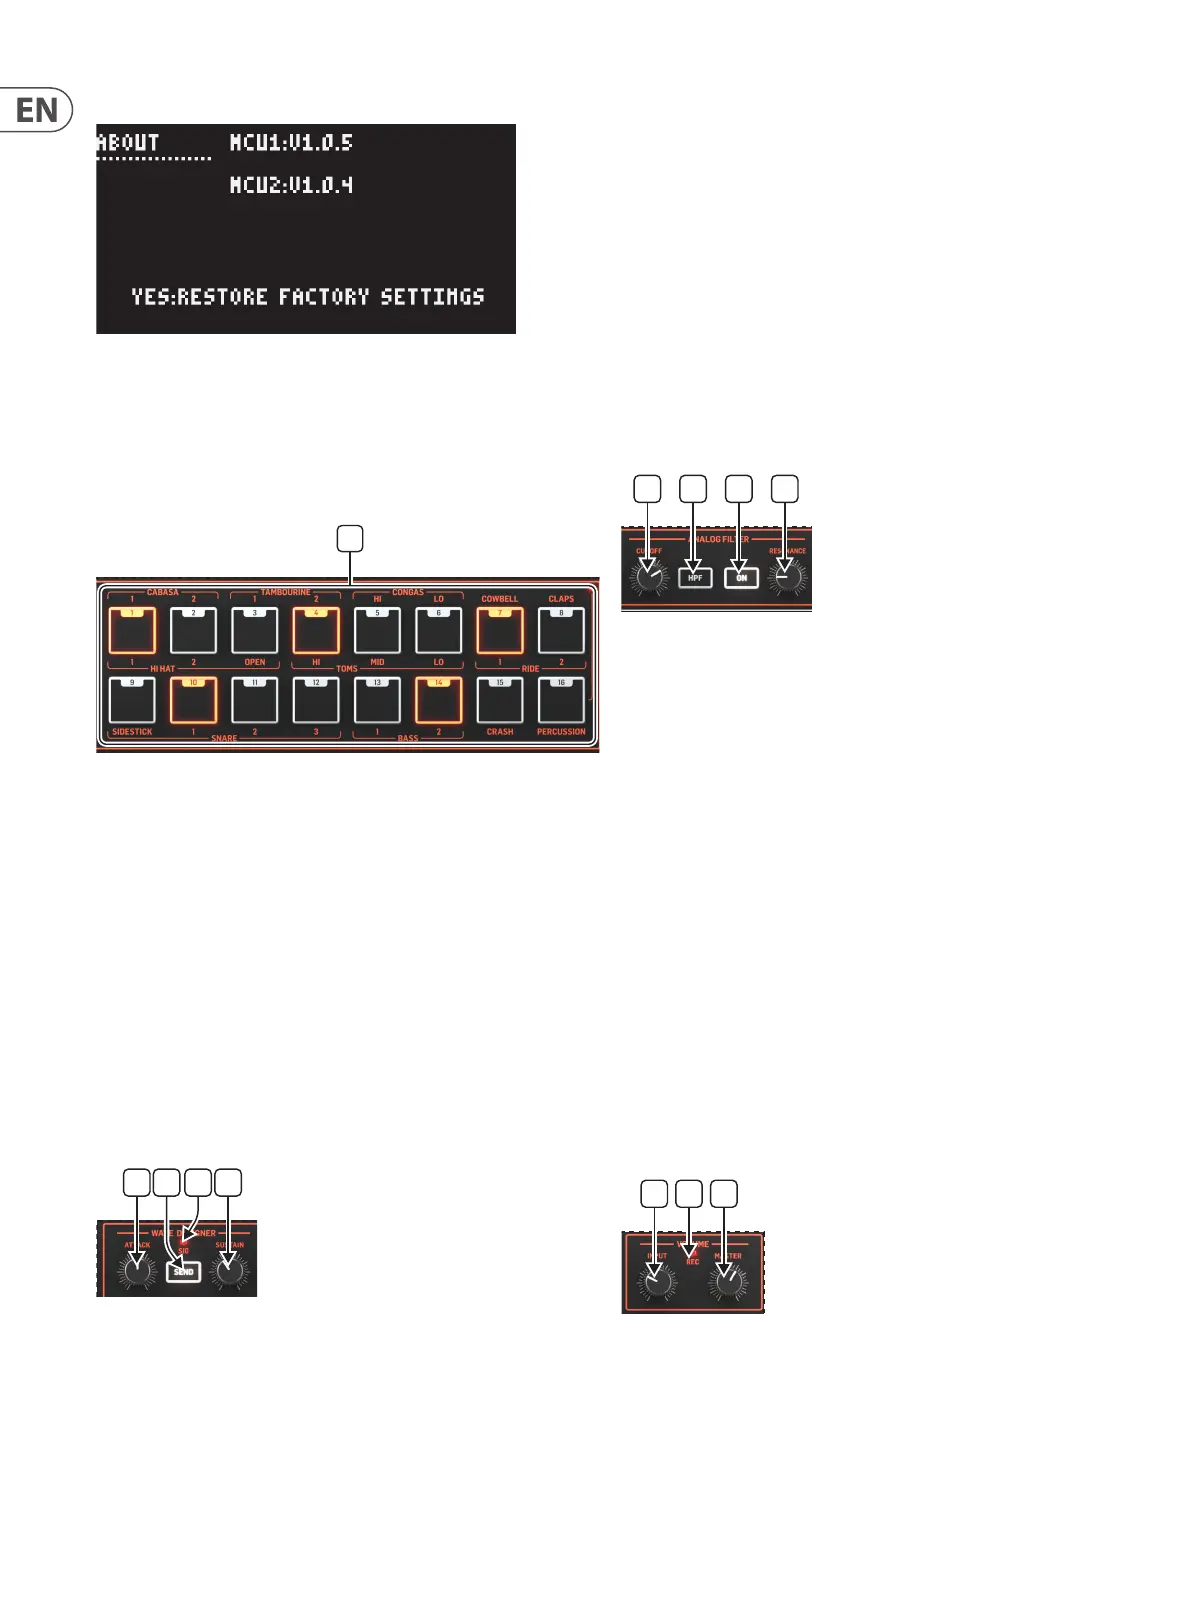
About
The About sub-menu shows the current rmware version for each of the two
MCUs and allows a restoration of factory settings using the Yes button (33). Note
that factory restore will wipe out any programming, so please back up your
work either to SynthTribe or a SysEx app such as MIDI OX™ for Windows, SysEx
Librarian™ for Mac OS.
STEPS/PADS
39. STEP/PAD BUTTONS
The Step/Pad buttons have multiple functions, depending on which other
buttons they are used with:
• • When programming in step time they are used to place a specic drum
(selected using the Voice Select buttons (53)) on the required step.
• • When programming in real time they are used to play their associated
drum sounds. Note that button 16 is used as a shift button to access the
percussion sounds on buttons 1 – 8.
• • They are used to select a pattern to play, record, copy, erase or dump.
• • Buttons 1 – 8 are used to select a song to play, record, copy, erase or dump.
It will be noted that some sounds are present on multiple buttons (for example
snare on 10, 11 and 12). In these instances the sounds are variations on the same
sample rather than dierent samples.
WAVE DESIGNER
The wave designer, which is identical to that already used on the RD-8 and
RD-9, is a means by which the transients of selected drums can be altered, via
the attack and sustain controls. Please note that the Wave Designer can only be
used on the main outputs, it does not aect the individual voice outs. Any sound
selected for processing by the wave designer will also be fed to the analog lter.
40. ATTACK
This control is used to set the attack time for the wave designer. This enables
sounds to become punchier by reducing the attack, or less immediate by
increasing it. Set the control to 12 o’clock for no alteration of the sound.
41. SEND
This button is used to send selected voices to the wave designer and lter. To
select voices for processing press the button until it ashes. The voice select
buttons (53) can now be used to select the voices. Each selected voice will light
up in pink. Press the button again, so that it is continuously lit, and processing
can now take place.
42. SIG
This LED will light when a signal is present on the wave designer’s input.
43. SUSTAIN
This control is used to set the wave designer’s sustain level. Increasing sustain
will lengthen the sound’s peak, while decreasing it will act as a compressor. Set
the control to 12 o’clock for no alteration of the sound. Note that at high levels
noise may be introduced at the end of the sample, so care should be taken with
the setting of this control.
ANALOG FILTER
The analog lter is another porting from the RD-8 and RD-9; and allows the
timbre of the LM DRUM’s sounds to be altered as you would do when creating
a sound on an analog synthesizer. Any sound that has been selected by the
wave designer is subsequently fed to the analog lter, although the lter can be
switched out if not required.
44. CUTOFF
This control is used to set the cuto frequency of the lter. When in its normal,
low pass, mode turning the control counter-clockwise reduces the high frequency
content of the samples, while turning it clockwise increases them. This action
is reversed when the lter is in high pass mode. The lter cuto can also be set
using MIDI continuous controller #74.
45. HPF
This button is used to change the lter from its normal low pass mode (button
unlit) to high pass mode (button lit).
46. ON
Use this button to switch the lter on (button lit) for the selected voice(s).
47. RESONANCE
This control is used to set the resonance level of the lter, which emphasizes
the frequencies around the cuto frequency. Note that unlike on many analog
synthesizers it is not possible to make the LM DRUM lter self-oscillate by using
high resonance settings.
VOLUME
48. INPUT
This control is used to set the input gain when recording user samples. Note
that although it is optimized for receiving line level signals it is possible to get
good results from a dynamic microphone at higher gain settings. Condenser
microphones cannot be used, as there is no phantom power available.
49. REC
This LED will be lit when the LM DRUM is recording a user sample.
40 41 42 43 44 45
51
46 47 48 49 50
40 41 42 43 44 45
51
46 47 48 49 50
40 41 42 43 44 45
51
46 47 48 49 50