23 LM DRUM User Manual
Pressing the length button, so that it is continuously lit switches to the
second screen:
Where the number of repeats of the pattern can be set, using the rate control or
the data control. Navigate to the required slot. Each slot defaults to one repeat
only. Turning the rate control clockwise increases the repeats to a maximum
of 255. Turning it counter-clockwise reduces the number of repeats. Turning it
below 001 switches to innite repeats, where the pattern will continue to play
indenitely, but can be manually advanced to the next slot by pressing pattern
and the >> (forward) button; or back to the previous slot using pattern and the
<< (back) button.
When you have nished creating your song you can save it using the save menu,
then exit record mode by pressing the record button. To play the song press and
hold the tap button and press the play button until the screen displays Play Song
or Play Pattern. This switches auto-scrolling on and allows the song to be played
correctly. The other option, Play Setlist, selects the setlist of songs rather than an
individual song (see below).
Note that, from the factory, the pattern associated with the rst two songs have
been pre-programmed to demonstrate what the LM DRUM can do. These can
be erased as required and restored by restoring the factory settings. The songs
themselves have not been pre-programmed.
Chaining Patterns
Press the pattern button and select a pattern using the step/pad keys. Press play.
Patterns will play and repeat until you select another one. The button for the
newly selected pattern will ash until the current pattern nishes playing, at
which point playback will switch to the new pattern.
Chaining Songs
Songs can be chained in much the same way as patterns. Press the Song button
and select the rst song to play using the step/pad buttons. Press play. The song
will play and the next one can be selected while it is playing, which will cause the
button for the next song to ash. Once the song that is playing nishes playback
will switch to the next song, regardless of whether the song is set to loop or hold.
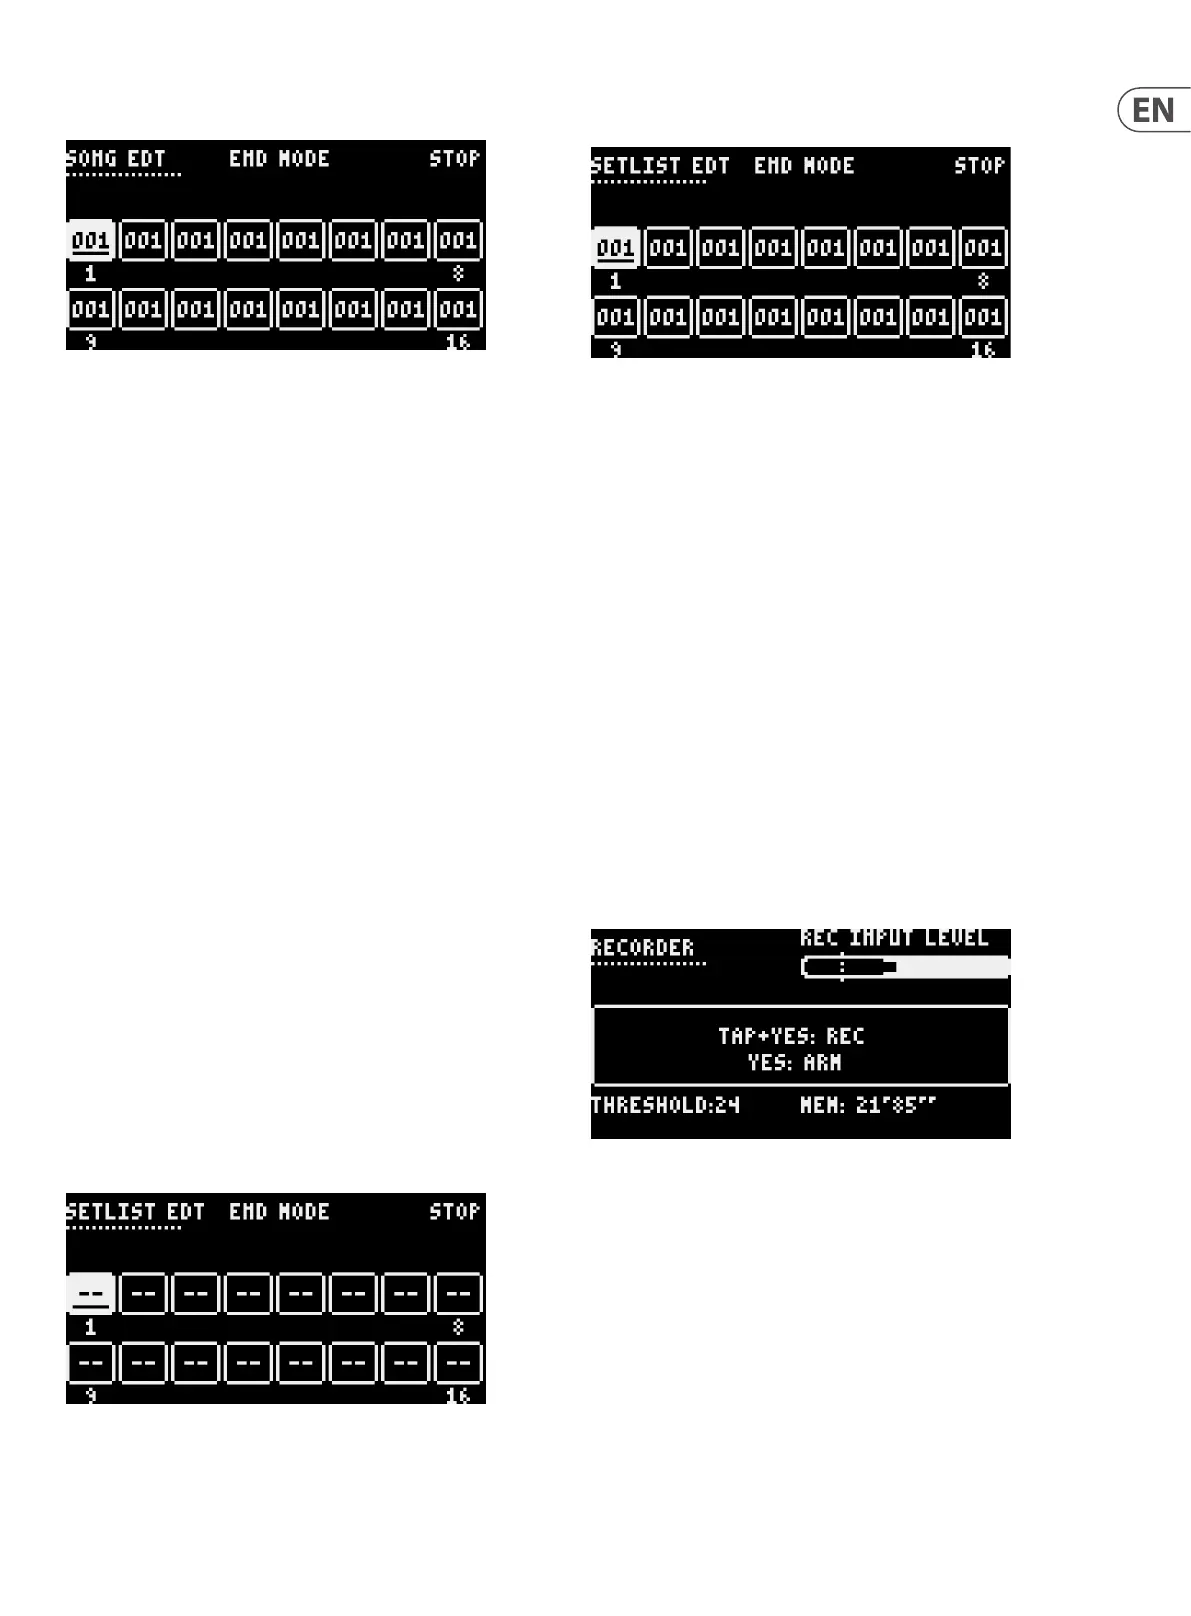
Setlist
The LM DRUM contains a setlist, which allows songs to be chained in a specied
order, and repeated if necessary.
To program the setlist, select song and then press record. This brings up the rst
screen, which is very similar to that used when creating a song from patterns.
The end mode can be set to Stop, Loop or Hold as with a song. There are sixteen
possible slots, although it should be noted that the LM DRUM only contains a
maximum of eight songs at any time. A song is allocated to a slot by navigating to
it and pressing step/pad 1-8. At this time the length button will be ashing.
Pressing length switches to the second screen:
which allows the songs to be repeated. Each slot has a default of one play, but it
is possible to select any number between 1 and 255 using the rate control or data
control. It should be noted that, unlike patterns within a song, there is no option
for innite repeats.
Once the setlist is complete press record to exit. There is no save option, as the
setlist is saved automatically.
SAMPLING
An important feature of the LM DRUM is that it allows users to create and use
their own samples alongside those supplied as default. There are two ways of
doing this: direct into the LM DRUM itself, or by loading a .wav le into SynthTribe
and downloading it to the LM DRUM.
DIRECT SAMPLING
First select the bank that you want to store your samples in, using the bank
button and navigation keys.
Connect an audio source to the record input socket (57) on the rear panel. This is
a 6.35 mm (¼") unbalanced TS jack socket, and is primarily designed to take line
level inputs, although it is possible to use it with dynamic microphones so long as
care is taken with the gain.
Press the sample button (20). This activates the Rec Input socket, and the Input
level control (48) and its associated signal LED (49). The rst record screen is
shown on the display:
The input level is displayed at the top right of the screen, and the record
threshold at the bottom left. Threshold can be adjusted using the data control
and is shown on the level meter by a thin black line.
Pressing the Yes button arms the recorder, pressing tap and yes simultaneously
starts recording. The available recording time is displayed at the bottom right of
the screen.