This document is a user manual for the Belling IHT603 induction hob, providing comprehensive information on its installation, operation, and maintenance.
Function Description
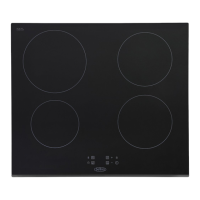
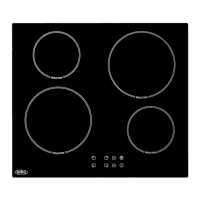
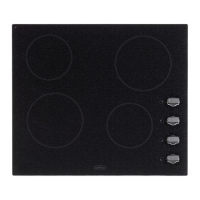
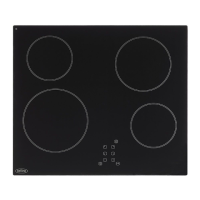
The Belling IHT603 is a built-in induction hob designed for domestic cooking. It features four cooking zones and utilizes induction heating technology, which offers efficient and precise cooking by directly heating the cookware through electromagnetic induction. The hob is equipped with touch controls for easy operation and a range of functions to enhance the cooking experience, including a power boost function for rapid heating and a timer control that can be used as a minute minder or to automatically switch off cooking zones. Safety features such as residual heat warning, automatic shut-down, and a keylock function are integrated to ensure safe use.
Important Technical Specifications
- Model Identification: BEL IHT603 BLK
- Type of Hob: Built-in induction hob
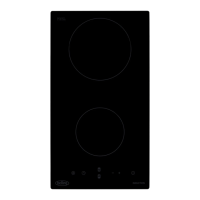
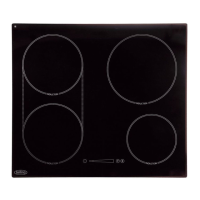
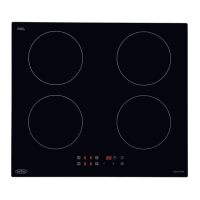
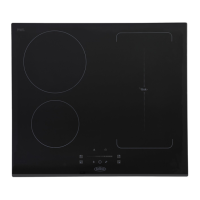
- Number of Cooking Zones: 4 zones
- Heating Technology: Induction cooking zones
- Diameter of Useful Surface Area per Electric Heated Cooking Zone (rounded to the nearest 5 mm):
- Zone1: 16.0 cm
- Zone2: 21.0 cm
- Zone3: 18.0 cm
- Zone4: 18.0 cm
- Energy Consumption per Cooking Zone or Area (calculated per kg):
- Zone1: 196.3 Wh/kg
- Zone2: 182.0 Wh/kg
- Zone3: 186.3 Wh/kg
- Zone4: 187.6 Wh/kg
- Energy Consumption for the Hob (calculated per kg): 188.1 Wh/kg
- Supply Voltage: 220-240V~50Hz or 60Hz
- Installed Electric Power: 7200W
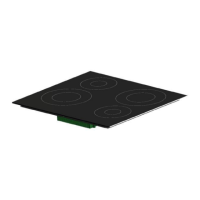
- Product Size (D x W x H): 590 X 520 X 62 mm
- Building-in Dimensions (A x B): 560 X 490 mm
- Power Cable: 1.2m 4 core 2.5mm² supplied
Usage Features
- Touch Controls: The hob operates with touch-sensitive controls, responding to the flat of the finger. The controls require approximately 1 second to respond and should be kept clean and dry for optimal performance.
- Cookware Suitability: Only cookware with a magnetic base suitable for induction cooking should be used. A magnet test can verify suitability, or by placing water in the pan and checking if the 'U' symbol does not flash and the water heats. Cookware with jagged edges or curved bases, or made from non-magnetic materials like pure stainless steel, aluminum, copper (without magnetic base), glass, wood, porcelain, ceramic, and earthenware, are not suitable. Pans should be centered on the cooking zones and have a smooth, flat base at least as large as the printed circle.
- Start Cooking: To start, touch the On/Off key, place a suitable pan, and then touch the relevant heating zone selection control key. Select the desired heat setting using the “-” or “+” controls. If no heat setting is selected within 1 minute, the hob automatically switches off.
- Pan Detection: If the display flashes 'U' alternately with the heat setting, it indicates an unsuitable pan, incorrect placement, or a pan that is too small. Heating will not occur until a suitable pan is detected.
- Finish Cooking: To switch off a cooking zone, select it, then scroll down to "0" or touch the “-” and “+” controls together. The entire hob can be turned off using the On/Off control key.
- Residual Heat Warning: An "H" display indicates a hot cooking zone, even after it's switched off, serving as a safety warning and an energy-saving reminder if further heating is needed.
- Boost Function: Available for all four cooking zones, but only one zone per pair can be boosted simultaneously. The boost function provides maximum power for rapid heating and automatically cancels after approximately 5 minutes, reverting to the previous power level (or level 9 if no prior level was set). It works by 'borrowing' power from an adjacent zone, potentially limiting its power level (e.g., to level 7).
- Keylock Control: This function locks the controls to prevent unintended use, disabling all controls except the On/Off key. It is activated and deactivated by touching and holding the keylock control key until "Lo" appears or disappears from the timer display.
- Timer Control:
- Minute Minder: Can be set for up to 99 minutes. It operates independently and does not switch off cooking zones.
- Cook-to-Off Timer: Can be set for individual or multiple cooking zones to automatically switch them off after a set duration. A red dot next to the power level indicator shows which zone is controlled by the timer. The timer display shows the remaining time for the zone due to finish first.
- Default Working Times: The hob has an auto shut-down safety feature. If a cooking zone is left unattended, it will automatically switch off after a predefined duration, ranging from 2 to 8 hours depending on the power level. If a pan is removed, the hob stops heating immediately and switches off after 2 minutes.
Maintenance Features
- Cleaning:
- Everyday Soiling: Switch off the cooktop, apply a cleaner while the glass is warm (not hot), rinse, and wipe dry with a clean cloth or paper towel. Avoid heavy-duty scourers or abrasive cleaners that may scratch the glass.
- Boilovers, Melts, and Hot Sugary Spills: Immediately switch off the cooktop. Use a fish slice, palette knife, or razor blade scraper at a 30° angle to scrape spills to a cool area, then clean with a dishcloth or paper towel. Sugary spills should be removed quickly to prevent permanent damage.
- Spillovers on Touch Controls: Switch off the cooktop, soak up the spill, wipe the area with a damp sponge or cloth, and dry completely with a paper towel before turning the cooktop back on.
- General Advice: Always allow the appliance to cool down before cleaning. Avoid undiluted bleaches, chloride products, wire wool, abrasive cleaners, nylon pads, and steam cleaners. Do not place cast iron griddles or pan supports in the dishwasher. Regular cleaning is crucial to prevent fat build-up, which can affect performance and invalidate the guarantee.
- Troubleshooting: The manual provides a detailed troubleshooting guide for common issues, including unresponsive controls, scratched glass, unusual noises, and pans not heating. It also lists failure codes (E1-E8, U1) with corresponding problems and solutions, often involving checking connections, waiting for cooling, or contacting a qualified technician. The induction hob is equipped with a self-diagnostic function to assist technicians.
- Servicing: Servicing should only be carried out by authorized personnel. For any issues, users are advised to contact the customer care helpline or email the provided address. Warranty registration can be done online or by mail.