29
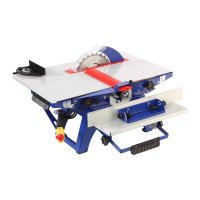
Fig. W
The structure of the machine in the milling with the cutter disk mode
29 – Fencing of saw blade/cutter above the table level; 30 – Fencing of saw blade/cutter below the table level;
30а – screws; 31 – cutting table insert; 41 – vertical rod of saw blade fencing; 40 – cutter disk; 42 – horizontal rod of
cutter disk fencing; 44 – flywheel for vertical rod fixation; 45 – insert for milling
11.6.1 Installing the cutter disc
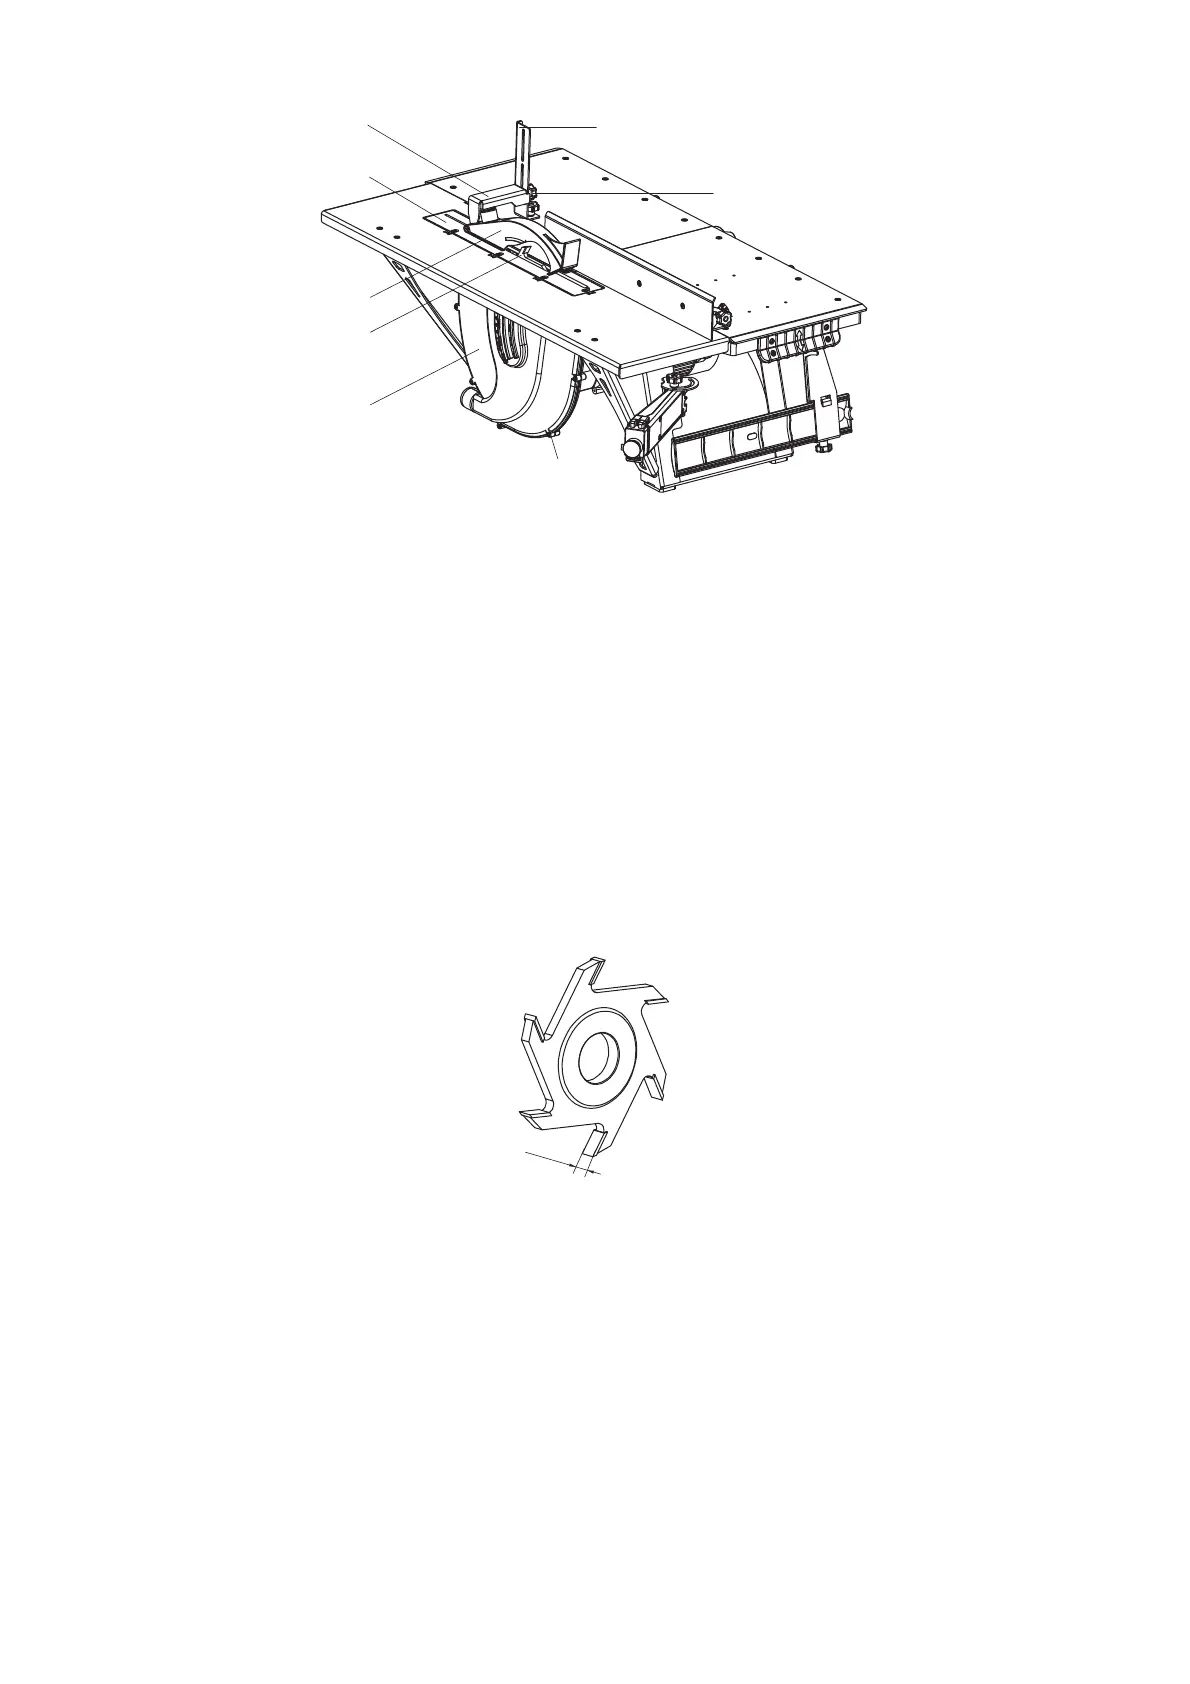
It is recommended to use slot milling cutters for wood (Fig. X).
To install the disc cutter 40, perform the following actions:
remove the saw blade fencing 30, by loosening the screws 30а;
unscrew the lock nut of the saw blade 25 (Fig. В1, B2) with the help of a wrench 56;
remove the saw blade 25;
install the disc cutter 40, with it with the nut 67 backside;
install the insert 45;
install the cutter disc casing 30, fix it with the screws 30а.
Fig. X
Slot milling cutter for wood
11.6.2 Installing the fencing
To install the fencing of the disc cutter 40 it is necessary to remove the fencing of saw blade
29 from the machine 25 with the help of the splitting knife 28.
It is necessary to install the vertical rod 41 in place of the splitting knife.
Fix the vertical rod with the fencing on the table with the flywheel 43.
Then adjust the insert 31 and fencing 29 position of the saw blade relative to the disc cutter
40. They should be installed symmetrically around the center of the disc cutter. The height of
31
40
29
42
30
30a
41
44
10 mm