MK2430_D00129_01_Q_DEEN/01.2024 3
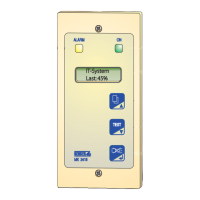
COMTRAXX® MK2430
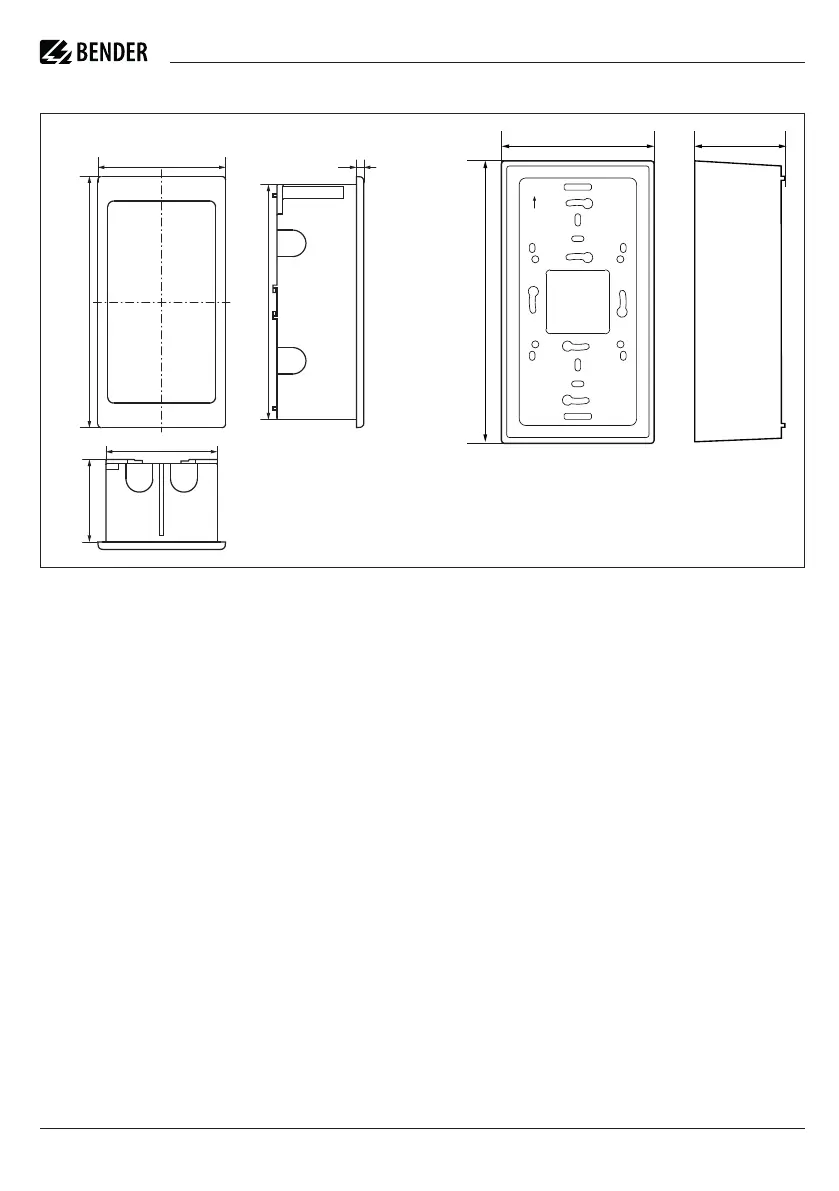
Dimensions
Dimensions in mm
Installation
Flush-mounting
The flush-mounting enclosure is within the scope of
delivery of the MK2430.
1. Insert the cardboard that has been supplied into the
flush-mounting enclosure to stabilise the enclosure
and to provide protection against pollution.
2. Insert the enclosure so that it is flush with the wall surface.
Surface-mounting
1. Use the empty enclosure as a template for marking
the drilling holes.
2. Install the enclosure. Maximum diameter of the
screws:
Thread of screw 3 mm, bolt head 7 mm
Installation variants using the MK2430 mounting
kit, Art. No. B95101000:
• Cavity wall, panel or DIN rail mounting of the
flush-mounting enclosure
• Using the mounting brackets (attached on each
side) the MK2430 snaps into the flush-mounting
enclosure. Two mounting angles provide addition-
Abmessungen
Maßangaben in mm
Montage
Unterputzmontage
Das Unterputzgehäuse ist im Lieferumfang der MK2430
bereits enthalten.
1. Setzen Sie die mitgelieferte Pappe in das Unterputz-
gehäuse. Auf diese Weise werden Formstabilität und
Schutz vor Verschmutzung während des Einputzens
sichergestellt.
2. Mit der fertigen Wandfläche bündig einbauen.
Aufputzmontage
1. Nutzen Sie das leere Gehäuse als Schablone zum An-
zeichnen der Bohrungen.
2. Gehäuse montieren. Maximaler Durchmesser der Be-
festigungsschrauben:
Gewinde: 3 mm, Schraubenkopf: 7 mm
Einbauvarianten mit Hilfe des MK2430-Montage-
Sets, Art.-Nr. B95101000:
• Hohlwand-, Schalttafel- oder Hutschienenmonta-
ge des Unterputzgehäuses
• MK2430 rastet mit seitlich angebrachten Klammern
in das Unterputzgehäuse ein. Zwei Montagewinkel
sorgen für zusätzlichen Halt. Sie werden insbeson-
86 5
171
160
58
75
TOP
OBEN
59
185.5
100.5