RBJ Series of Rolling Bridge Jacks 16 P/N 5900004 — June 2018 — Rev. C2
6. Put in place (in the holes on the ends of the Extendable Bases) the bolts and washers that secure
the Safety Brackets. See the drawing on the next page for more information.
The bolts and washers go on the
, the edge closest to the Lift.
If you do not put them into place now, it is much harder later.
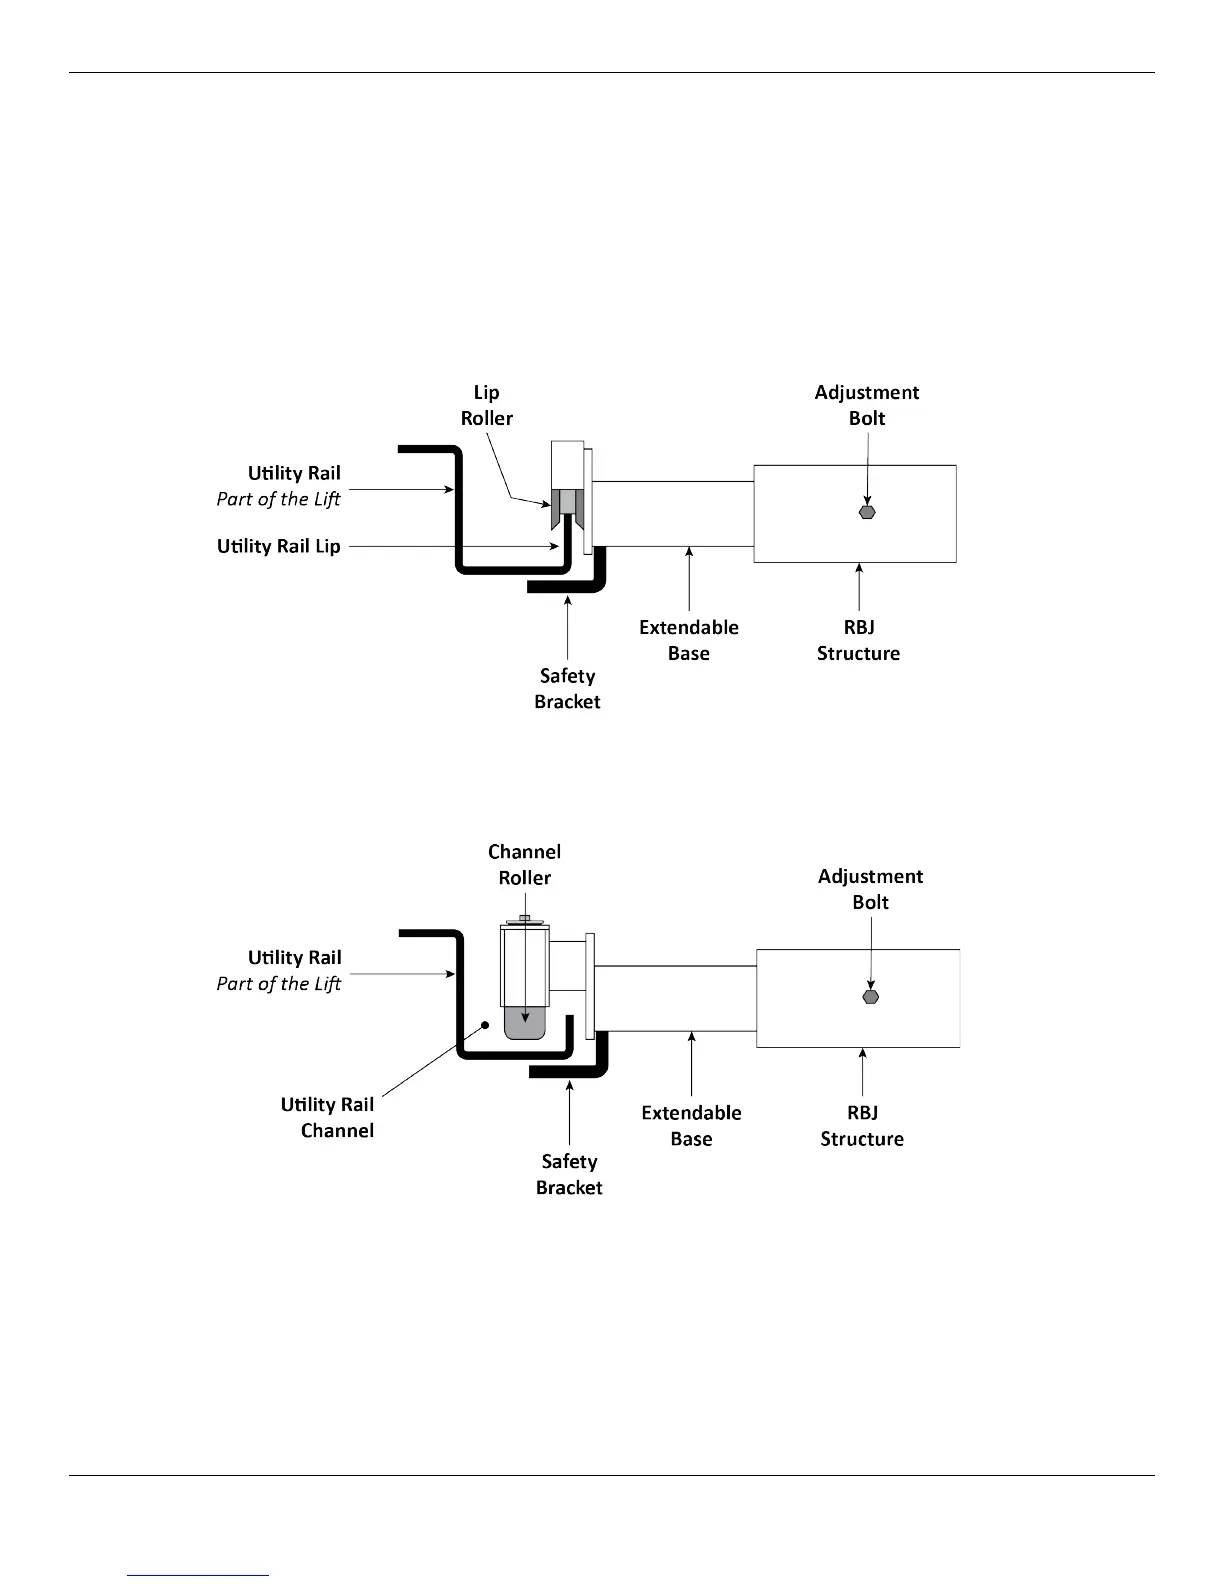
7. Lower the Rolling Bridge Jack onto the Utility Rail Lip or into the Utility Rail Channel, depending on
model.
The following drawing shows the Lip Roller
on the Rolling Bridge Jack being lowered
onto the Utility Rail Lip of the Lift.
Models RBJ4500, RBJ6000, and RBJ7000 use Lip Rollers.
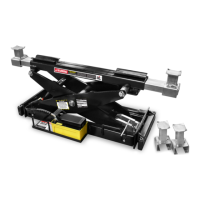
The following drawing shows the Channel Roller
on the Rolling Bridge Jack being
lowered into the Utility Rail Channel of the Lift.
Models RBJ9000, RBJ15000, RBJ18000, and
RBJ25000 use Channel Rollers.
RBJ18000 and RBJ25000 have fixed-width bases; they are not extendable.
8. Make sure the Utility Rail Channel is clear of all debris.
9. When the Rolling Bridge Jack is correctly situated on the Utility Rail Lip or in the Utility Rail Channel,
securely tighten all four Adjustment Bolts.
⚠ WARNING You are
required
to fully tighten all four Adjustment Bolts. They help ensure the
Jack stays in place on the Utility Rails.