12/ 2017
BENNING PV 2
21
7.3 PV module/ PV string, short-circuit current, (Is/c)
Measuring range Resolution Measuring accuracy
0.50 A - 15.00 A 0.01 A ± (1 % + 2 Digit)
7.4 Insulation resistance R
ISO
(AUTO measurement of the PV generator)
Messbereich Auflösung Messgenauigkeit
0.05 MΩ - 100 MΩ max. 0.01 MΩ ± (5 % + 5 Digit)
101 MΩ - 199 MΩ 1 MΩ ± (10 % + 5 Digit)
Testing voltage: 250 V
DC
/ 500 V
DC
/ 1000 V
DC
, + 20 %, - 0 %
Testing current: > 1 mA, < 2 mA in case of a short-circuit
Number of repetitive tests
(IEC 61557-2)
approx. 4000
7.5 Insulating resistance, R
ISO
(2-pin)
Measuring range Resolution Measuring accuracy
0.05 MΩ - 300 MΩ max. 0.01 MΩ ± (5 % + 5 Digit)
Testing voltage:
250 V
DC
/ 500 V
DC
/ 1000 V
DC
, + 20 %, - 0 %
Testing current: > 1 mA, < 2 mA in case of a short-circuit
Number of repetitive tests
(IEC 61557-2)
approx. 4000
7.6 Voltage via 4 mm test sockets
Measuring range Resolution
Measuring accuracy
(DC, AC 50 Hz - 60 Hz)
30 V - 440 V AC/ DC 1 V ± (5 % + 2 Digit)
7.7 Current by means of AC/ DC current clamp adapter BENNING CC 3 (part no. 044038)
Measuring range Resolution
Measuring accuracy
(DC, AC 50 Hz - 60 Hz)
0.1 A - 40.0 A AC/ DC 0.1 A ± (5 % + 2 Digit)
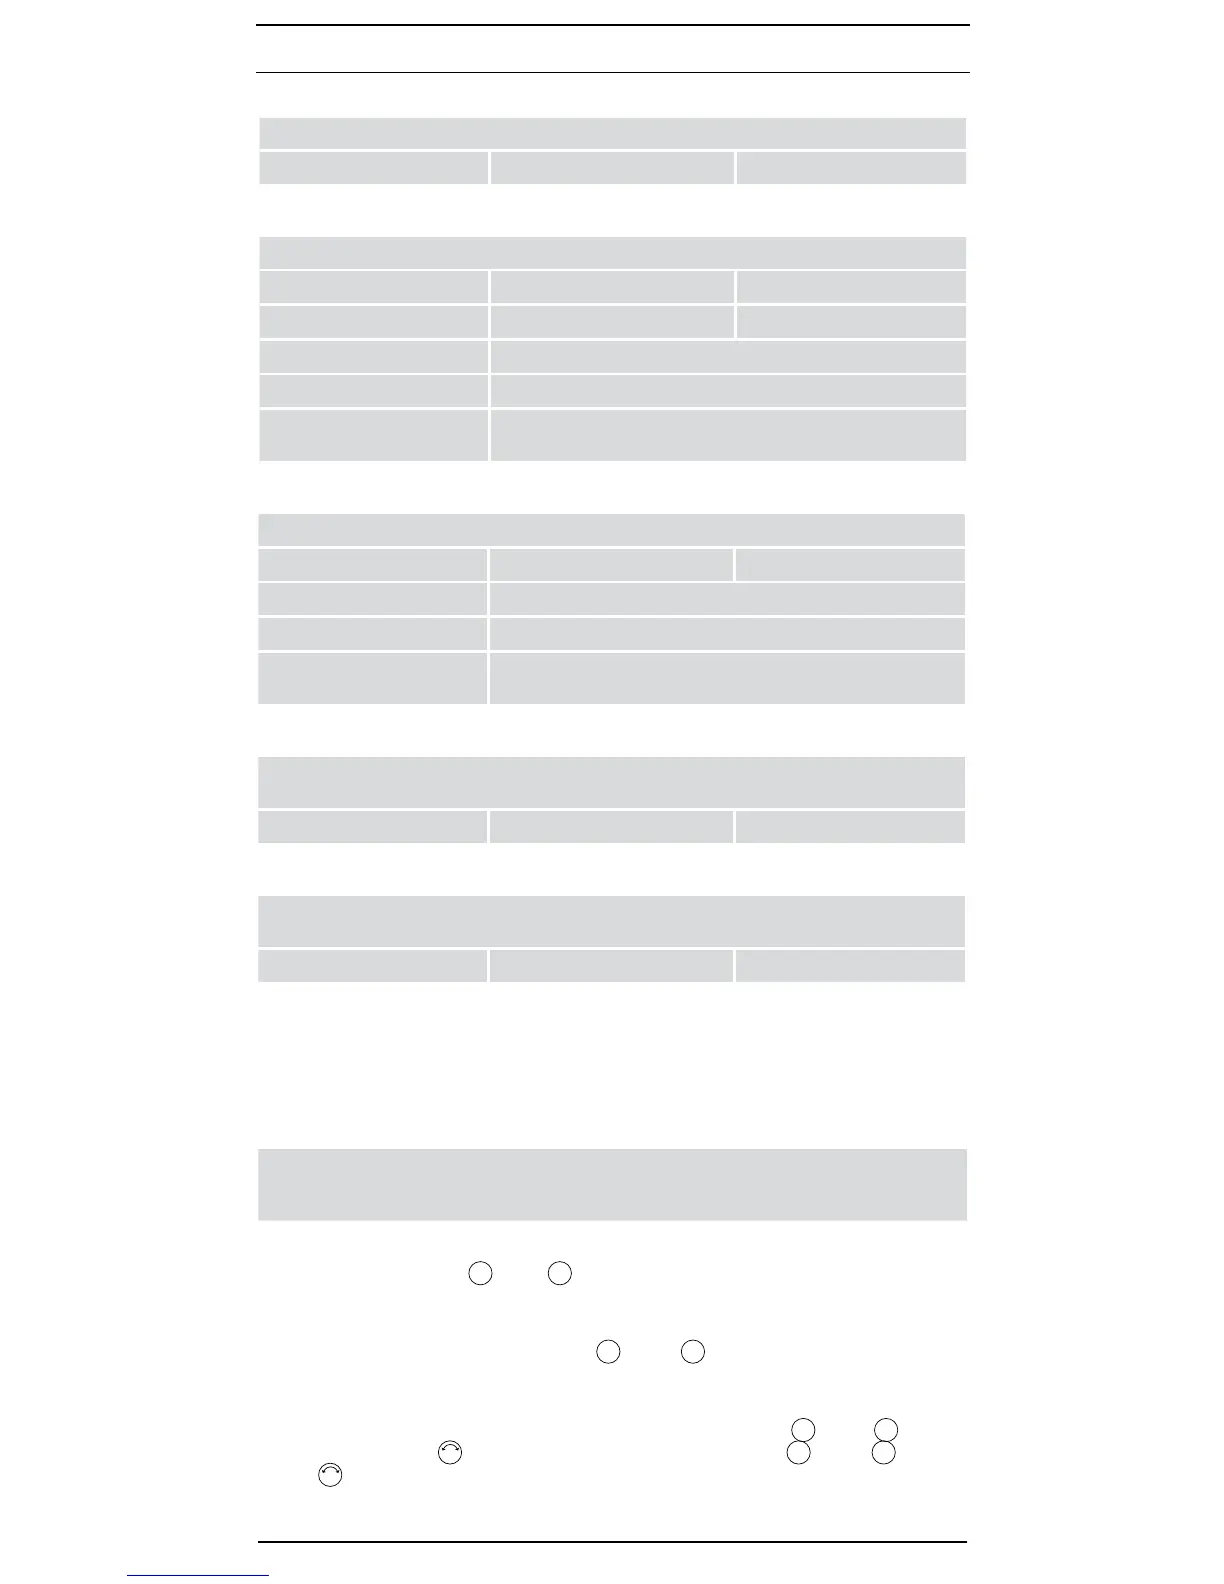
8. Measuring with the BENNING PV 2
8.1 Preparation for measuring
Operate and store the BENNING PV 2 only at the specied storage and operating tempera tures
conditions. Do not permanently expose the device to sunlight.
- Check rated voltage and rated current details specied on the safety measuring leads.
- Strong sources of interference in the vicinity of the BENNING PV 2 can lead to unstable
readings and measuring errors.
m
Before starting the BENNING PV 2, always check the device, the leads and the
test object for damages.
8.1.1 Switching the BENNING PV 2 ON/ OFF
- Press and hold the keys
R
ISO
4
and
Mode
5
for approx. 2 seconds to switch the BENNING PV 2
on. Acoustic signals conrm that the device is switched on. Press the keys again for approx.
2 seconds to switch the device off.
- After approx. 1 minute, the BENNING PV 2 switches off automatically (APO, Auto Power-
Off). It switches on again when the keys
R
ISO
4
and
Mode
5
are pressed. An acoustic signal
indicates that the device has switched off automatically.
8.1.2 Setting the automatic switch-off time (APO, Auto-Power-Off)
- Switch the BENNING PV 2 off by simultaneously pressing the keys
R
ISO
4
and
Mode
5
.
- Press and hold the
Ω
NULL
-key
6
and simultaneously press the keys
R
ISO
4
and
Mode
5
. Keep
the
Ω
NULL
-key
6
pressed.
- The LC display
1
shows "OFF" in the rst line and the switch-off time (in minutes) in the
second line.