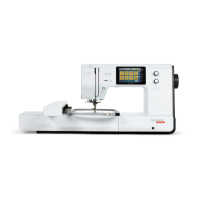
STITCH PLATE
b79: Follow the manual’s instructions to attach the Straight/CutWork Stitch Plate to the machine. This plate will reduce ag-
ging of fabric, resulting in improved stitching. NOTE: The machine will recognize the plate attached.
LOWERED FEED DOG
The feed dog will automatically be lowered when the module is attached.
ATTACHING THE EMBROIDERY PRESSER FOOT - See Page 9 for information about the
two embroidery presser feet available for the b79 and b70.
• Raise the needle and the presser foot.
• Switch the machine off and disconnect it from the power source.
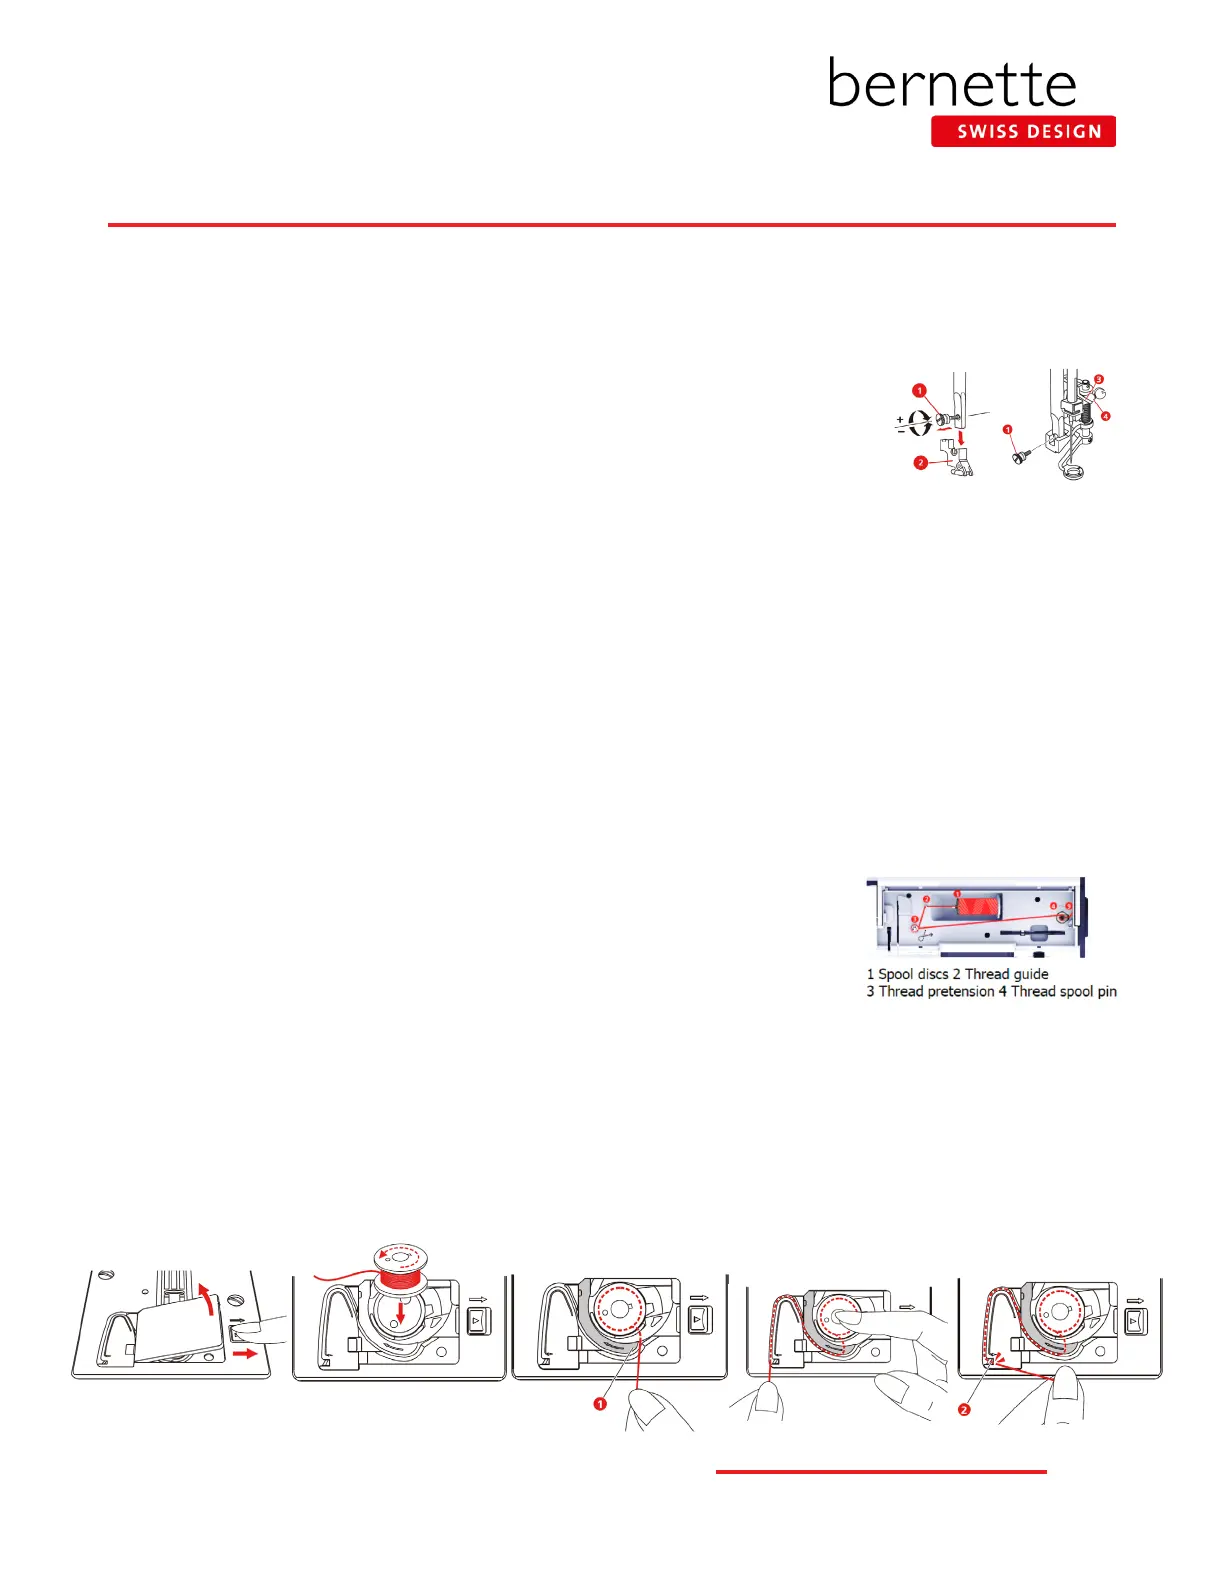
• Remove the presser foot holder (2) by unscrewing the presser foot bar attaching screw (1) (b79 only).
• Attach the Embroidery Foot (JX) making sure that the spring (3) is above the needle xing screw (4). Tighten the screw.
THREAD THE NEEDLE
1. Use the proper needle for the thread and fabric being used; insert a new needle for each project. The most commonly
used thread is a 40 wt. polyester embroidery thread. Refer to Page 27, Reference-Embroidery Needles for additional
information on needles, and to Page 28, Reference - Embroidery Threads.
2. Always thread with the presser foot up. This releases tension and seats the thread into the tension disks.
Setting Up - Machine
Threading Tips for models with both a horizontal and vertical spool pin:
• Use the horizontal spool pin with cross-wound threads; match spool cap size to end of spool.
• Use the vertical spool pin with stacked threads and for some decorative threads (metallic threads); use the foam disc
under the spool to avoid extra tension on the thread.
THREAD THE BOBBIN FOR EMBROIDERY
1.
Wind bobbin with 60 wt. bobbin thread. Refer to Page 28, Reference-Embroidery Threads for
additional information on bobbin threads.
2. Open the bobbin cover by pushing the release button to the right. (Diagram 1)
3. Insert the bobbin so that the thread runs counterclockwise. (Diagram 2)
4. Pull the thread into the slit. (Diagram 3 - See 1)
5. Stabilize the bobbin by gently holding it in place.
6. Follow the arrow markings to bring the thread into the bobbin thread guide. (Diagram 4)
7. To cut the excess thread, take the thread end and pull it over the thread cutter. (Diagram 5 - See 2)
8. Close the bobbin cover.
Diagram 1 Diagram 2 Diagram 3 Diagram 4 Diagram 5
5
bernette
EMBROIDERY MACHINE WORK
BOOK