11
052815
Workbook 4—Embroidery Basics
Hooping
Hooping
• Find the center of the fabric; mark the center
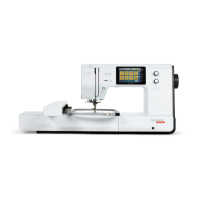
• Separate the embroidery hoop sections
- Loosen the screw or knob. It should be loose enough
that fabric and stabilizer both will EASILY fit into the
hoop
• Secure fabric/stabilizer in the hoop
- Lay the outer hoop on a HARD, FLAT surface
- (deco 340 only: Place so the clamp lies off the edge of
the surface and the hoop lies flat.)
- Secure stabilizer to the back of the fabric by lightly
spraying stabilizer with temporary adhesive spray (see
Hooping Tip box below)
- Place fabric and stabilizer on a firm surface
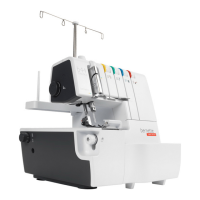
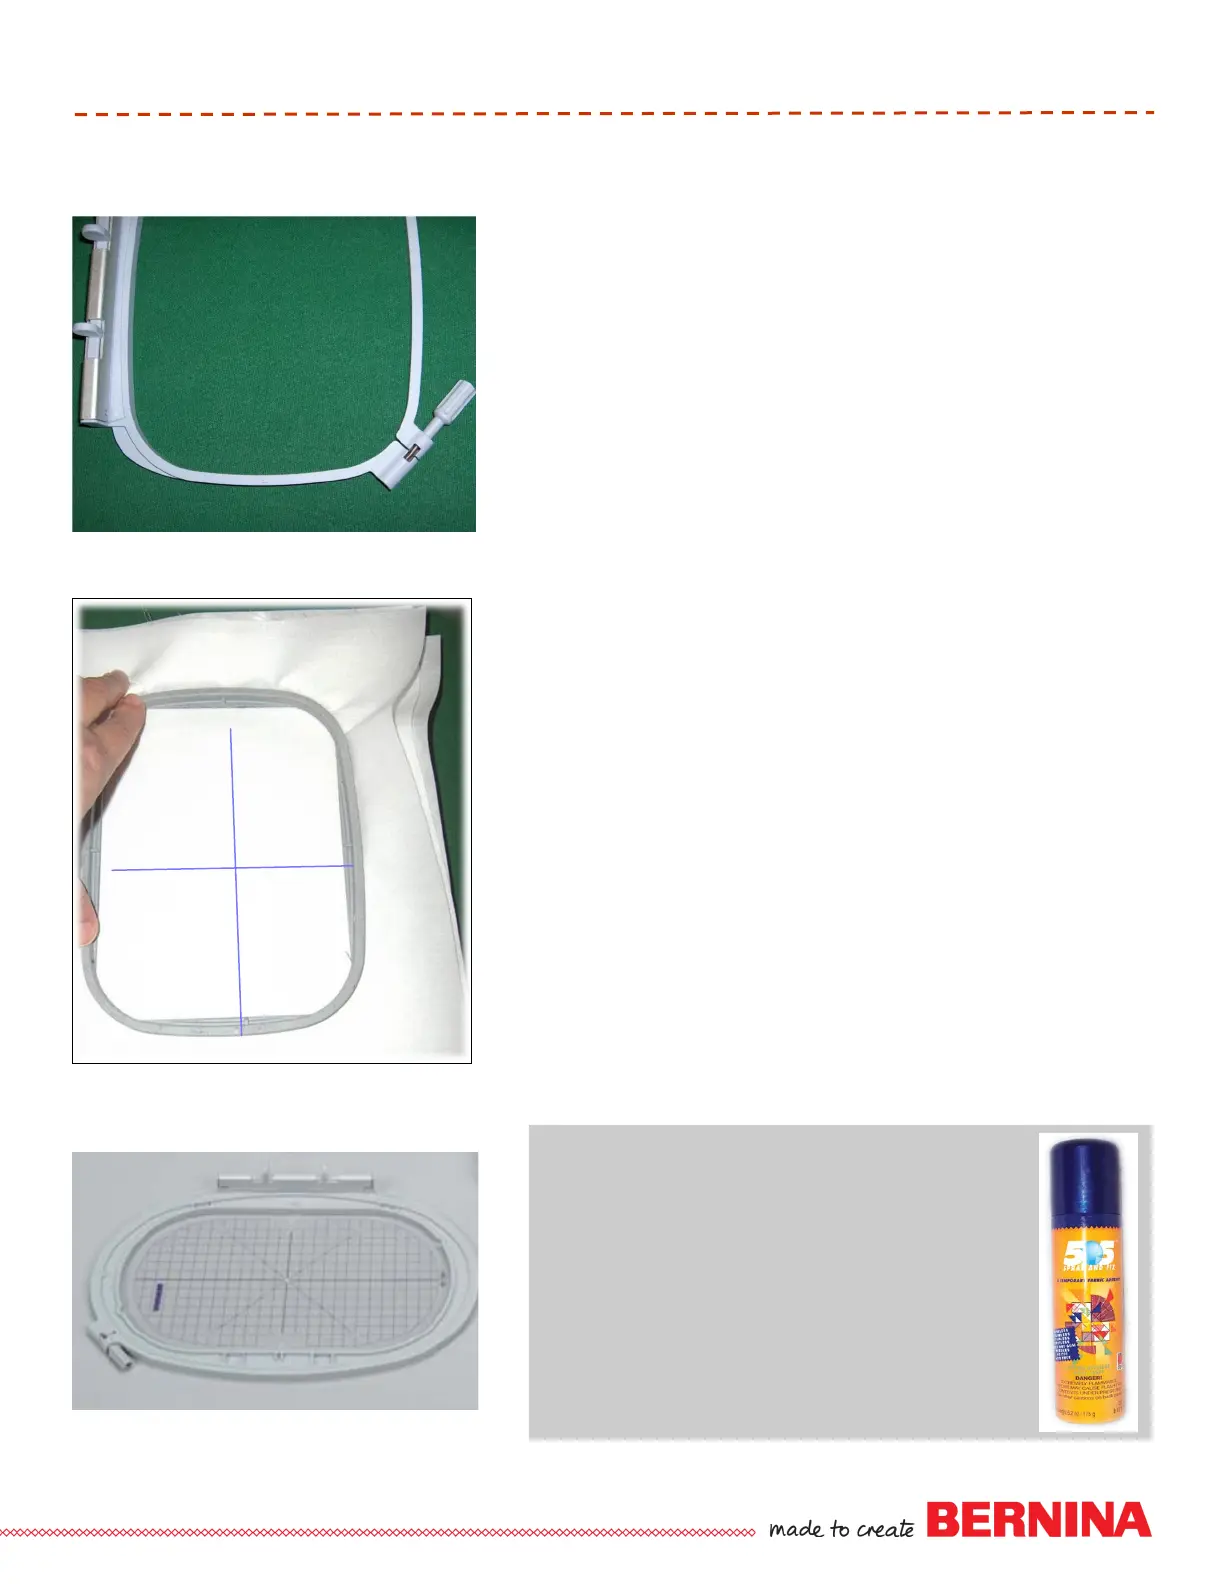
- Position template inside the inner hoop
- Position inner hoop on fabric, aligning markings
- Grasping both inner hoop and fabric/stabilizer, insert
them into the outer hoop, making sure that the arrows
align at the edges of both the inner and outer hoops
- DO NOT DISTORT THE FABRIC when tightening the
screw on the hoop
- Hooped fabric should be taut, but not stretched or
distorted
- Place template into hoop to ensure that the design is
centered in the hoop
- Remove template before stitching. Note: There are finger
holes to facilitate easy removal of the small and medium
hoop templates; special attachment clips are included
with the Large Oval, Mega, and Jumbo hoop templates
to facilitate easy removal.
Loosen screw or knob; lay hoop on flat surface
Lay fabric on outer hoop; position inner
hoop on fabric and push into place
Hooping Tip
For easier hooping of the layers, adhere the
stabilizer to the fabric using a temporary spray
adhesive. Great for basting or holding layers of
fabric and/or batting together. Can be used as a
repositionable spray, allowing items to stay sticky
but be repositioned on other surfaces. Works well
for securing “hard-to-hoop” items such as collars
and cuffs to hooped stabilizer for embroidering.
Note: For best results, spray the stabilizer or
batting, not the fabric.
Place template in hoop to ensure the
design is centered