Deflicker
The Deflicker plugin handles such diverse issues as flickering exposure in timelapse clips,
flickering fluorescent lighting, flickering in archival film sources, and in certain subtle cases even
the ‘rolling bars’ found on video screens shot with cameras having mismatched shutter speeds.
Two key aspects to this filter are that it only targets rapid, temporally unstable variations in
lightness, and that it’s able to target only the areas of an image where flickering appears,
leaving all other parts of the image untouched. As a result, this plugin can often repair problems
once considered ‘unfixable.’
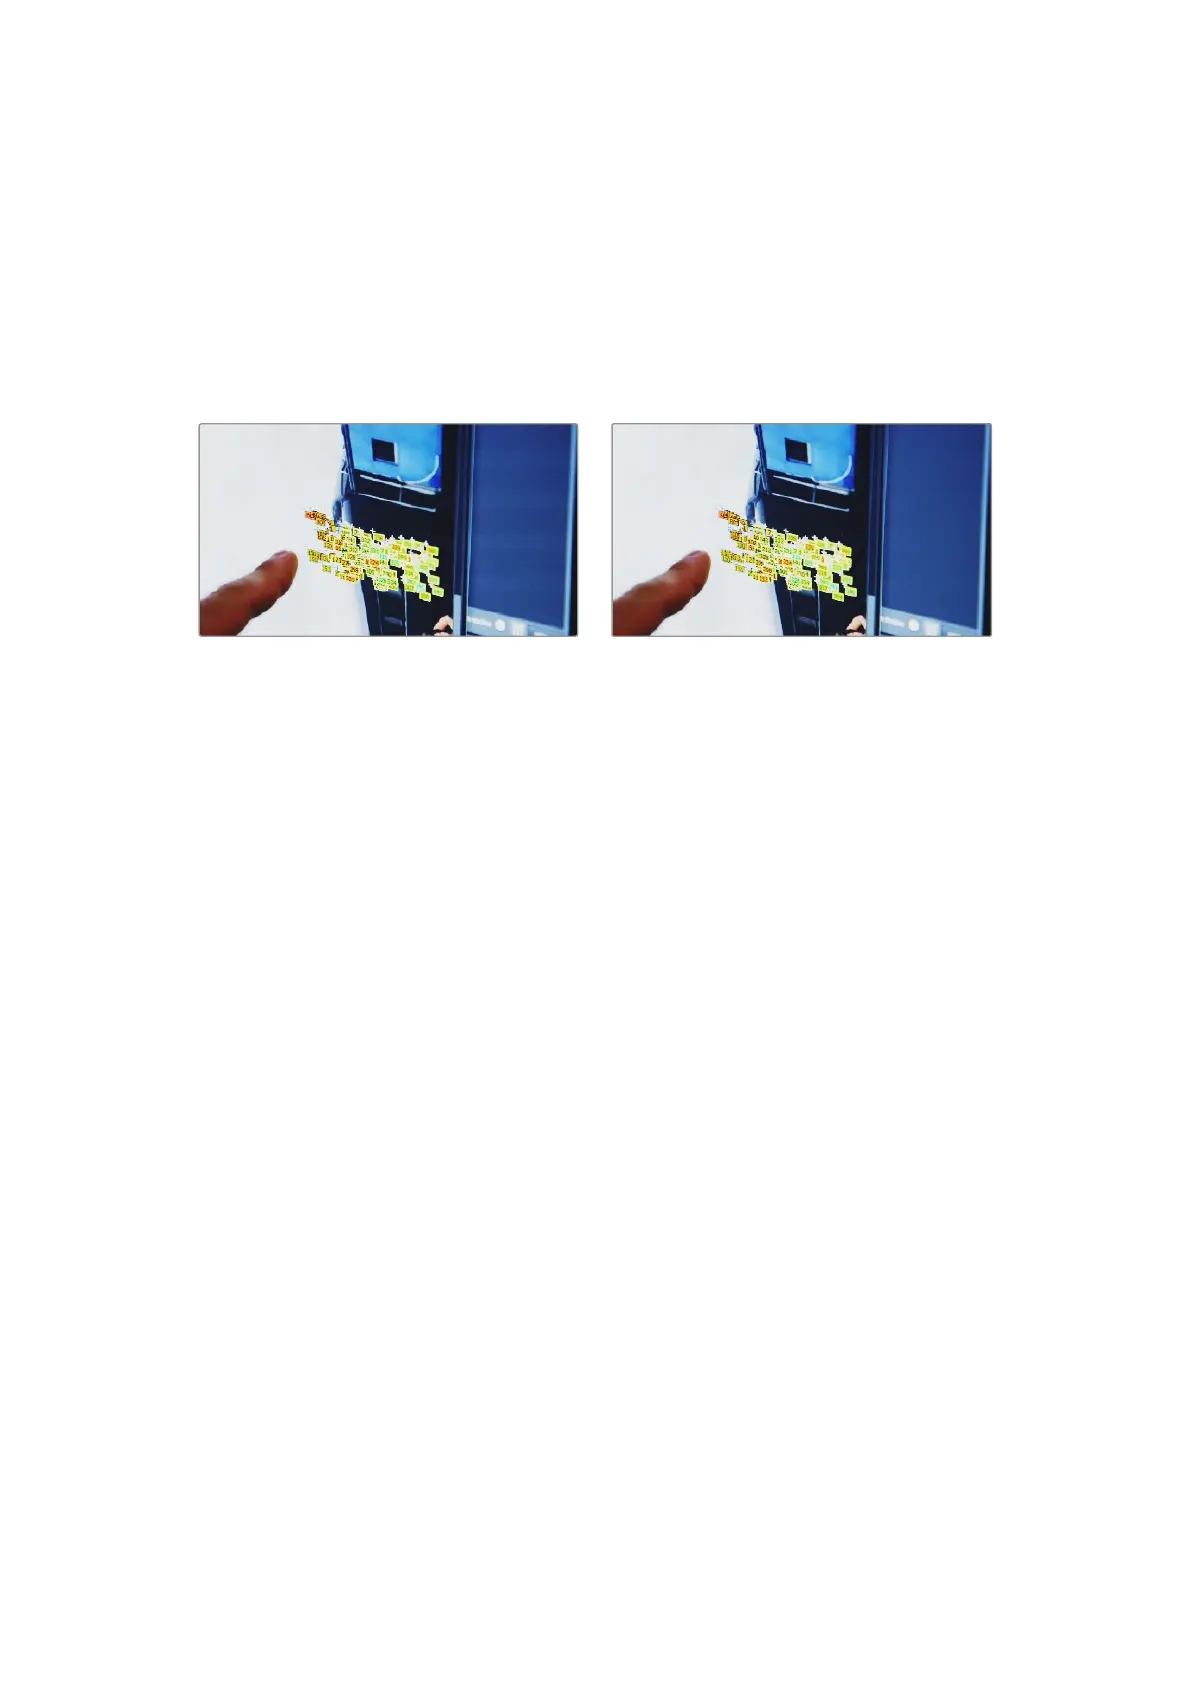
(Left) Original image with flicker, (Right) Result setting Deflicker to Fluoro Light, (clip courtesy Redline Films)
Main Parameters
By default, the top section of this plugin exposes a single control, which in many cases may be
all you need.
Deflicker Setting menu: The top two options, ‘timelapse’ and ‘fluoro light’, are presets
that effectively eliminate two different categories of flickering artifacts. If neither of
these presets is quite as effective as you’d hoped, a third option, ‘advanced controls’,
opens up the ‘temporal NR’ controls at the heart of this plugin to let you tailor it further
to your needs.
Temporal NR
Hidden by default, these controls only appear when you set ‘deflicker setting’ to ‘advanced
controls’, and let you choose how to detect motion in the scene so that flickering may be
correctly addressed relative to the motion of subjects and items within the frame where
it appears.
Frames Either Side: Specifies the number of frames to analyze to determine what’s
in motion. Higher values are not always better; the best setting is, again, scene
dependent. The default is 3.
Mo.Est. Type: Picks the method DaVinci Resolve uses to analyze the image to detect
motion. Despite the names of the available options, which options will work best
is highly scene dependent. ‘Faster’ is less processor intensive, but less accurate,
however this can be an advantage and actually do a better job with high detail
images that would confuse the ‘better’ option. Choosing ‘better’ is more accurate, but
more processor intensive, and ‘better’ will try harder to match fine details which can
sometimes cause problems. None lets you disable motion analysis altogether, which
can work well (and will be considerably faster) in situations where there’s no motion in
the scene at all. The default is ‘better’.
Motion Range: Three settings, ‘small’, ‘medium’, and ‘large’, let you choose the speed
of the motion in the frame that should be detected.
97Deflicker