Getting Started
Getting started with your Blackmagic Converter is as simple as plugging in power, plugging
your source video into your converter’s video input, and plugging the video output into your
destination equipment.
Plugging in Power
Plug in the included 12 volt power supply using the socket adapter for your country.
If your converter has a built in cable tie point, you can easily secure the power connection
toyourconverter.
Y or NTSC/PAL
B-Y or S-VIDEO Y
R-Y or S-VIDEO C
L - ANALOG or AES/EBU
R - ANALOG
SDI LOCK
SDI OUT
ALT SDI IN
SDI IN
POWER
+12V
SDI to Analog
Locking the power cable to the converter’s cable
tie point prevents accidental disconnection.
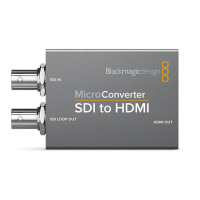
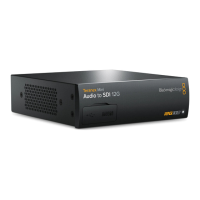
Micro Converter
Blackmagic Micro Converters are powered using USB-C or Micro USB connectors. This means
you can easily connect power using the battery charger for some modern cell phones, or even
power your converter via the USB port of your laptop computer. Any equipment capable of
providing 5V via a standard USB to Micro USBcable or USB-C cable can power your
Blackmagic Micro Converter.
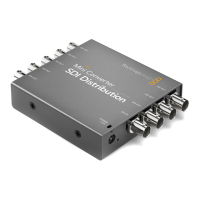
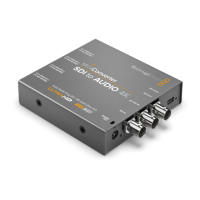
Plugging in Video
To connect your video inputs and outputs, simply plug your source video into your converter’s
video input and plug the video output into your destination equipment.
Depending on your Blackmagic Convertermodel,
the videoconnectors may be BNC, HDMI, or optical fiber LC.
Getting Started 5