27
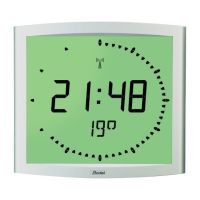
VI - Connecting a temperature probe to a Style 12
Caution : Style 12S cannot display temperature.
1) Set up the temperature probe in a well ventilated spot out of the
sun and the rain and at a maximum distance of 50m. Care should
be taken in choosing where to position the probe in order to
ensure that the temperature readings are correct. Avoid
south-facing frontages, metal parts and draughts.
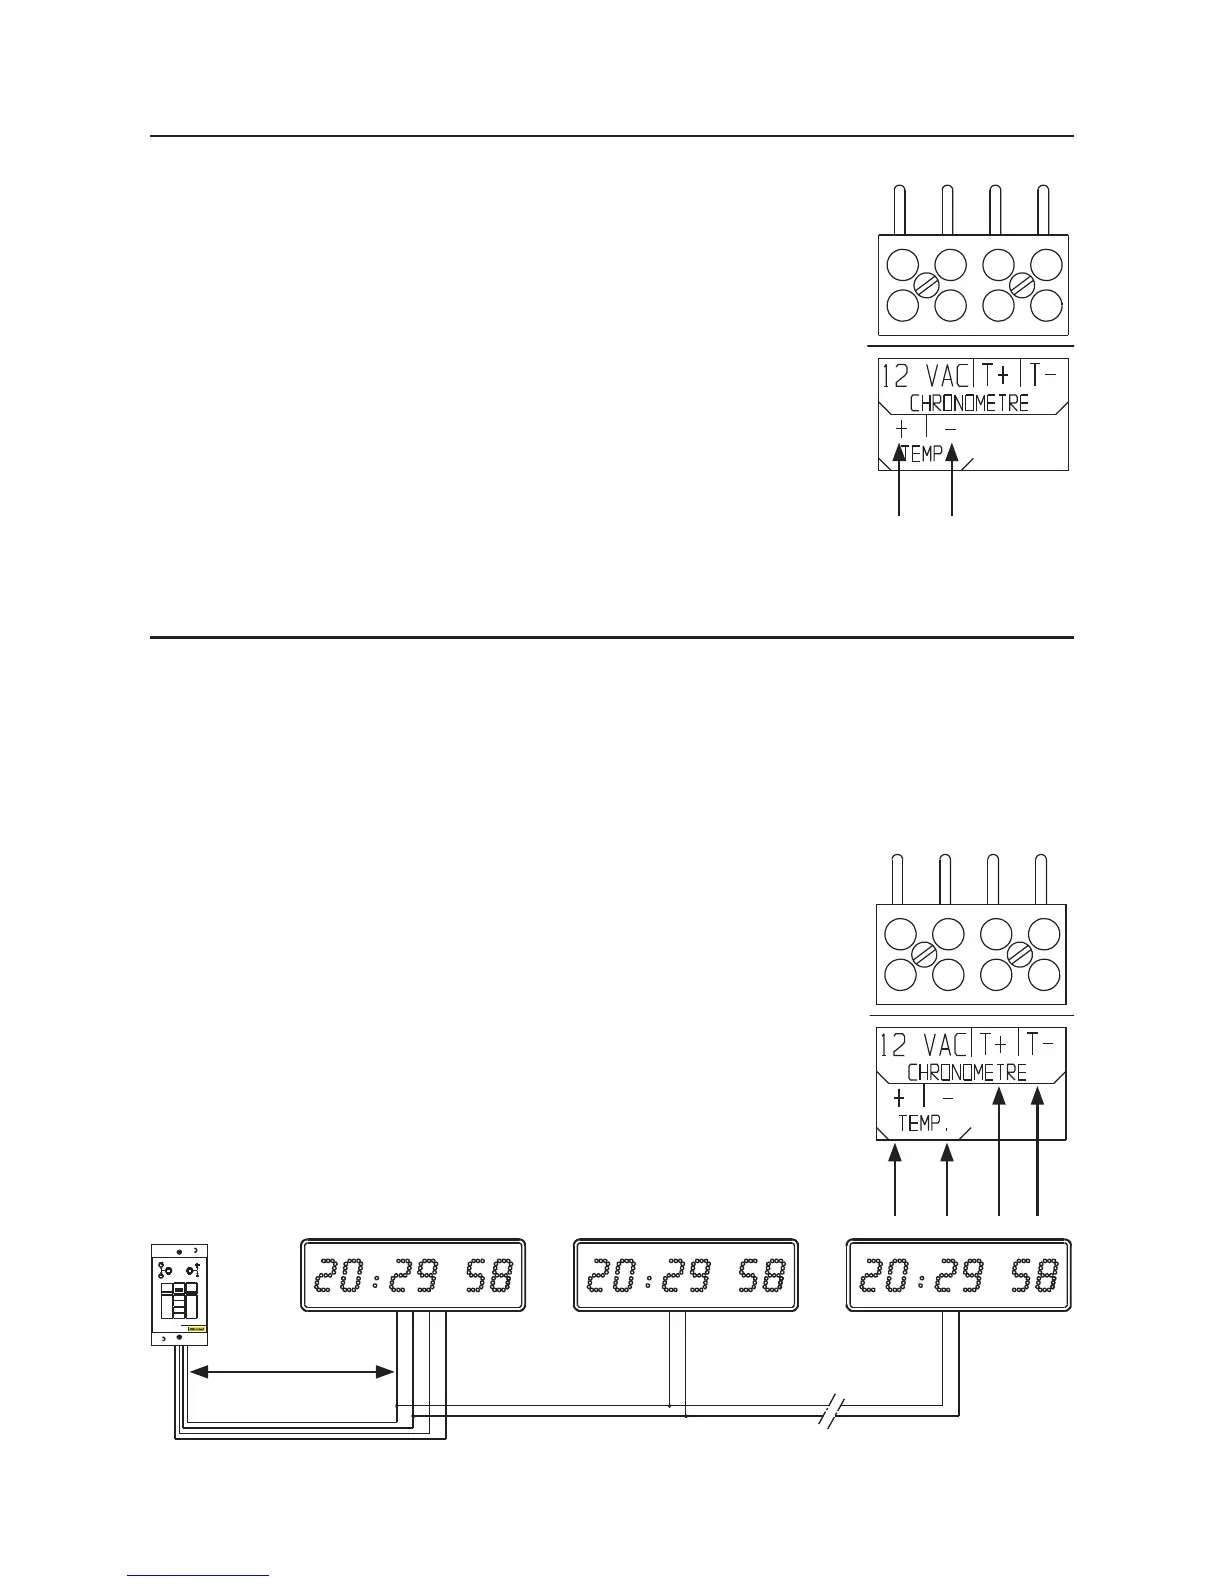
2) Connect the temperature probe to the “TEMP-” and
“TEMP+” terminals on the terminal block (B).
- If the probe is connected the wrong way round, the clock will
display 0°C.
3) The probe cannot be submerged.
VII - Connecting a timer control unit to a Style 12S
The timer control unit reference no. 936400 operates both ways, to count up and to count down.
It has the following different functions : Start, stop, intermediate time, closing of a contact sharp
at the end of count up or countdown (to stop on a pre-set time). The timer control unit can drive
up to ten Style 12 S clocks.
1) Connect the timer control unit to the terminal block (B) with a 4 wire cable (T-, T+ and 2 wires
for 12 V power supply).
2) To chain several Style 12 S clocks to the same timer control unit,
connect the terminals T- and T+ to their respective terminal blocks
(B) with a 2 wire cable (telephone pair).The rst clock is still
connected to the timer control unit with a 4 wire cable.
3) For further details, please consult the timer control unit instruction manual.
White
Brown
BT
Maximum 20m