3
Table of contents
I - Initial verification 19
1.1 Unpacking the clock 19
1.2 Cleaning 19
II - Mechanical installation 20
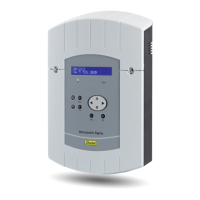
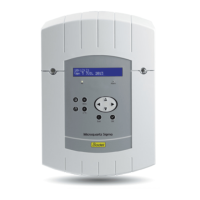
2.1 Getting inside the clock 20
2.2 Wall mounting 20
2.3 Double sided bracket mounting 21
III - Electrical power supply 25
IV - Connection to a time distribution network 26
4.1 Inverted polarity parallel distribution or AFNOR / IRIG B 26
4.2 Inverted polarity series distribution (1/2 minute series) 26
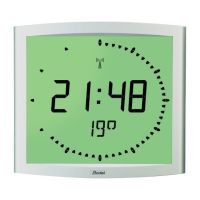
V - Radio synchronized clock: starting up 27
5.1 France Inter or DCF radio synchronised clock 27
5.2 DHF clock 27
5.3 AFNOR / IRIG-B clock 27
VI - Connecting a temperature probe to a Style 12 28
VII - Connecting a timer control unit to a Style 12S 28
VIII - Configuration and time setting 29
8.1 Conguration menu 29
8.2 Time setting 29
8.3. Resetting a DHF clock to “Initialisation” mode 30
IX - Test menu 31
X - Display brightness adjustment 32
XI - Data back up 32
APPENDIX : TECHNICAL CHARACTERISTICS 32