F 002 DG9 H12 | Bosch Automotive Service Solutions GmbH 2021-04-08
44 | CS LD 1.0 | Maintenance
en |
1
2
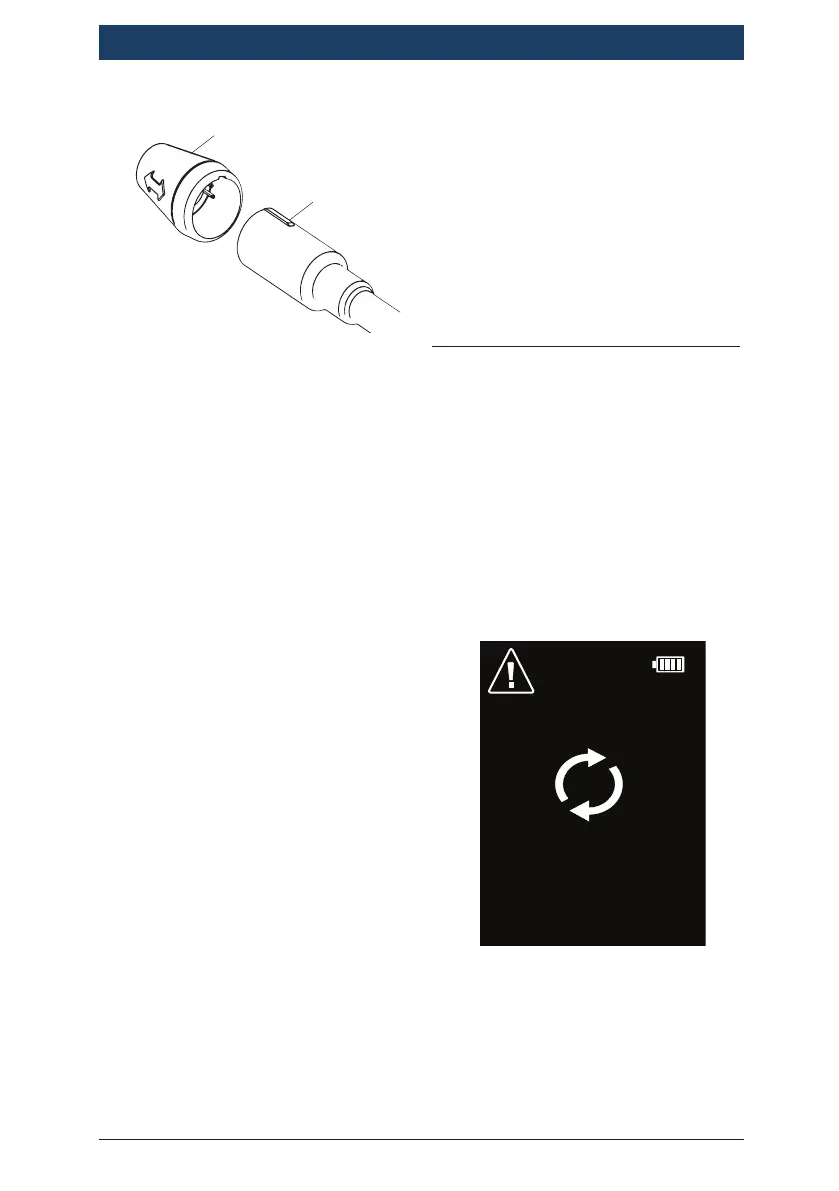
Fig. 15: Sensor Components
1 Sensor
2 Socket holder
• Remove the new sensor (which
includes new tip and filter)
from its packaging and seat the
sensor by aligning the keyway
notch in the sensor with the
raised keyway on the sensor
socket holder (see Fig. 16).
! Do not force the sensor into the
socket. Misalignment can dama-
ge the sensor pins.
• Power on the unit and wait for
normal operation to resume.
ii With a brand new replacement
sensor, or if the leak detector
has been out of use for an
extended period (30 days or
more) the following action is
strongly recommended.
➢ Power on the unit and after
Warm up run with the sensitivi-
ty level in the high position for
several minutes before using.
This action will guarantee that
the sensor is fully conditioned
for maximum response to refri-
gerant.
7.3 Sensor Clearing
Message
In the event that the sensor be-
comes saturated with a very large
concentration of refrigerant, the
‘Sensor Clearing’ message, Fig.17,
is displayed. During this time,
while the CS LD 1.0 clears the
sensor, the unit will not function
optimally. Recovery is normally
less than 10 seconds.
100%
Fig. 16: Sensor clearing message display

 Loading...