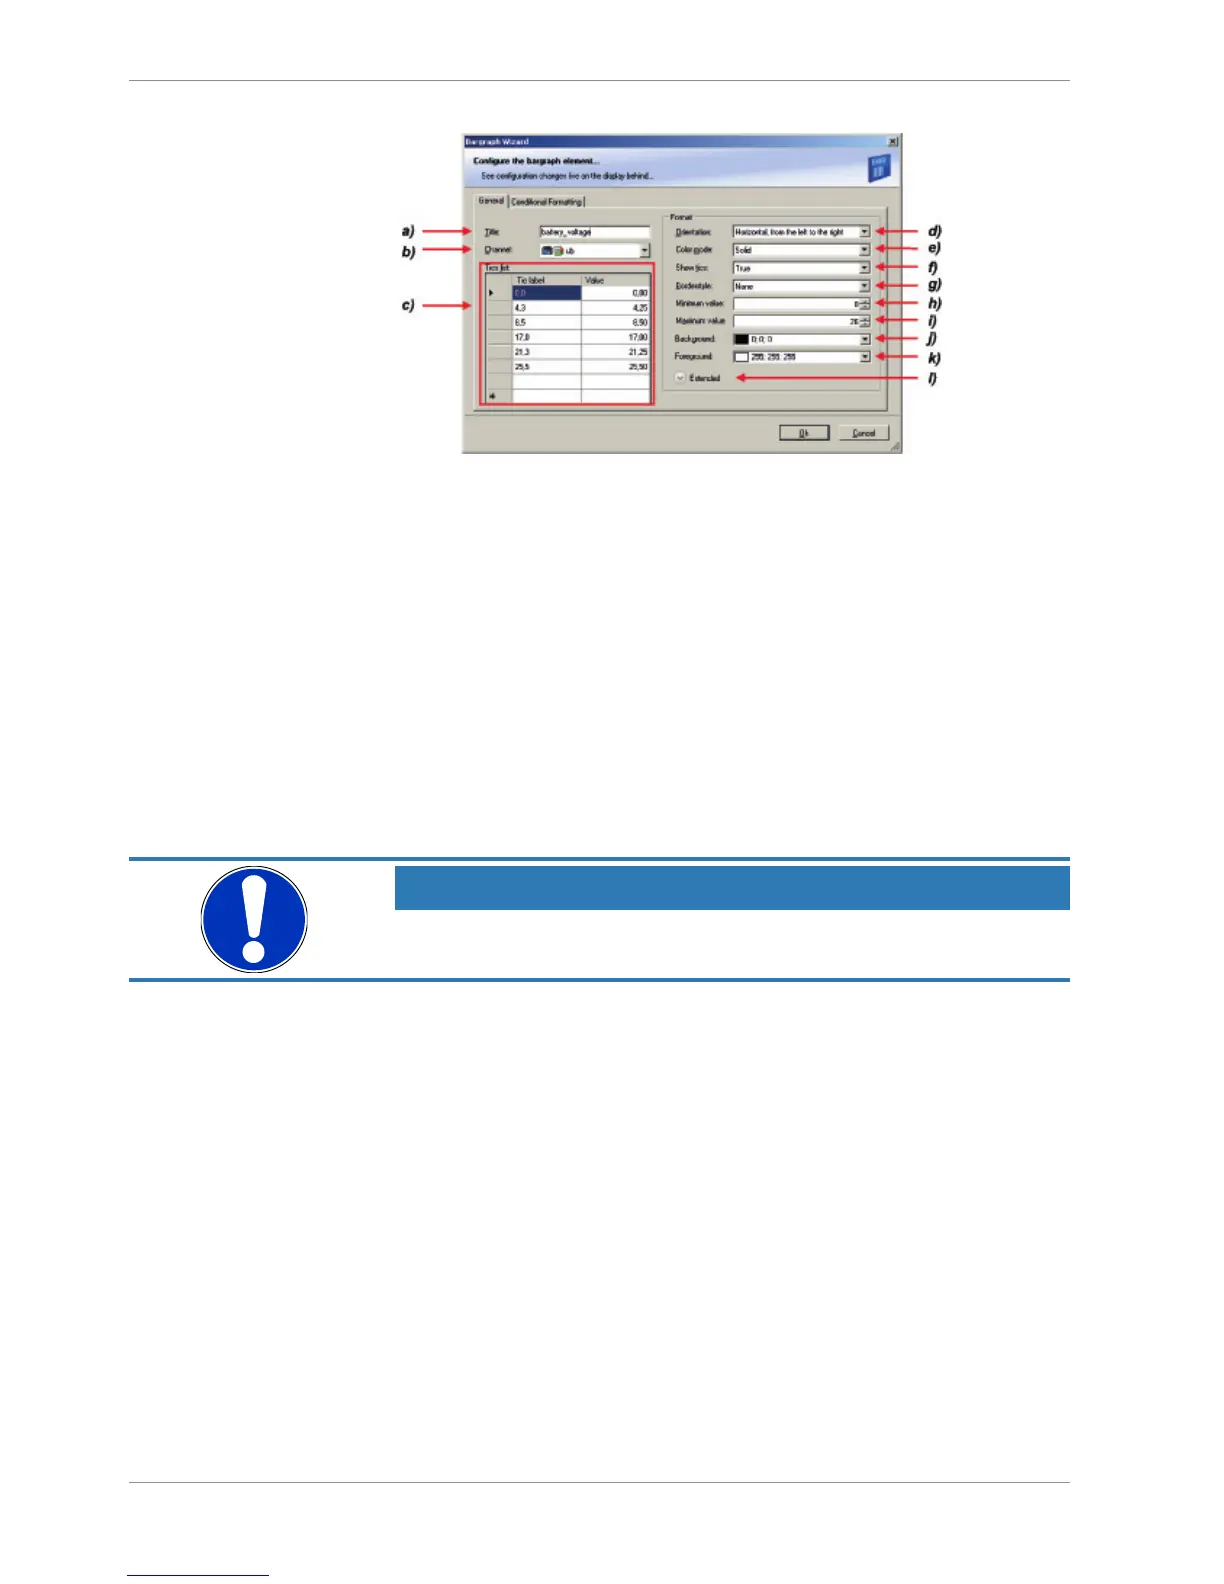
a) Enter the title displayed on top of the ‘Bargraph’ display element.
b) Choose the measurement channel.
c) Define the tick text corresponding with the physical value. You can add more tic labels by entering values
in the row labeled with *.
d) Choose the orientation of the Bargraph (horizontal or vertical).
e) Chose the color mode of the Bargraph:
Solid: The whole Bargraph and tics are colored in one color
Stacked: The Bargraph is subdivided in segments with different colors.
The colors are set in the tab ‘Conditional Formatting’. For details, see chapter ‘Conditional formatting’.
a) Define if ticks and numbers are shown.
b) Choose the style of the border lines.
c) Enter the physical value where the Bargraph begins.
d) Enter the physical value where the Bargraph ends.
e) Choose the background color of the Bargraph.
f) Choose the foreground color of the Bargraph.
g) Click the Extended button to show further options to change the color of the title, border and text individually.
2. Click ‘OK’ when done.
NOTICE
The tab ‘Conditional Formatting’ is explained in chapter ‘Conditional
formatting [
}
46]’.
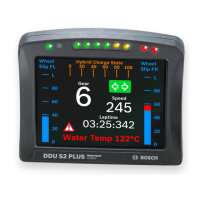
10.2.3 'Alarm' display element
The ‘Alarm’ display element displays a warning message in case of a defined condition be-
coming ‘true’. In case of a condition becoming ‘false’, the ‘Alarm’ display element is not
shown.
Two types of ‘Alarm’ display elements are available:
– Alarm: An alarm displaying a defined text
– Alarm Icon: An alarm displaying a defined image (e.g. a warning triangle)
Adding an ‘Alarm’ display element to display page
Drag an ‘Alarm’ element from the Toolbox and drop it on the display page.