20
Assembly
rear cover plate screw. Rotate the lower
guard and cover plate around the front
cover plate screw until the cover plate’s
slot slides under the rear cover plate
screw head. Fully tighten both cover
plate screws using the 6/4mm hex key.
7. Place the lower guard link back to the
original position, then firmly finger-
tighten the link knob to the pivot post. It
may be necessary to retract the lower
guard while tightening the link knob.
8. Be sure the arbor lock is released so the
blade turns freely.
9. Place the 6/4mm hex key back in storage
area.
Tighten the cover plate
screws. Loose cover
plate screws may interfere with and hang
up lower blade guard. Never use saw with-
out cover plate securely in place. Lower
guard will not function properly.
After installing a new
blade, make sure the
blade does not interfere with the table in-
sert at 0° and 45° bevel positions. Lower
the blade into the blade slot and check for
any contact with the base or turntable
structure. If the blade contacts base or
table, seek authorized service.
Assembling Dust Collection
System
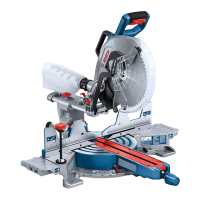
The dust collection system used on this
tool is unique because it is not attached to
the upper guard. This placement provides
superior dust collection for the majority of
cuts. When adjusting or removing any dust
collection components, be sure the saw is
unplugged.
ATTACHING AND ADJUSTING THE
DUST BAG
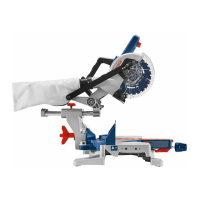
Attaching and Removing Dust Bag – To at-
tach the dust bag, squeeze the two red
tabs together and slide the dust bag into
the dust port rib (see Fig. 6).
Adjusting Dust Bag – After attaching the
bag, it is recommended to do a “dry cut”
before cutting with the saw – this means:
unplug the tool, preset it for intended cut
and practice the cut. For some bevel cuts,
the sliding fence may have to be moved or
removed to avoid being cut or making con-
tact with the dust bag. The bag’s position
may also need a rotating adjustment if it
contacts the workpiece during a slide cut.
USING AND CLEANING THE DUST
BAG
Be extremely careful
when disposing of dust.
Materials in fine particle form may be ex-
plosive. Do not throw sawdust on an open
fire. Spontaneous combustion, in time,
may result from the mixture of oil or
water with dust particles.
Using Dust Bag – Attach the clean bag to
the elbow. Adjust the elbow and dust bag,
if necessary, so they do not interfere with
the tool during the intended cutting opera-
tion.
Cleaning Dust Bag – After the dust bag is
2/3 to 3/4 full, remove it from the saw.
Bring the bag to a proper container and pull
open the zipper located on the bottom of
the bag. Hold the bag by the coupler end
and shake it vigorously until all the dust and
debris fall from it. Close zipper and reat-
tach the bag. NOTE: Clean the bag at the
end of the cutting session and before trans-
porting or storing the saw (see Fig. 6).
 Loading...

