7
Remote control installation
6 720 606 990
B Replace the control unit cover with
the 4 Philips head screws (Fig. 3,
pos. 1).
B Slide control unit back into heater.
B Plug 2 yellow electrode wires from
the top of the control unit back onto
the ignition electrodes. Ensure all
connections are secure and tight
(Fig. 2, pos. 3).
B Pull end of power cord to take up
excess slack and tighten retaining
nut on the bottom of the heater.
B Reinstall the two electrical strip
connectors onto the PCB. The
larger connector connects to the
lower connection on the PCB.
Reseat the rubber seals for both
connectors.
B Replace the control unit auxiliary
cover. (Fig. 2, pos. 4).
B Replace front retaining bar using 5
Phillips head screws. (Fig. 2, pos 1).
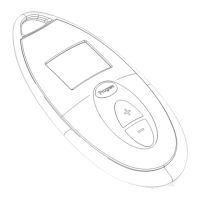
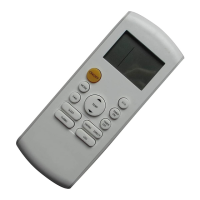
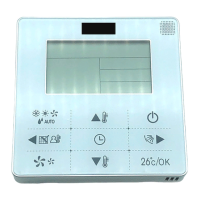
4.2 Remote control
activation
The remote control activation
instructions vary based on the version
of control board installed in your
heater.
To determine the control board
version in the water heater:
B Turn power switch on the water
heater to the off position (O).
B When turning power switch to the
on position, note the first two letters
that appear on the display (should
be AF or SU).
B If the letters are AF, follow
section 4.2.1.
For SU, follow section 4.2.2.
4.2.1 AF board
B Connect power to heater.
B Move the power switch on the
appliance to the off position (0).