7. Tighten the knurled screw.
The connecting cable of the fan is connected to a PCB via a plug
connection.
The cable may not be attached to anything and must not be crimped.
The connecting cable of the fan has to be installed in an "upward-di-
rected" loop while mounting the fan!
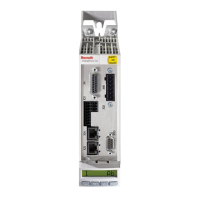
14.4 CMOS battery
The battery used to buffer remanent data (clock etc.) has a limited service life
(see "CMOS battery" on page 7).
For the position of the lithium battery in the control cabinet PC, refer to fig. 14-2
"Fan tray" on page 47.
When using Intel® Core™ i7-3612QE, switch on the power supply of
the device twice following a battery replacement to boot the device.
Batteries can cause fire, explosions or chemical
burn.
Do not load, remove, destroy, burn or heat batteries over 100 °C. Dispose old
batteries immediately and properly. Keep away from children!
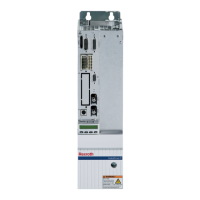
Battery exchange
1. Disconnect the control cabinet PC.
2. Loosen the knurled screw of the fan module, see fig. 14-2 "Fan tray" on
page 47.
3. Carefully remove the fan (including the fan cover).
4. Remove the empty battery.
5. Insert the new battery, positive terminal to the bottom (observe the label
on the battery!).
6. Insert the fan again.
7. Tighten the knurled screw.
The connecting cable of the fan is connected to a PCB via a plug
connection.
The cable may not be attached to anything and must not be crimped.
The connecting cable of the fan has to be installed in an "upward-di-
rected" loop while mounting the fan!
Bosch Rexroth AG
Maintenance
Control Cabinet PC
48/57
DOK-SUPPL*-VPB*40.3***-IT05-EN-P
 Loading...