Assembly / Owner’s Manual
18
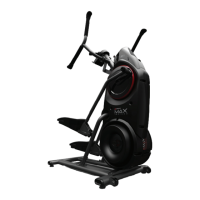
Moving the Machine
7KHPDFKLQHPD\EHPRYHGE\RQHRUPRUHSHUVRQVGHSHQGLQJRQWKHLUSK\VLFDODELOLWLHVDQGFDSDFLWLHV0DNHVXUHWKDW\RXDQG
RWKHUVDUHDOOSK\VLFDOO\ÀWDQGDEOHWRPRYHWKHPDFKLQHVDIHO\
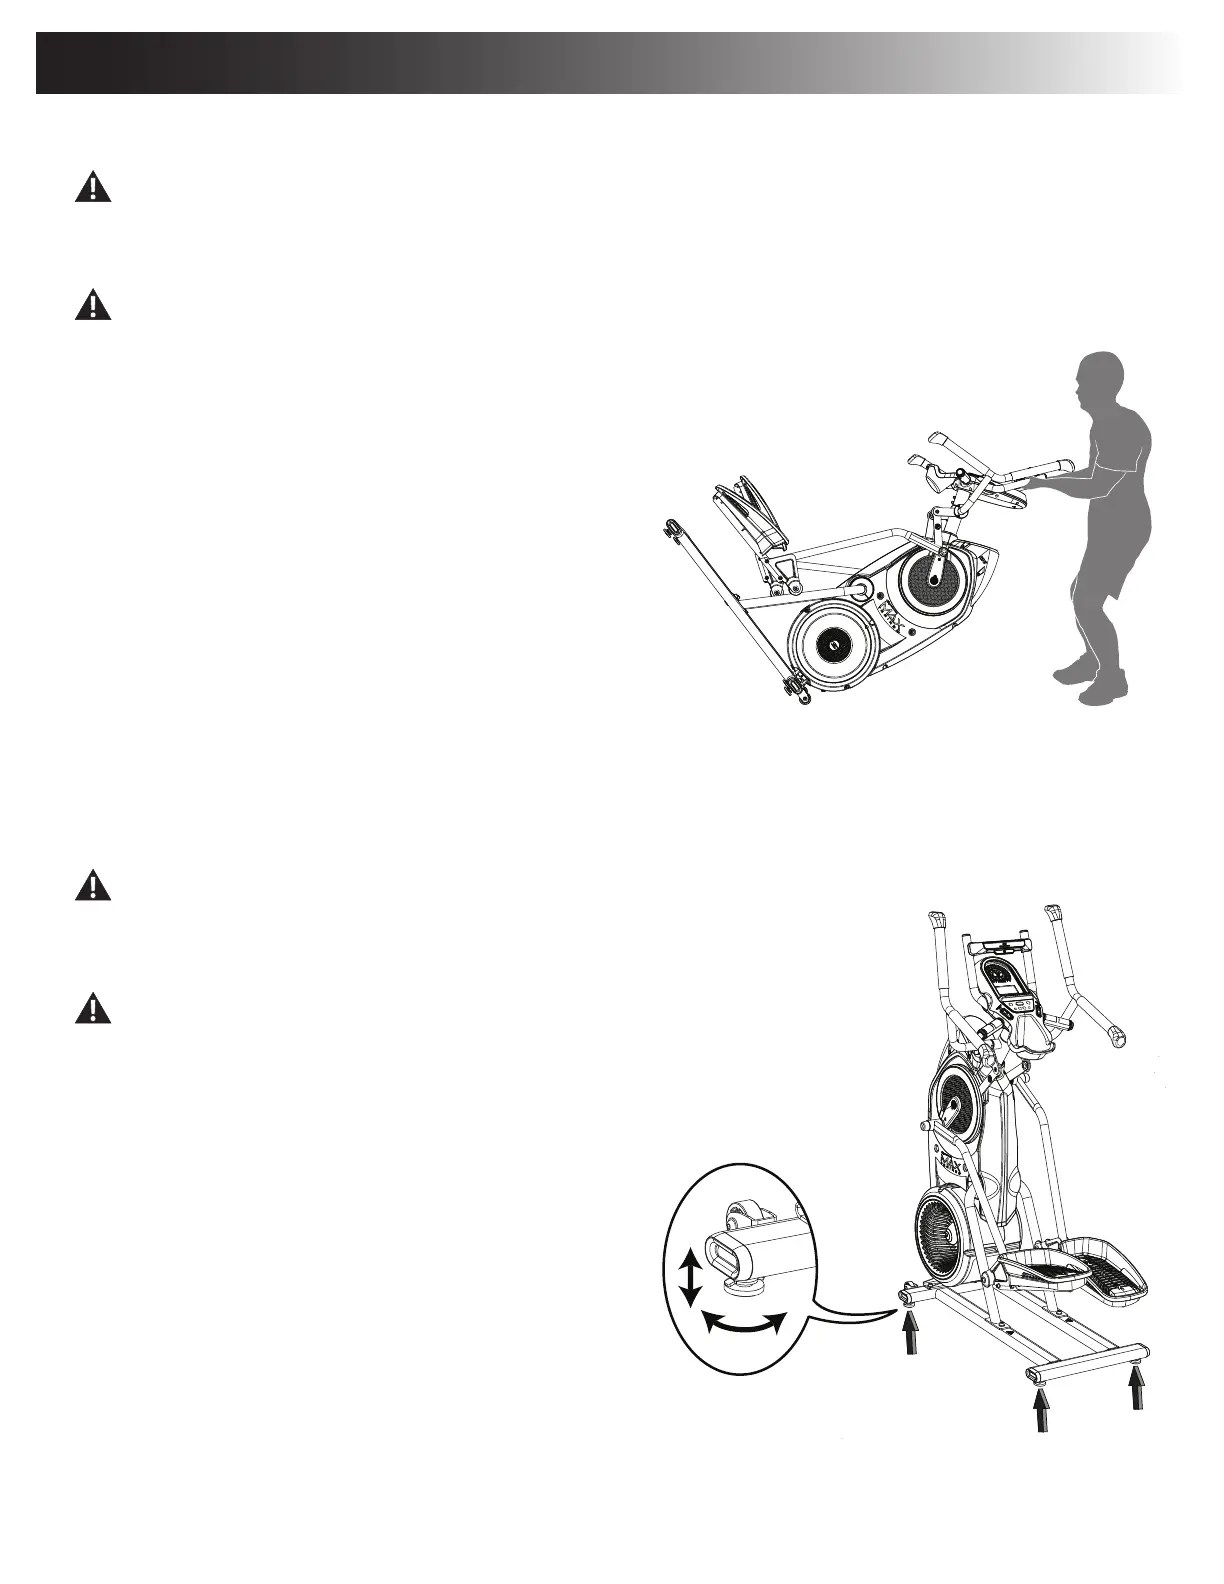
1. Grasp the Aero Bars to carefully tilt the machine toward you onto the transport rollers. Be sure not to grab the Media Shelf.
%HDZDUHRIWKH+DQGOHEDUVDQGWKHZHLJKWRIWKHPDFKLQHEHIRUHWLOWLQJWKHPDFKLQH
2. Push the machine into position.
3. Carefully lower the machine into position.
NOTICE: Be careful when you move the machine. All abrupt motions can affect
the computer operation.
Leveling the Machine
7KHPDFKLQHQHHGVWREHOHYHOHGLI\RXUZRUNRXWDUHDLVXQHYHQRULIWKH5DLO$VVHPEO\LVVOLJKWO\RIIWKHÀRRU7RDGMXVW
1. Place the machine in your workout area.
/RRVHQWKHORFNLQJQXWVDQGDGMXVWWKHOHYHOHUVXQWLOWKH\DUHHYHQO\EDODQFHGLQFRQWDFWZLWKWKHÀRRU
'RQRWDGMXVWWKHOHYHOHUVWRVXFKDKHLJKWWKDWWKH\GHWDFKRUXQVFUHZIURPWKHPDFKLQH,QMXU\WR\RXRUGDPDJHWRWKHPDFKLQH
can occur.
3. Tighten the locking nuts.
0DNHVXUHWKHPDFKLQHLVOHYHODQGVWDEOHEHIRUH\RXH[HUFLVH
Adjustments