Assembly / Owner’s Manual
32
7RGLVPRXQW\RXU¿WQHVVPDFKLQH
1. Move the Pedal you want to dismount from to the highest position, and bring the machine to a complete stop.
7KLVPDFKLQHLVQRWHTXLSSHGZLWKDIUHHZKHHO3HGDOVSHHGVKRXOGEHUHGXFHGLQDFRQWUROOHGPDQQHU
2. Grasp the Static Handlebars under the Console to steady yourself.
:LWK\RXUZHLJKWRQWKHORZHVWIRRWVZLQJWKHXSSHUIRRWRIIWKHPDFKLQHDQGGRZQRQWRWKHÀRRU.
4. Step off of the machine and release your grip from the Static Handlebars.
Getting Started
3ODFHWKH¿WQHVVPDFKLQHLQ\RXUZRUNRXWDUHD
3ODFHWKHPDFKLQHRQDFOHDQKDUGOHYHOVXUIDFHIUHHIURPXQZDQWHGPDWHULDORURWKHUREMHFWVWKDWPD\KDPSHU\RXUDELOLW\WR
PRYHIUHHO\$UXEEHUPDWFDQEHXVHGEHORZWKHPDFKLQHWRSUHYHQWWKHUHOHDVHRIVWDWLFHOHFWULFLW\DQGSURWHFW\RXUÁRRULQJ
7KHPDFKLQHFDQEHPRYHGE\RQHRUPRUHSHUVRQV0DNHVXUHWKDW\RXURZQSK\VLFDOVWUHQJWKLVFDSDEOHRIVDIHO\PRYLQJWKH
machine.
([DPLQHIRUDQ\REMHFWVEHORZWKH3HGDOVDQGLQWKH$LU5HVLVWDQFH)DQ%HVXUHLWLVFOHDU
3. Connect the power cord to the machine and into a grounded AC Wall Outlet.
4. If you use a Heart Rate Monitor, follow the Heart Rate Monitor directions.
5. To mount the machine, move the Pedals until the one nearest you is in the lowest position.
&DUHVKRXOGEHXVHGZKHQPRXQWLQJRUGLVPRXQWLQJWKHPDFKLQH
%HDZDUHWKDWWKH3HGDOVDQGWKH+DQGOHEDUVDUHFRQQHFWHGDQGZKHQHLWKHURIWKHVHSDUWVPRYHWKHRWKHUGRHVDVZHOO,QRUGHUWR
DYRLGSRVVLEOHVHULRXVLQMXU\JUDVSWKH6WDWLF+DQGOHEDUVWRVWHDG\\RXUVHOI
*UDVSWKH6WDWLF+DQGOHEDUVXQGHUWKH&RQVROH%XWWRQ$VVHPEO\
7. Steadying yourself with the Static Handlebars, step up onto the lowest Pedal and place your other foot onto the opposite Pedal.
Note:³%RWWRPHGRXW´LVZKHQWKH8VHULVXQDEOHWRVWDUWDZRUNRXWEHFDXVHWKH3HGDOVZLOOQRWPRYH,IWKLVRFFXUVVDIHO\JUDVSWKH6WDWLF
Handlebars and apply your weight to the heel of the higher foot. While still grasping the Static Handlebar, lean back slightly applying
more weight onto the heel. Once the Pedals begin to move, resume your intended workout.
3XVKWKH86(5EXWWRQWRVHOHFWWKHGHVLUHG8VHU3UR¿OH
3XVKDQGKROGWKH86(5EXWWRQWRHGLWWKH8VHU3UR¿OH
10. The Console will display the Units value. Use the Increase/Decrease buttons to adjust the Units value, and push the ENTER/START button to
set the value.
7KH&RQVROHZLOOGLVSOD\WKH:HLJKWYDOXHIRUWKH8VHU3UR¿OH8VHWKH,QFUHDVHDQG'HFUHDVH
buttons to adjust the weight value, and push the ENTER/START button to set the value.
Note:%HVXUHWRSURJUDP\RXU8VHU3UR¿OHVHHWKH(GLWD8VHU3UR¿OHVHFWLRQEHIRUHVWDUWLQJD
ZRUNRXW7KHVXJJHVWHG7DUJHW%XUQ5DWHVDUHEDVHGRQ\RXU8VHU3UR¿OHVHWWLQJV
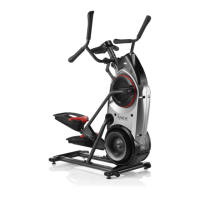
3XVKWKH0D[0LQXWH,QWHUYDOEXWWRQWREHJLQD4XLFN6WDUWZRUNRXW$OORZWLPHWREHFRPH
IDPLOLDUZLWKKRZ\RXU%RZÀH[0D[7UDLQHUPDFKLQHRSHUDWHVDQGUHVSRQGVWRDGMXVWPHQWVRI
Resistance Level and rpm.
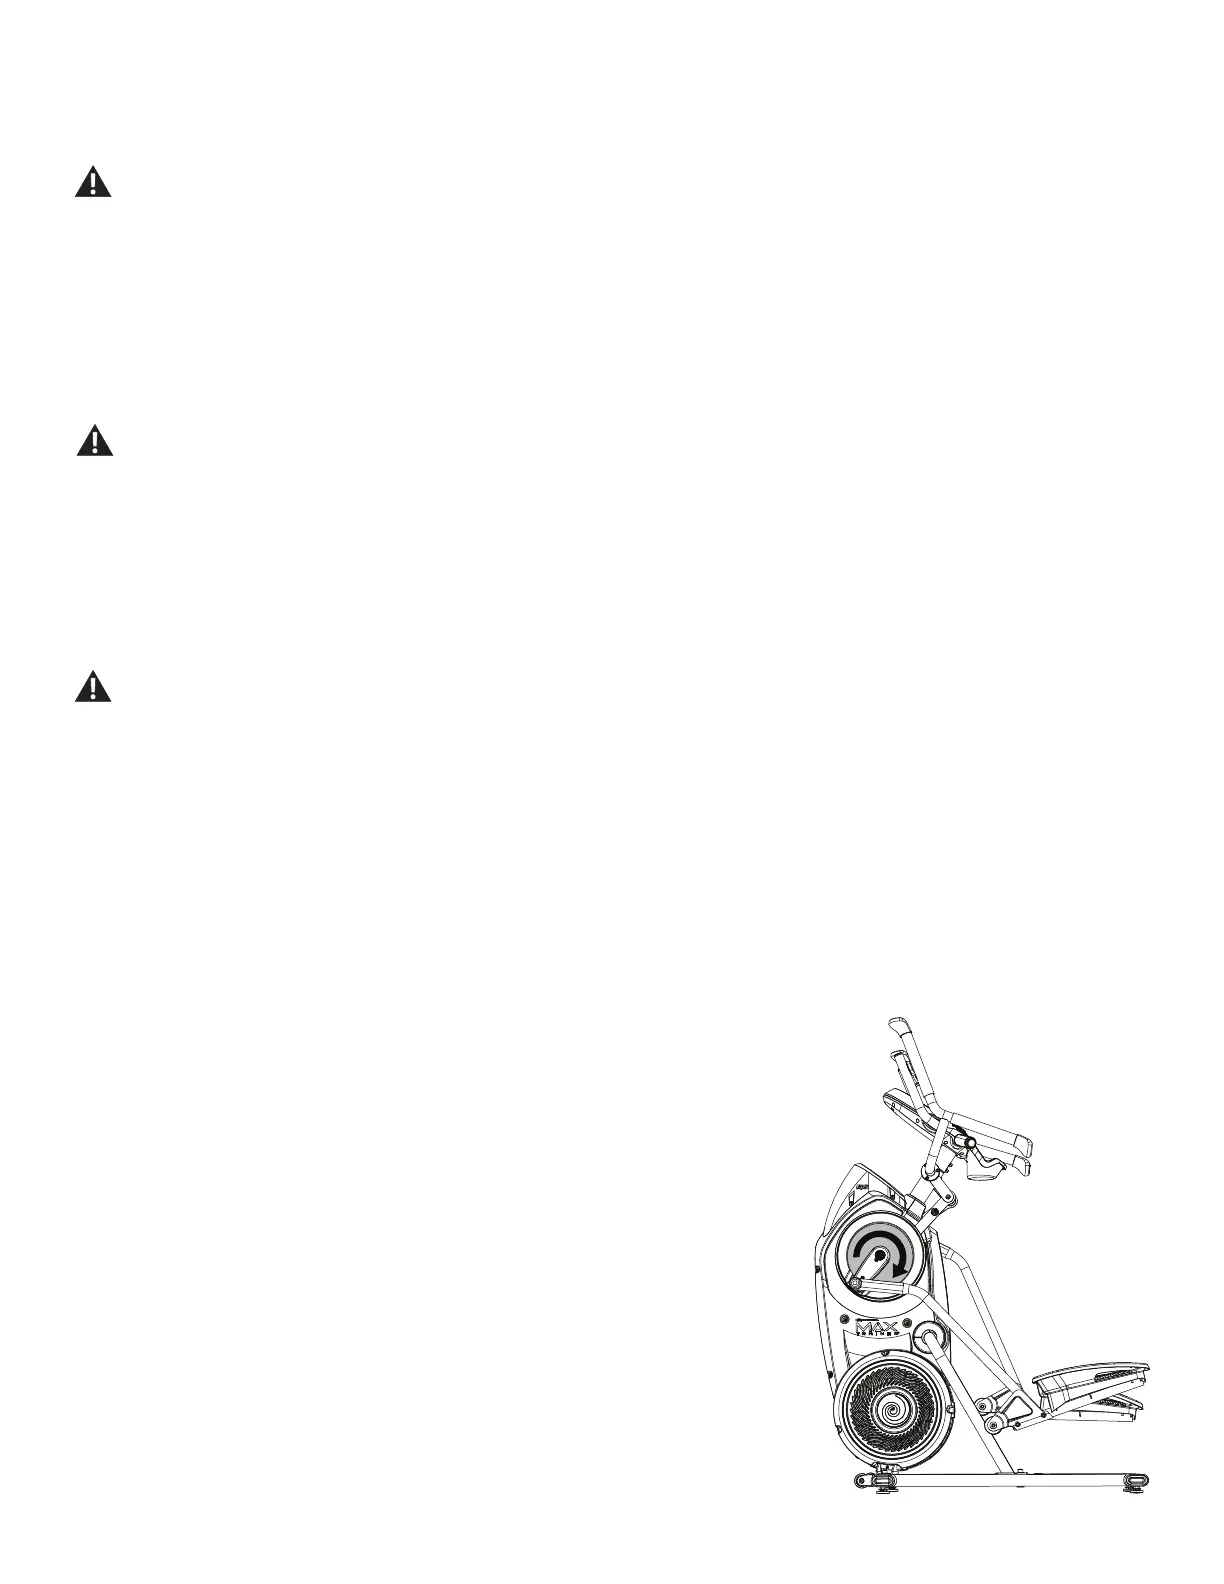
Note: :KHQRSHUDWLQJWKH%RZÀH[0D[7UDLQHUPDFKLQHEHVXUHWKH/HJVDUHPRYLQJLQWKH
direction as shown on the Crank Cover.
Power-Up / Idle Mode ( GET READY screen )
The Console will enter Power-Up / Idle Mode if it is plugged into a power source, any button is pushed,
or if it receives a signal from the RPM sensor as a result of pedaling the machine.