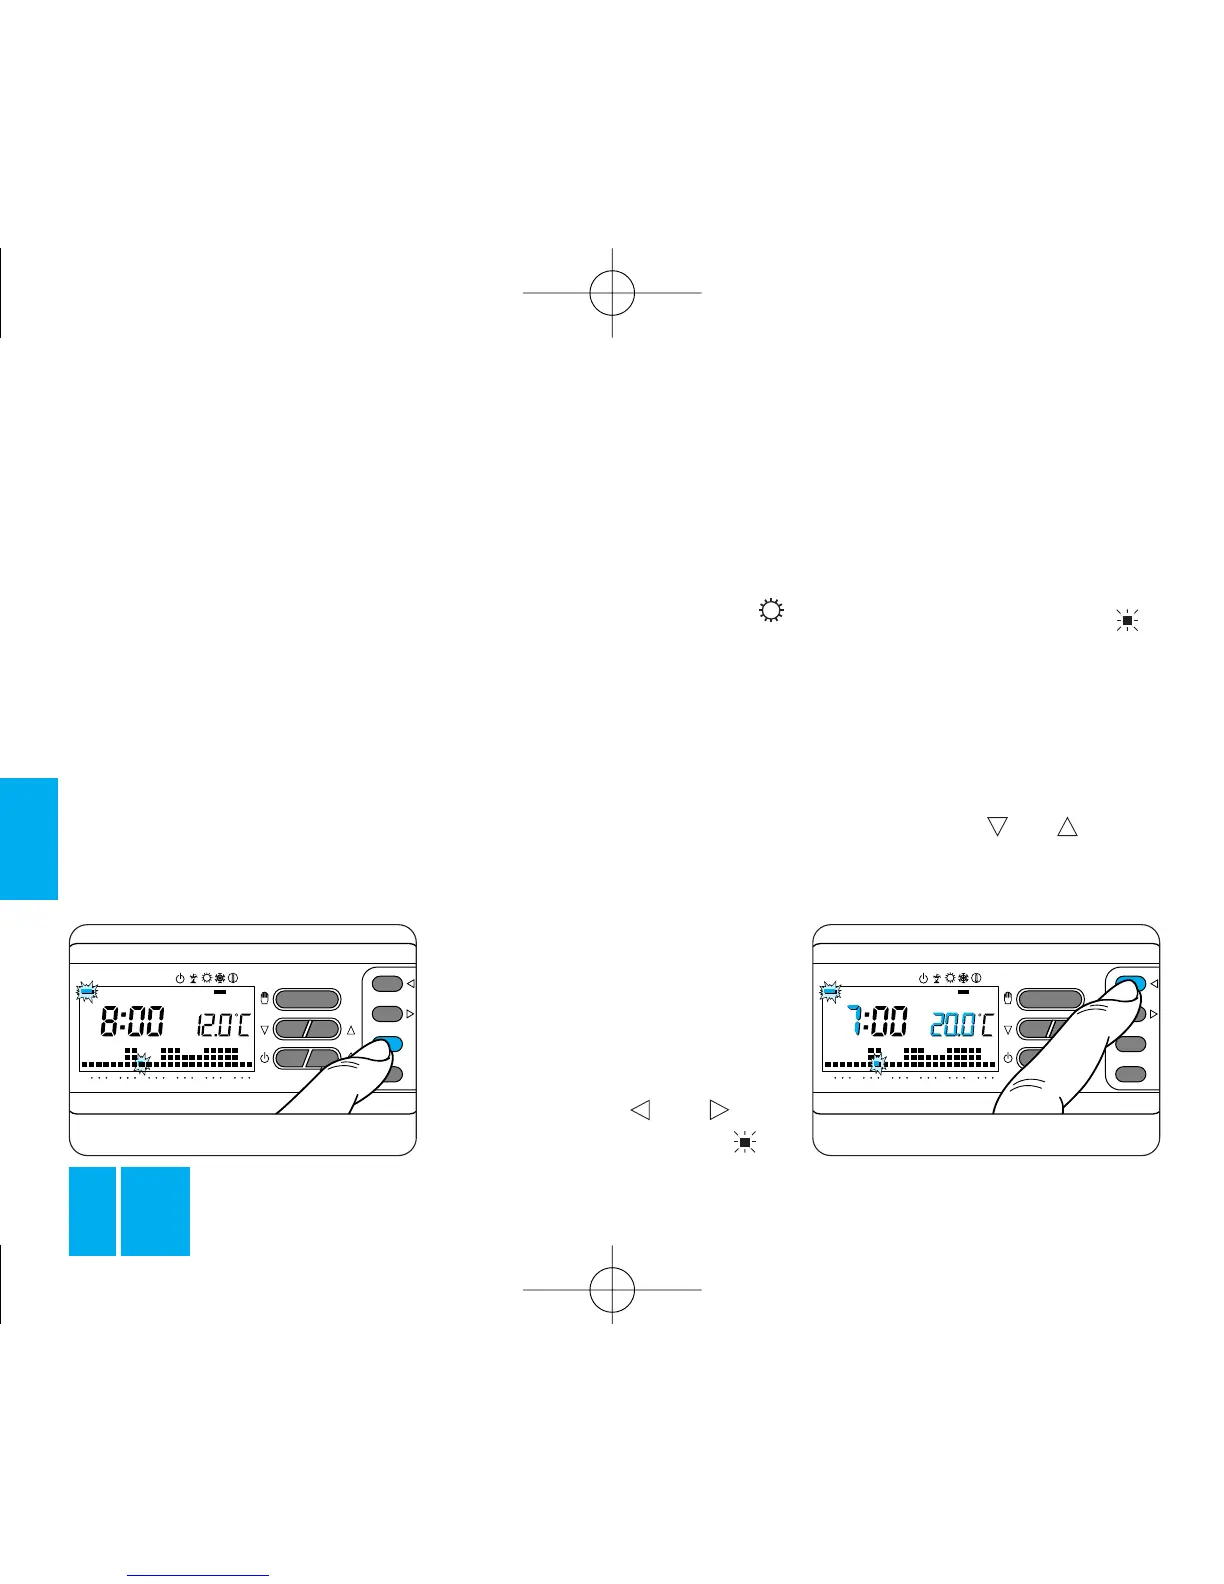
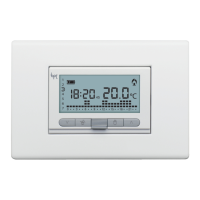
Fig. 38
6.6 - Repeat steps 6.4 and 6.5 to
vary the values of the other tempe-
rature levels.
The reappearance of the whole
daily program graph confirms the
end of the temperature level pro-
gramming sequence.
After 10 s without any further ope-
rations being performed, the ther-
mostat abandons the procedure,
retaining the most recent settings.
6.7 - Close the front panel on the
thermostat.
7 - PERSONALIZING
TEMPERATURE LEVEL
VALUES FOR THE
COOLING PROGRAM
Open the front panel on the ther-
mostat. After selecting the
(cooling) operating mode, set the
temperature levels required as
explained from step 6.3 above
onwards.
Close the front panel on the ther-
mostat.
8 - PERSONALIZING
THE DAILY TEMPERATURE
PROGRAM
8.1 - Open the front panel on the
thermostat.
8.2 - Using the 1÷7 button, bring
the indicator round to the 1
(Monday) position, figure 38.
8.3 - Using the 0÷23 but-
tons, move the flashing bar to
0 hours on the daily program
graph, figure 39.
Note. When you move away from
the actual time, the information on
the display changes as follows:
a) The clock shows the time indica-
ted by the flashing of the bar .
The dots between the hours and
minutes stop flashing.
b) The temperature reading shows
the value of the temperature level
selected for the time indicated by
the flashing bar.
8.4 - Using the or button,
figure 40, select the required tem-
perature level; then press the