6
7
Change Air Filter
A correctly serviced air filter protects internal engine parts
from airborne dirt and dust. Poor filter maintenance will allow
dirt and dust to be drawn into the engine, causing wear to
the intake system and contamination of the oil. Dirt in the
oil forms an abrasive mixture which wears down moving
parts.
WARNING
Fuel and its vapors are extremely flammable and explosive
which could cause burns, fire or explosion resulting in
death or serious injury.
• Never start or run the engine with the air cleaner
assembly or the air filter removed.
NOTICE
Do not use pressurized air or solvents to clean
the filter. Pressurized air can damage the filter and
solvents will dissolve the filter.
The air filter system uses either a Dual Element Oval, Oil
Bath, Foam Low Mount or Foam Large Panel filter.
Dual Element Oval Air Filter
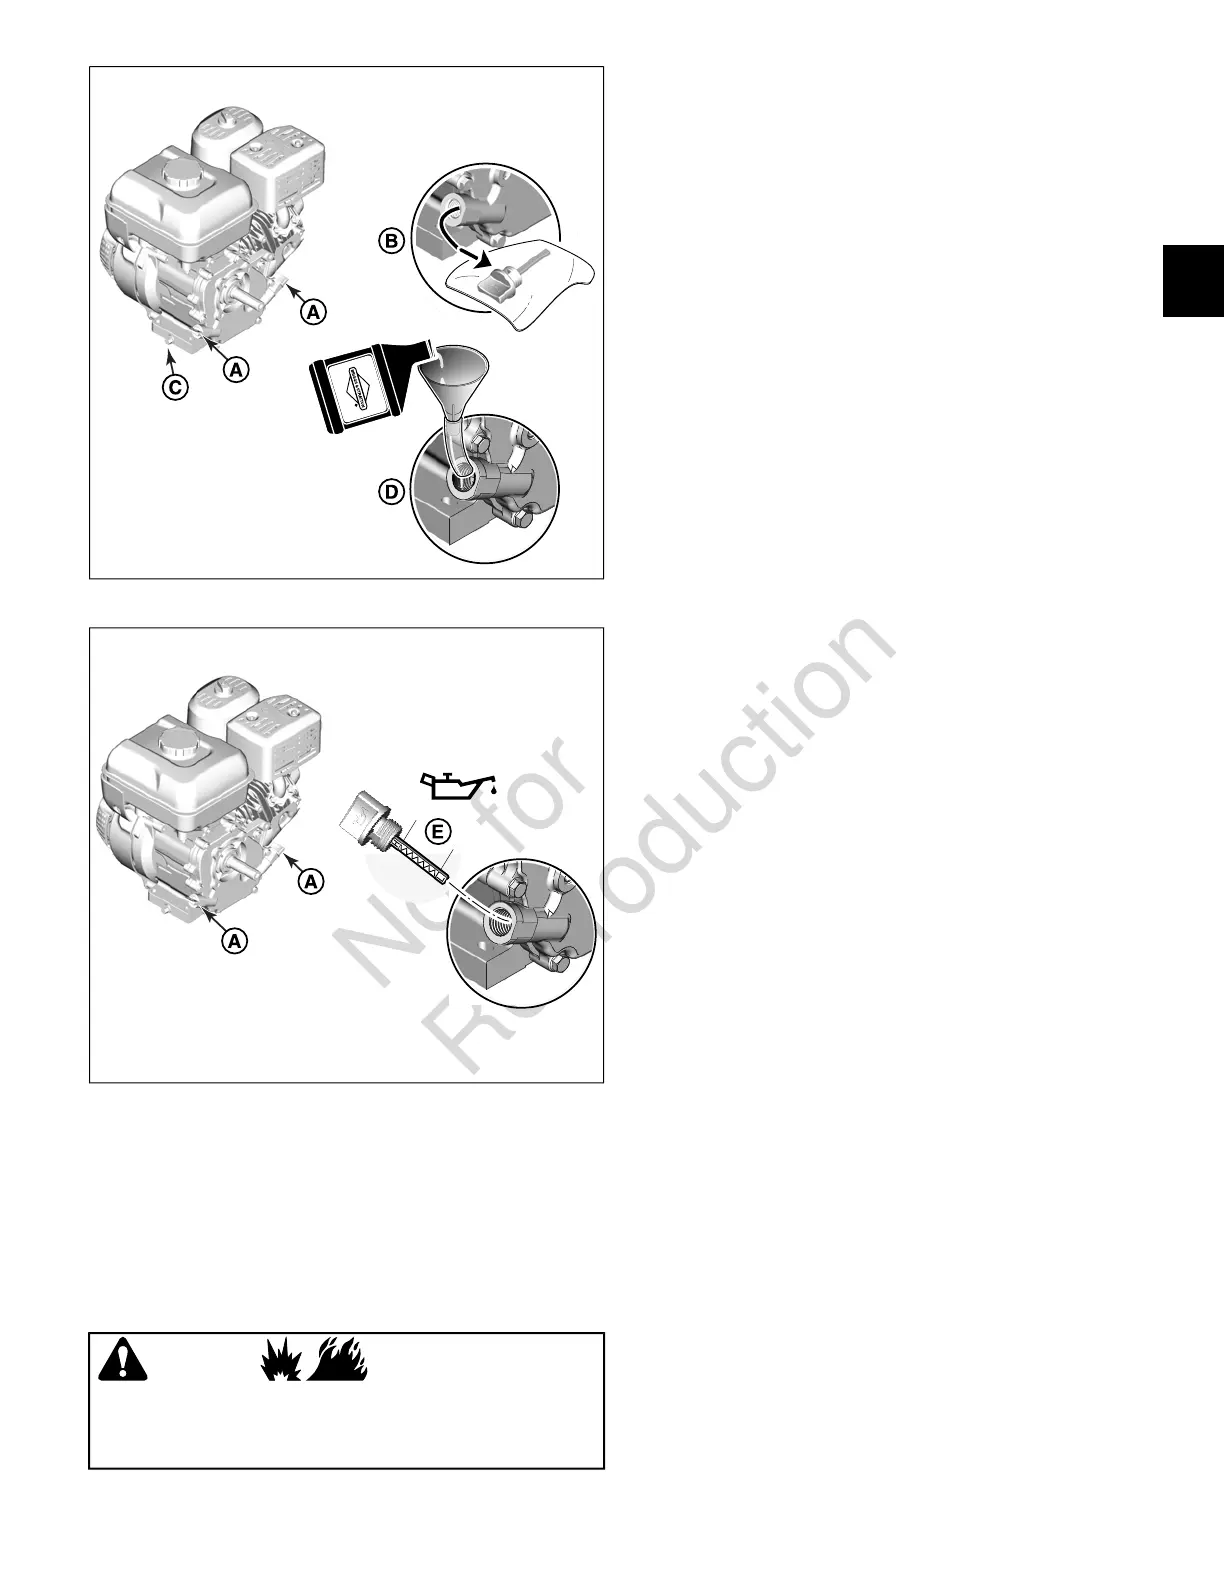
1. Remove knob (A) from air cleaner cover (B), then
remove air cleaner cover.
2. Remove nut (E) from air filter assembly (C and D), then
remove air filter assembly. Be careful that dirt and/or
debris does not enter the carburetor. If dirt and/or debris
enters the carburetor, damage can occur to the engine
and void your warranty.
3. Remove O-ring seal (H) from air cleaner base (F).
Inspect for damage and replace if necessary.
4. Remove foam pre-cleaner (D) from air filter cartridge
(C).
5. Gently tap air filter cartridge on a hard surface to loosen
debris. Brush or vacuum any remaining debris from the
air filter cartridge. Replace cartridge if very dirty.
6. Wash foam pre-cleaner in warm, soapy water, and then
rinse with clean water and allow to air dry.
7. Assemble dry foam pre-cleaner (D) to air filter cartridge
(C).
8. Install O-ring seal (H) onto air cleaner base (F).
9. Install air filter assembly (C and D) onto air cleaner base
(F) and retain using nut (E). Do not over-tighten.
10. Install air cleaner cover (B) and secure using knob (A).
Do not over-tighten.
15
2
 Loading...