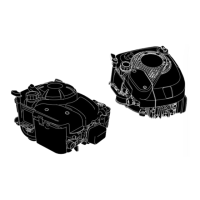
Remove Flywheel
1. Remove blower housing (J) as instructed in
Adjust
Armature Air Gap
found in Section 2.
2. Remove flywheel guard (B).
3. Rotate flywheel (E) so that magnet is away from
armature (M).
4. Remove the two armature screws (L) and then remove
the armature.
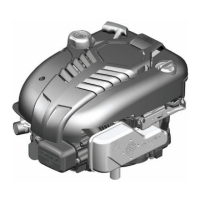
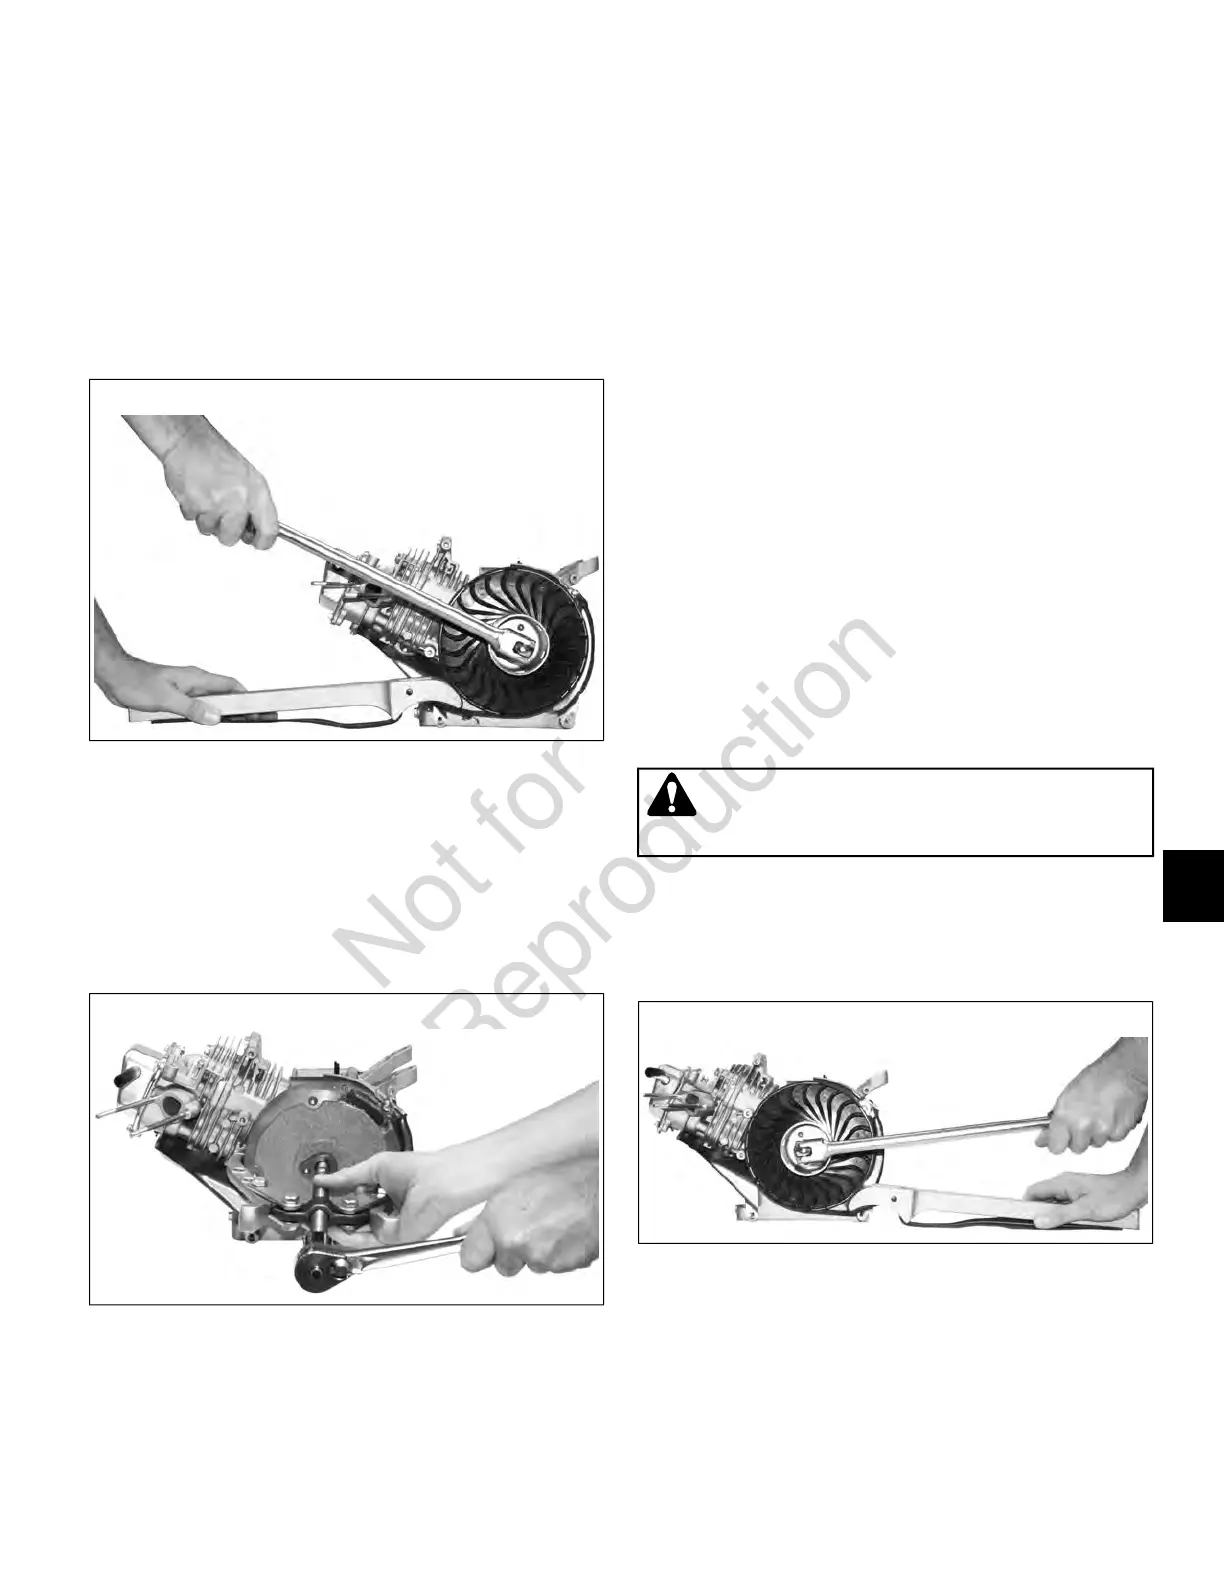
5. Using a strap wrench, socket and breaker bar, remove
flywheel nut (H).
66
6. Remove flywheel cup (G) and fan (F).
7. When flywheel does not have drilled and tapped puller
holes, remove flywheel from crankshaft (D) with a gear
puller, as shown.
When flywheel has drilled and tapped puller holes,
remove flywheel from crankshaft (D) with flywheel puller
#19203. Thread flywheel nut flush with end of crankshaft
before installing puller.
67
Inspect Flywheel
Inspect flywheel key (A) for partial or complete sheering.
Inspect flywheel (E) for cracks, burrs on taper or keyway
and distortion of keyway.
Inspect taper on crankshaft (D) for burrs, rust or other
damage.
Inspect fan (F) for cracks and broken fins.
If parts are damaged, replace with new parts.
Install Flywheel
1. Clean flywheel taper (E) and crankshaft taper (D) of
grease, oil and dirt.
2. Install key (A) into keyway of crankshaft.
NOTICE
Use only an original Briggs & Stratton flywheel
key.
3. Slide flywheel (E) onto crankshaft (D) with keyways
aligned.
4. Install fan (F) against flywheel making sure that hole in
fan fits around boss on flywheel. When fan is installed
correctly, it will fit flush against the flywheel at all points.
WARNING
DO NOT use an impact wrench to install flywheel.
5. Install cup (G) and flywheel nut (H).
6. Using a strap wrench, socket and torque wrench, torque
flywheel nut to the value listed in
Section 13 - Engine
Specifications
.
68
7. Install flywheel guard (B) and secure with top screw
(C). Align bottom hole of flywheel guard with mounting
hole in cylinder. Do not install the bottom screw at this
time.
8. Install armature (M), adjust armature air gap, and install
blower housing (J) as instructed in
Adjust Armature Air
Gap
found in Section 2.
67
9
 Loading...