10
5. Flush the Filters and Complete the Installation
IMPORTANT: Follow this procedure every time you replace your filters.
IMPORTANT: Ensure the water supply is o before you begin.
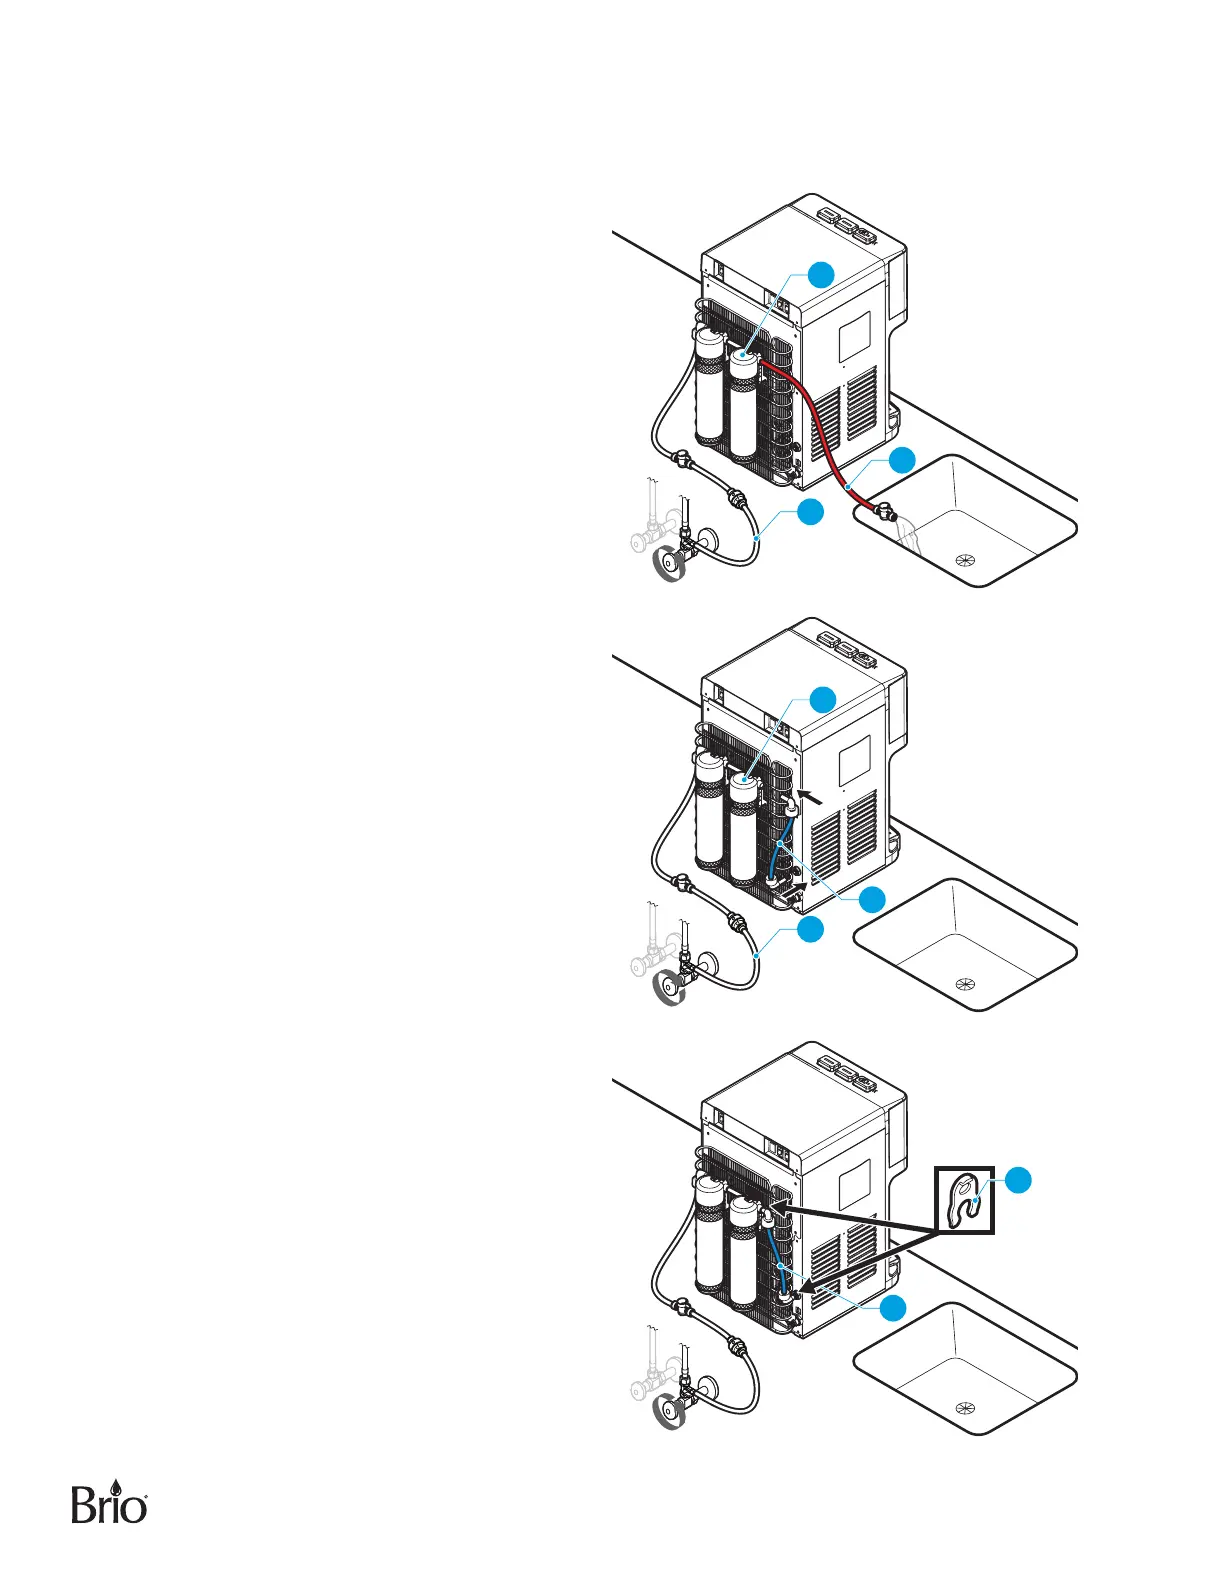
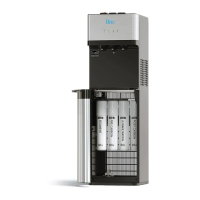
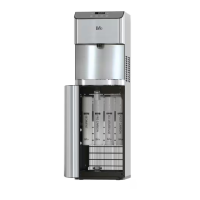
A. Connect the red filter flushing tube (D) to the
right filter housing (F).
B. Lay the open end of the filter flushing tube
(D) over a sink or receptacle to collect water.
C. Turn the water supply on at the main source
and the shut o valve with tube (B). Allow the
water to flow out of the filter flushing tube (D)
and into the sink/receptacle.
D. Flush the filters for a minimum of 5 minutes.
The recommended rate is 1.5-3 gallons of
water (about 10 minutes) or until the water is
clear in appearance.
D
B
F
E. Shut o the valve at the water source.
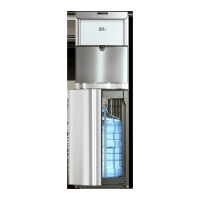
F. Remove the red filter flushing tube (D).
Connect the blue elbow joint tube (C) to the
right filter housing (F) and to the water inlet
hole on the back of the dispenser.
B
C
F
G. Place filter clips (I) at the two connecting
ends of the elbow joint tube (C).
H. Turn on the main water supply.
C
I