Scanning
37
2
a Follow the steps from a to g of Scanning a document into the computer uu page 35.
b Choose the settings for Scan (Image Type), Resolution, Scan Type, Brightness, Contrast and
Document Size as needed.
c Click PreScan.
The whole image is scanned into the computer and appears in the scanning area of the Scanner Setup
dialog box.
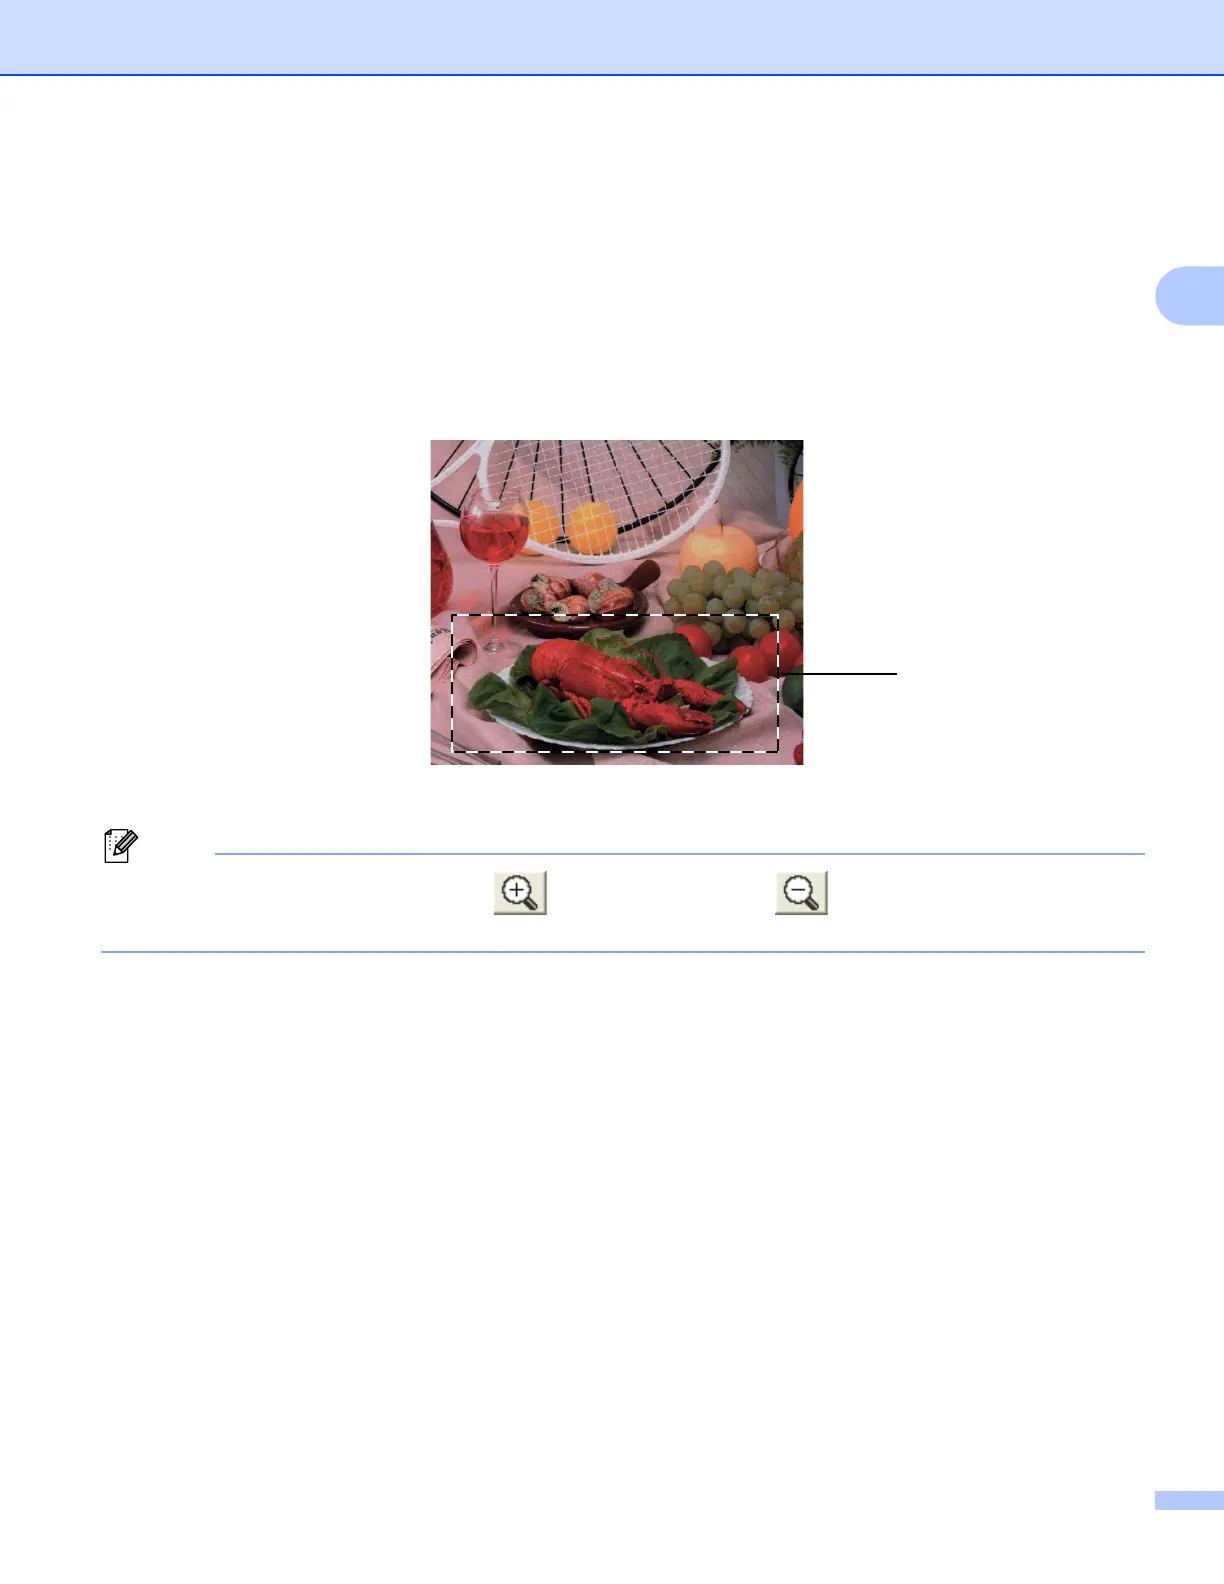
d Press and hold down the left mouse button and drag it over the portion you want to scan.
1 Scanning area
You can enlarge the image using the icon, and then use the icon to restore the image to its
original size.
e Click Start.
This time only the chosen area of the document appears in the PaperPort™12SE window (or your
application window).
f In the PaperPort™12SE window, use the options available to refine the image.
 Loading...