Home > Machine Settings > Change Machine Settings from the Control Panel > General Settings > Set the
Date and Time
Set the Date and Time
(MFC models)
The LCD displays the date and time. If they are not current, re-enter them. You can add the date and time to
each fax you send by setting your Station ID.
(DCP models)
If the machine's power has been off, the machine's date and time may not be current. Re-enter them.
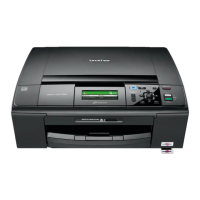
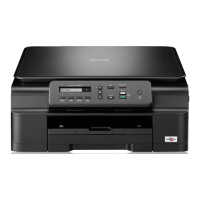
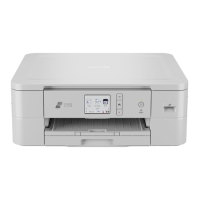
>> DCP-J572DW
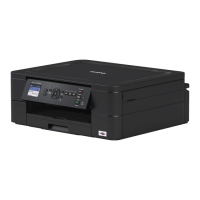
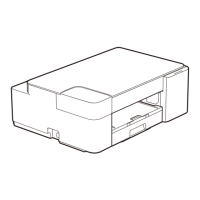
>> MFC-J491DW/MFC-J497DW
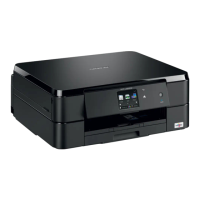
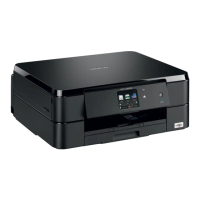
>> DCP-J772DW/DCP-J774DW/MFC-J890DW/MFC-J895DW
DCP-J572DW
1. Press Settings.
2. Press a or b to select the following:
a. Select [Initial Setup]. Press OK.
b. Select [Date & Time]. Press OK.
c. Select [Date]. Press OK.
3. Press a, b, d or c to select the following:
a. To enter the last two digits of the year, select the numbers and then press OK. To save the year, select
[OK] and then press OK.
b. To enter the two digits for the month, select the numbers and then press OK. To save the month, select
[OK] and then press OK.
c. To enter the two digits for the day, select the numbers and then press OK. To save the day, select [OK]
and then press OK.
4. Press a or b to select [Time], and then press OK.
5. To enter the four digits of the time (in 24-hour format), press a, b, d or c to select the numbers, and then
select [OK]. Press OK.
6. Press Stop/Exit.
MFC-J491DW/MFC-J497DW
1. Press Settings.
2. Press a or b to select the following:
a. Select [Initial Setup]. Press OK.
b. Select [Date & Time]. Press OK.
c. Select [Date]. Press OK.
3. Enter the last two digits of the year using the dial pad, and then press OK.
4. Enter the two digits for the month using the dial pad, and then press OK.
5. Enter the two digits for the day using the dial pad, and then press OK.
6. Press a or b to select [Time], and then press OK.
7. Enter the time (in 24-hour format) using the dial pad, and then press OK.
8. Press Stop/Exit.
DCP-J772DW/DCP-J774DW/MFC-J890DW/MFC-J895DW
1. Press [Settings].
2. Press
[Date & Time].
553

 Loading...
