4-12
Confidential
(9) Enter the last five digits of the laser serial number in the box (G), and click the [Set]
shown as (H). “Set[*****]” and entered value appears on the “Adjusted Value(Laser)” line
in the box (F). (“*****” indicates the laser adjusted value entered.)
(10) Click the [OK] shown as (J).
The Execute Setting screen shown on the right appears and
the laser adjusted value is written to the machine.
(11) Click the [OK] shown as (L) and close the Execute Setting
screen.
(12) Click the [Cancel] shown as (K) and close the Input
information screen.
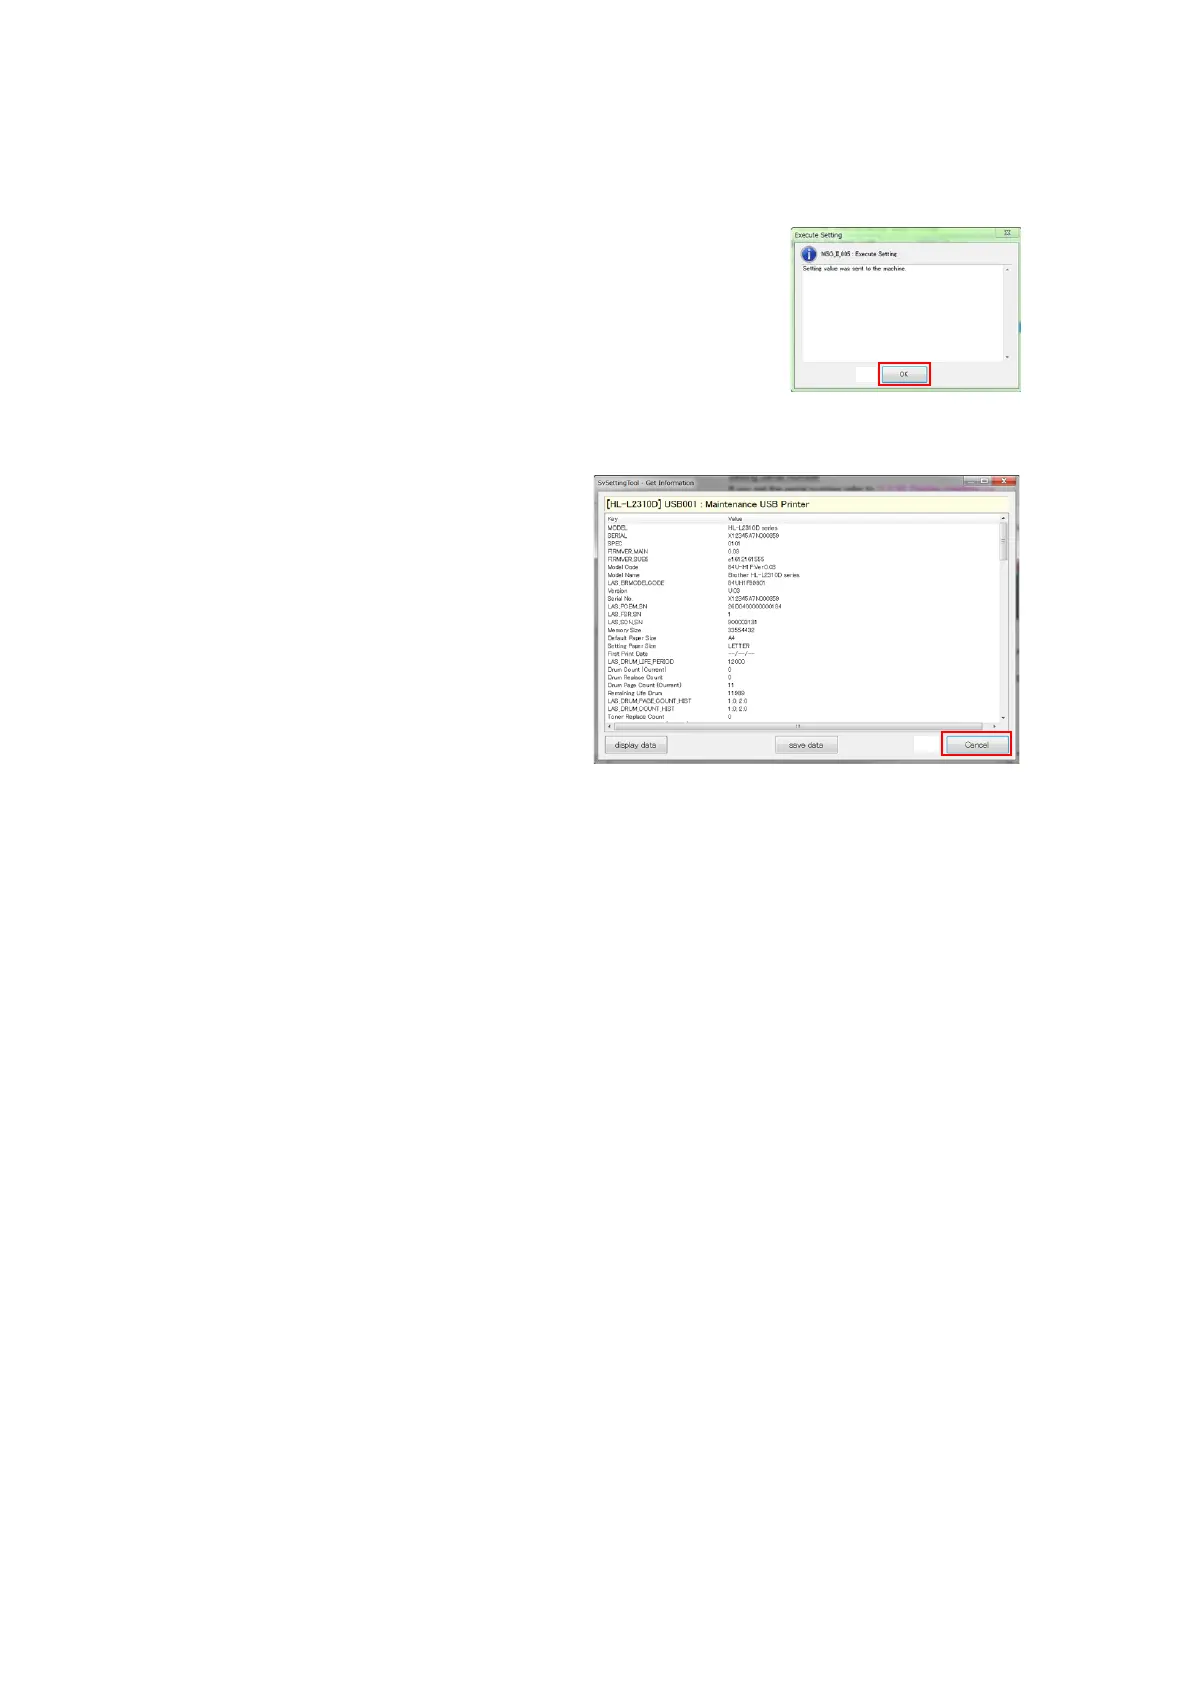
(13) Click the [Get information] shown as (D). The machine
maintenance information appears.
(14) In the maintenance information,
check that the value in the “Laser
Adjusted value(Video)” field and the
value in the “Laser Adjusted
value(Position)” field are same as
the value entered in procedure (9).
(15) Click the [Cancel] shown as (M) and
close the Get information screen.
(16) Turn OFF the power switch of the
machine and disconnect the USB
cable from the machine and
computer.
 Loading...