Installing the Driver & Software
46
STEP 2
Macintosh
®
Macintosh
®
Wireless
Network
Using the SecureEasySetup™ or AOSS™ software to configure your
machine for a wireless network
Important
Make sure that you have finished the
instructions from STEP 1 Setting Up the
Machine on pages 5 through 15.
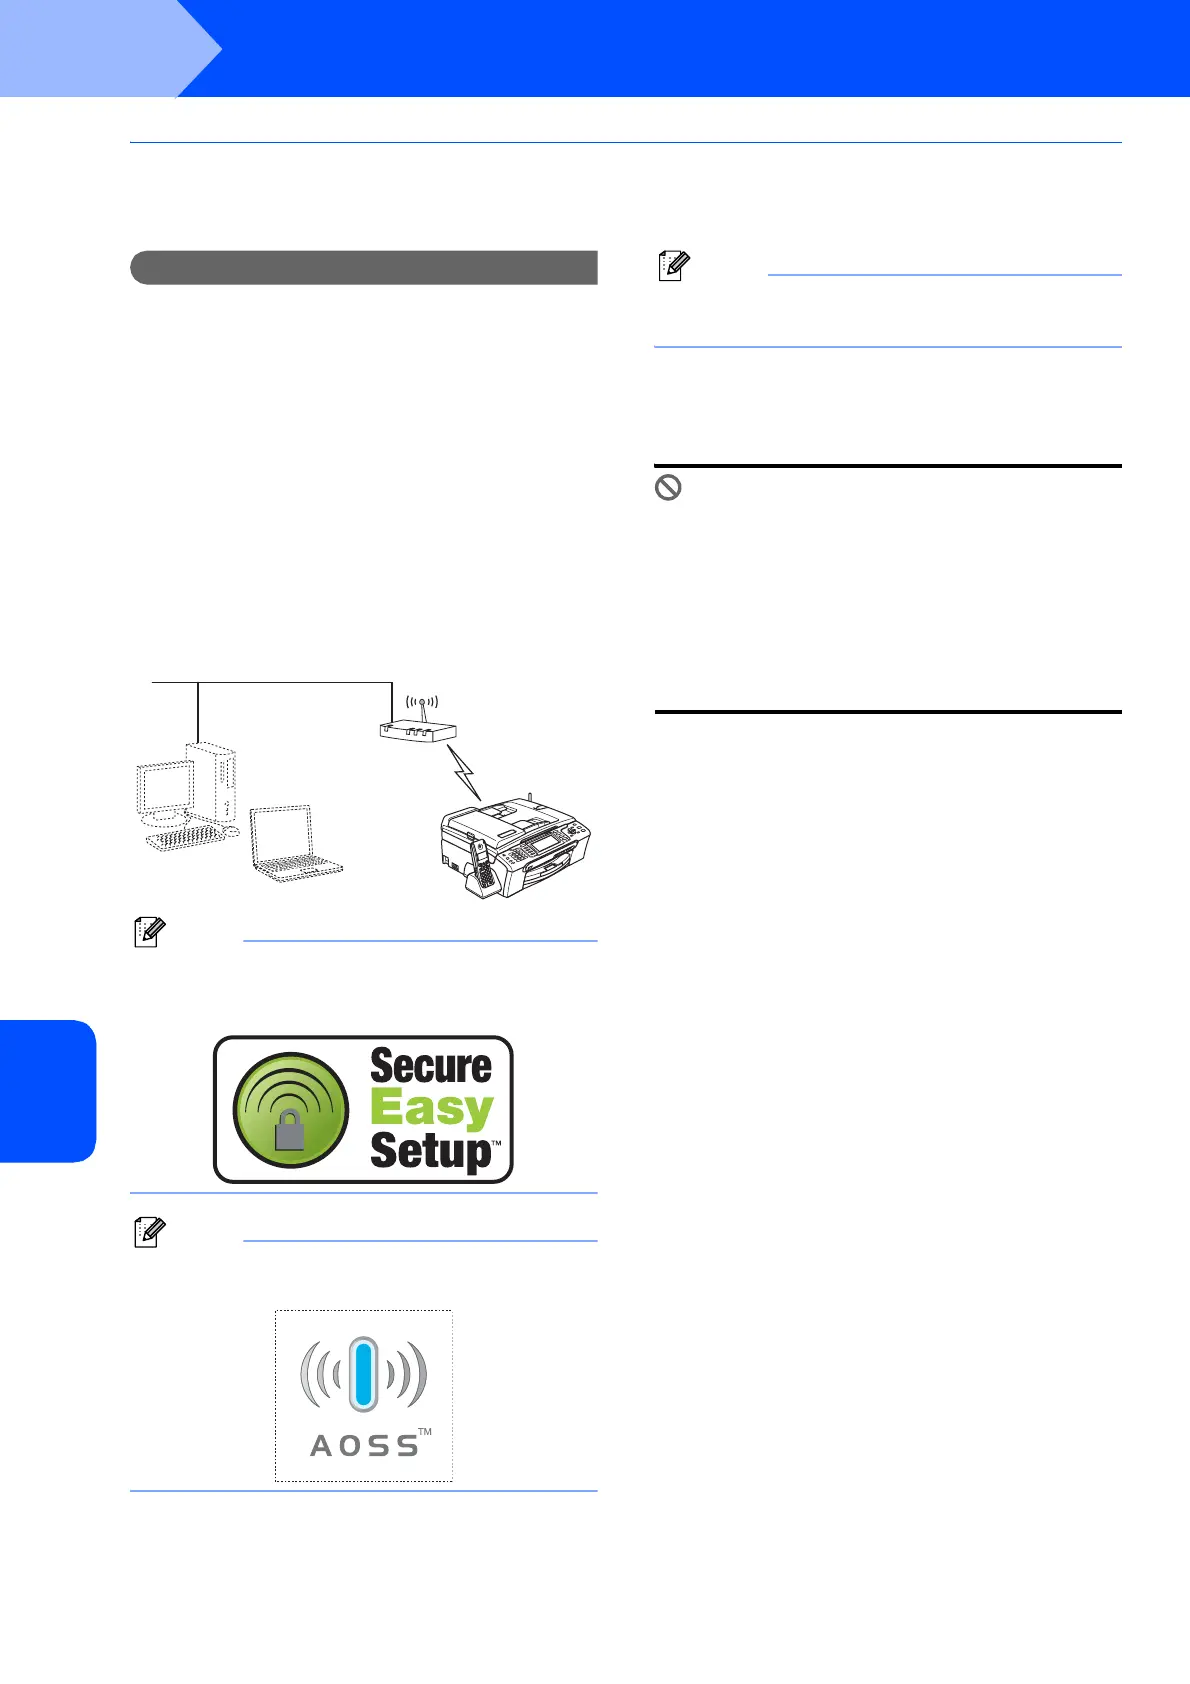
The SecureEasySetup™ or AOSS™ software allows
you to configure the wireless network easier than
configuring it manually. By pushing a button on the
wireless router or access point, you can complete
setup and secure the wireless network. Your router or
access point must also support SecureEasySetup™
or AOSS™. See the user’s guide for your wireless
LAN router or access point for instructions to
configure your machine for a wireless network. If your
wireless router or access point does not support
SecureEasySetup™ or AOSS™ go to page 48 for
installation instructions.
Note
Routers or access points that support
SecureEasySetup™ have the
SecureEasySetup™ symbol as shown below.
Note
Routers or access points that support AOSS™
have the AOSS™ symbol as shown below.
Note
Make sure that the machine is turned on by
connecting the power cord.
1 Place the Brother machine close to the
SecureEasySetup™ or AOSS™ router or
access point.
Improper Setup
If you have previously configured the wireless
settings of the machine you must reset the
network (LAN) settings before you can
configure the wireless settings again.
On your machine, press Menu. Press a or b to
choose LAN and then press OK. Press a or b to
choose Factory Reset, and then press OK.
Press 1 twice for Yes to accept the change.
2 Push the SecureEasySetup™ or AOSS™
button on your wireless router or access point.
See the user’s guide for your wireless router or
access point for instructions.
3 On your machine, press Menu.
Press a or b to choose LAN and press OK.
Press a or b to choose WLAN and press OK.
Press a or b to choose SecureEasySetup or
AOSS and press OK.
When Network I/F switched to
Wireless is displayed, press OK to accept or
press Clear/Back to cancel.
4 The wireless network connection status using
the SecureEasySetup™ or AOSS™ software
will be displayed: Connecting WLAN,
Setting AOSS or Connecting AOSS.
Wait till either Connected or
Connection Error (Connection Fail) is
displayed.
Connected is displayed when the print server
is successfully connected to your router or
access point. You can now use your machine
in a wireless network.
Connection Error (Connection Fail) is
displayed when the print server has not
successfully connected to your router or
access point. Try starting from step 2 again. If
the same message is displayed again, reset
the print server back to the default factory
settings and try again. (See Restoring the
network settings to factory default on page 54.)
 Loading...