13.3 ASSEMBLY OF THE STOVE FRONT
The stove front is delivered together with the stove door. The stove front assembly will be easier (accessi-
bility of screws), when the door is removed and installed again after the stove front is assembled and the
cladding materials are set.
Removal of stove door
Working step Note
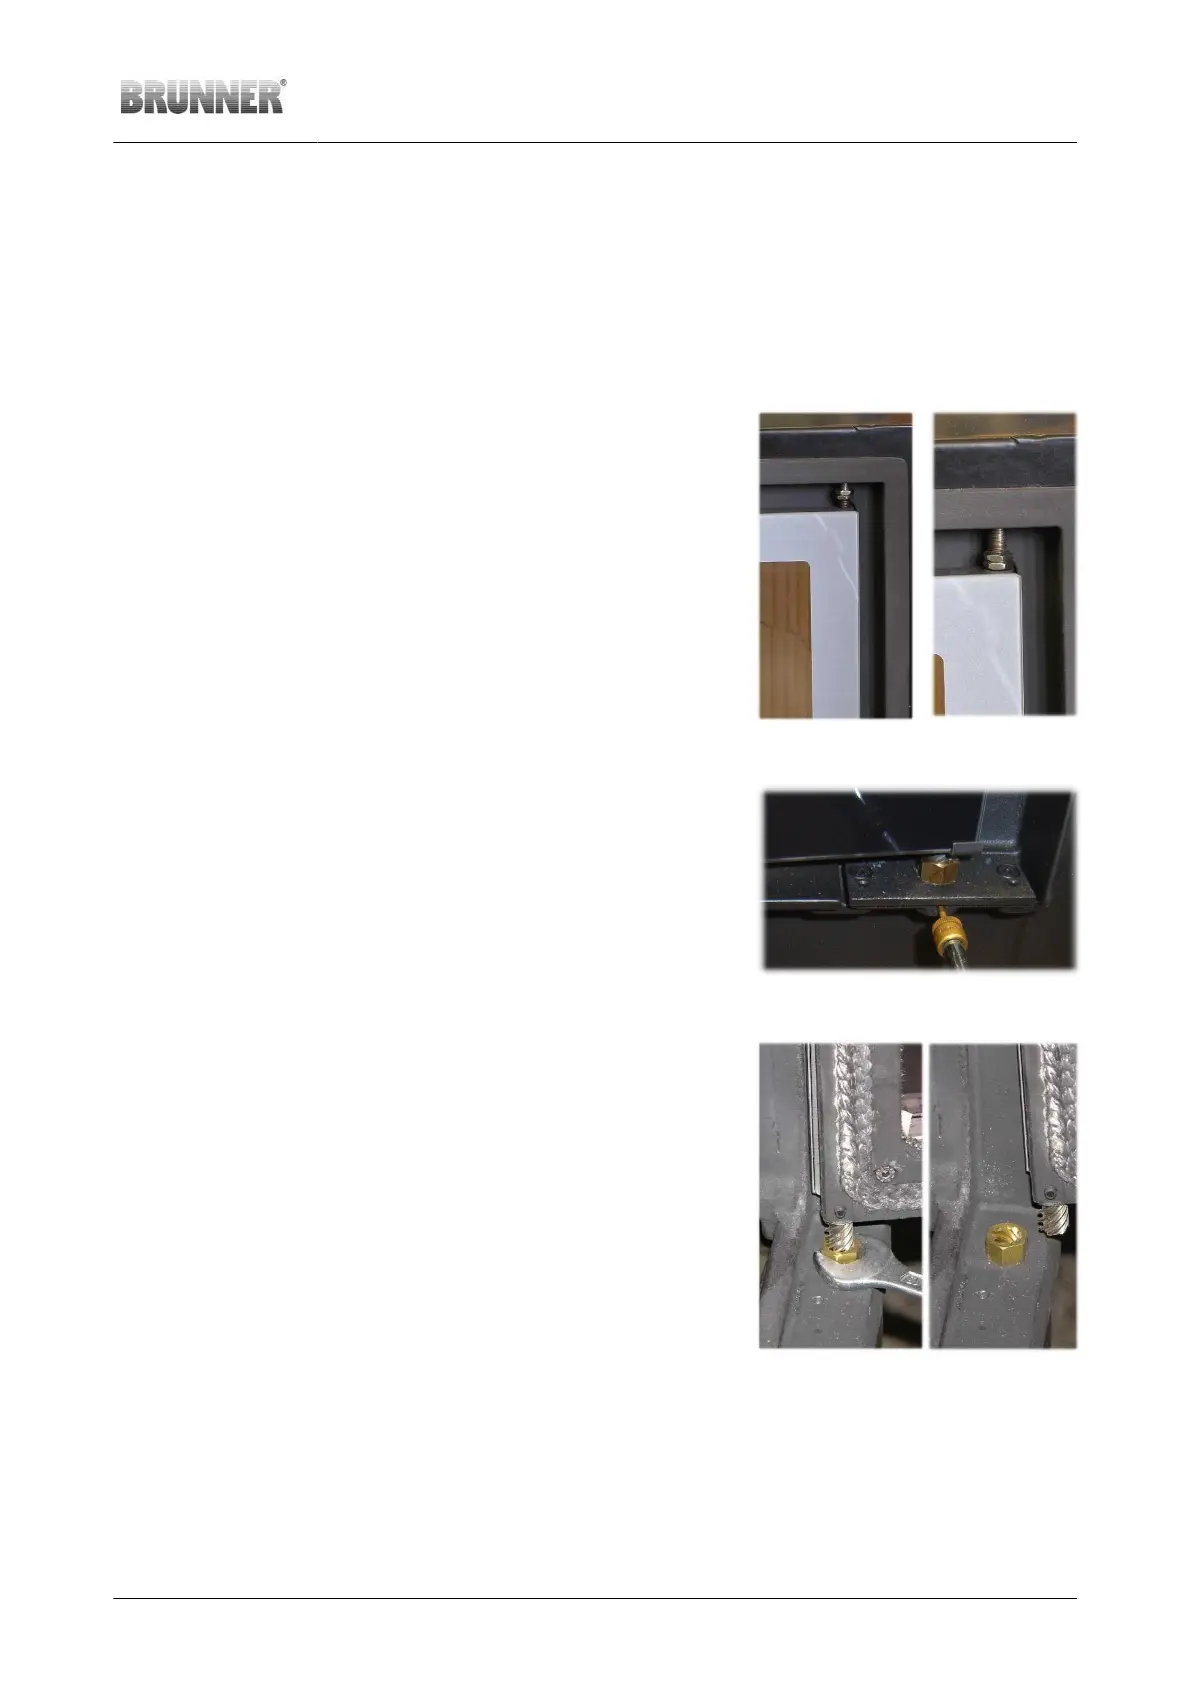
1. Release upper door hinge Release both nuts (SW13) by
turning down to the frame of door
This allows for lifting (and turning)
the door.
Illustration 21: Door hinge release
2. Release the turning lock of the
trapezoid threaded sleeve
The threaded sleeve is secured
with a threaded pin (SW2.5),
which is accessible at the front.
Turn the threaded pin out for ap-
prox. 3mm.
Illustration 22: Turning lock release
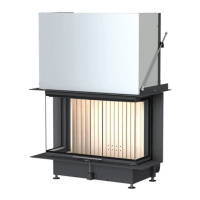
3. Release the door at the bottom Open the door. By turning the
threaded sleeve with a spanner,
you can lift the door until it will be
released at the bottom.
4. Remove the door Remove the door from the thread-
ed sleeve at the bottom and lower
the door slowly. The upper hinge
bolt will be released.
Illustration 23: Lifting the door up
Attaching the cast iron front
Working step Note
© 2021 Brunner GmbH Installation Guide KSO 33 (1.12) 27