17
NOTE: The 2 --wire pigtail is not intended to support the weight of the User
Interface. Do not hang the User Interface from the Equipment Control Module
screw terminals.
S Red of the pigtail is V+
S Black of the pigtail is Vg
7. Push any excess wire into wall and against mounting base. Seal hole in
wall to prevent air leaks. Leaks can affect operation and cause incorrect
temperature and/or humidity measurement.
8. Make sure to attach 2 --wire pigtail to Display Module mounting base. It is
packed loose in the box from the factory. Then attach 2--wire pigtail to the
back of the Display Module via 2 pin, keyed connector.
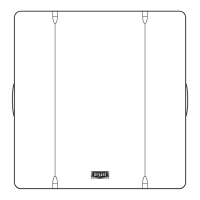
9. Reattach Display Module body to mounting base by first setting on at top
of mounting base and then push bottom corners of Display Module to
snap into place. See Fig. 10.
A07169
Fig. 10 -- Attach Display to Backplate
 Loading...