06/23
13
Installation Setup - General
Should you have any concerns or difficulties after having thoroughly read the guidance in this manual,
please refer to the guide provided on our website at https://www.buckleysinternational.com.
If these resources do not resolve your query, Buckleys will provide support and guidance in the use and
set-up of the instrument by phone and email. However, please understand that we cannot control the
circumstances of operation, and it remains the user’s responsibility to ensure safe and satisfactory
operation at all times.
The instrument and its accessories should be unpacked and inspected. If there is any damage, or any
parts missing, please advise us immediately. Do not use the instrument if it is damaged.
Determine a suitable location for the instrument(s) ensuring access for cabling and connections, as well
as taking ergonomic considerations into account. The location should be protected from rain and
water, and it is not recommended to install these instruments outdoors.
Apart from the Command+ module, the instruments are housed in a 2U 19” rack mount compatible
case. Rack mount “ears” are provided, along with fixing screws, in the instrument kit.
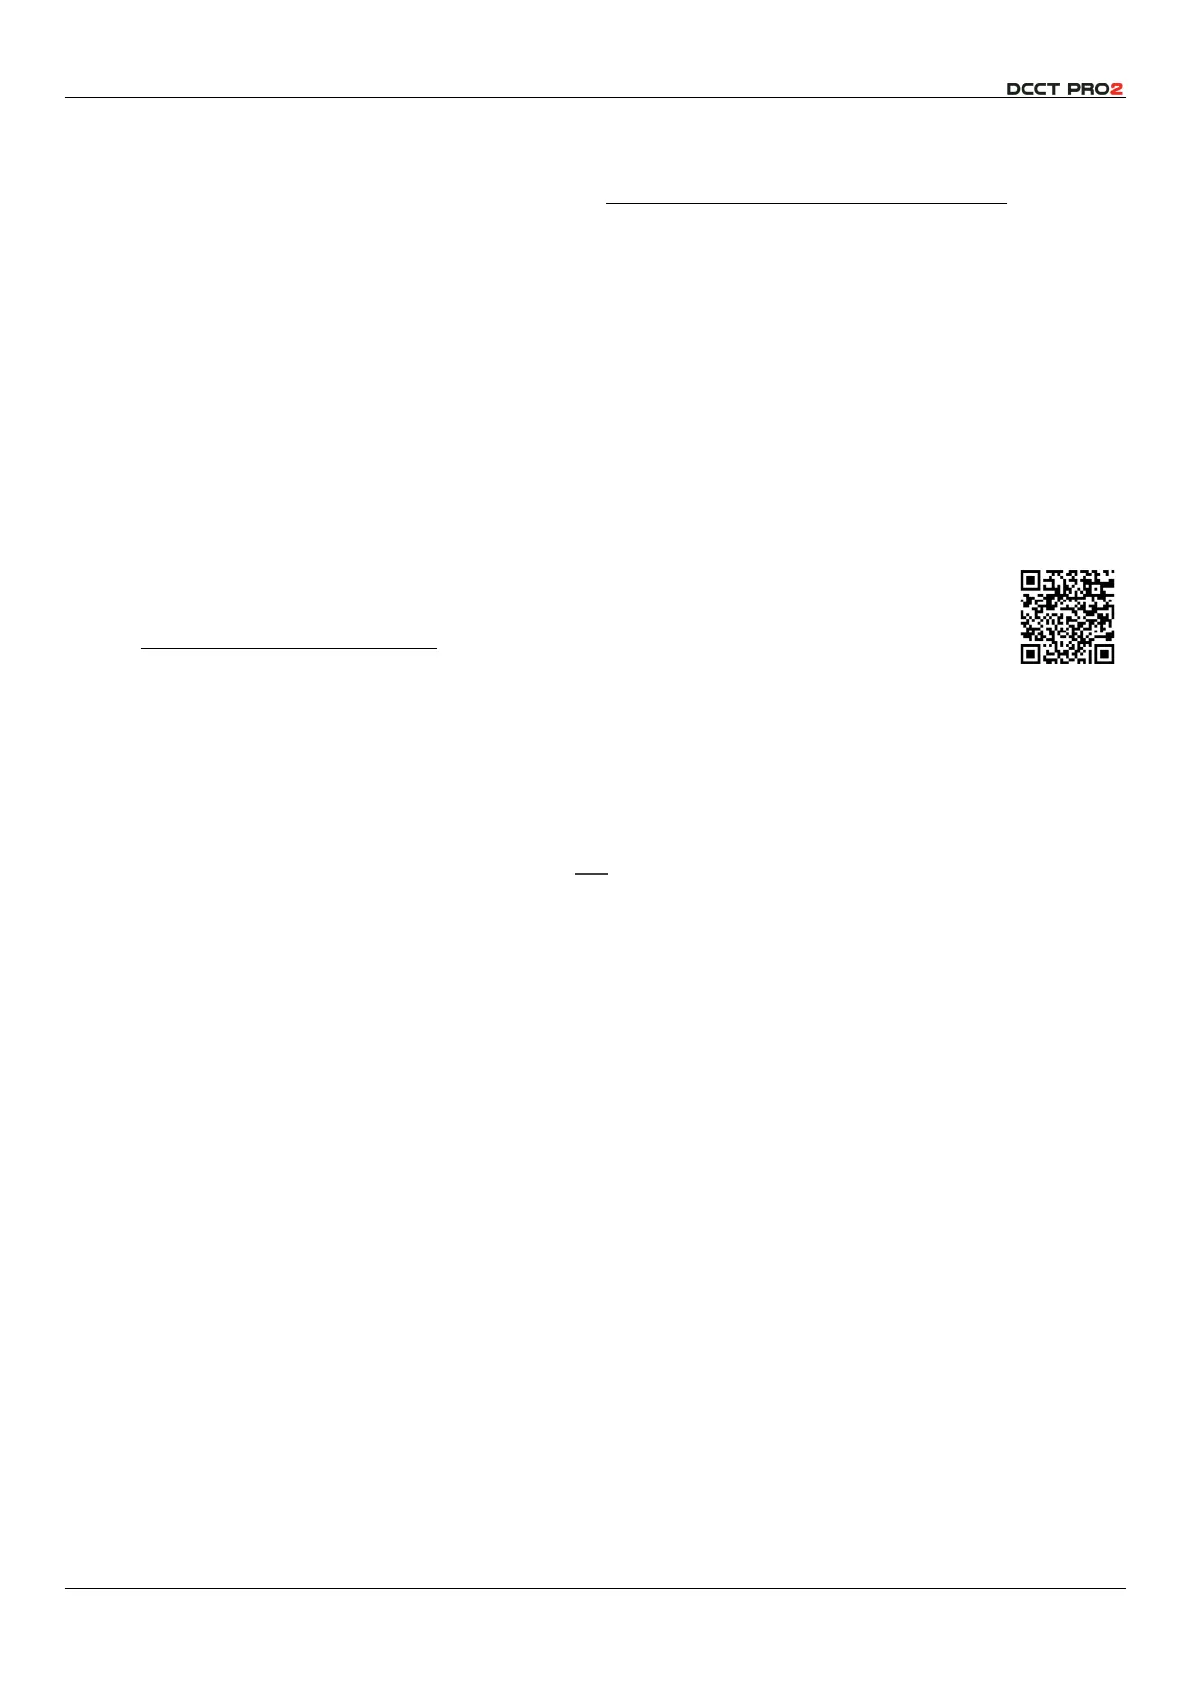
Install the network cable or Terminator Plug in the network socket. Once aligned, red dot to
red dot, it is a PUSH fit. Do NOT twist. To see our instructional video here, scan the QR code
or visit: https://youtu.be/Sl4dJxWDtxs
Ensure the
Run-Off-Cal
switch on the rear panel is in the
RUN
position.
Please refer to Fig 1 above. Connect the ground/earth terminal to a suitable grounding point electrically
connected to the ground plane or structure of the test area. It is necessary to provide a low resistance
return path for the test current, and this is not a substitute for proper and sufficient protective earthing of
the structure itself. If in any doubt, consult a suitably qualified electrician before making this connection.
Connect the HV cable between the instrument and the HV test electrode. We recommend that this
cable is kept as short as practicable, and that it is
not
installed within metallic conduit. If a conduit is
required, it is most important to limit the length to less than 2m. Ensure that the cable, and any
electrode to which it is attached are properly supported and protected from accidental damage.
We recommend that the area surrounding the HV test electrode is secure and that personnel cannot
enter the area when HV is enabled. The instrument is provided with an interlock loop connection which
may be connected through a series of switches (see Fig 15) to ensure that HV is disabled if the interlock
loop is opened. If this is not practical, the interlock loop connections may be joined by a short,
insulated wire. Please refer to Fig 13 below.
If required, a remote operation button may be fitted to integral instruments, please refer to Fig 12 below.
Additionally, the instrument is provided with two independent change-over relay switches, allowing the
user to interconnect this unit with process or factory automation, or to connect an Andon light and/or
sounder. The contacts will change over whenever an alarm state is generated and will revert once the
alarm state is cleared. The timing of these state changes is introduced under Alarm Mode below.
Please refer to Fig 14 below.
Once the instrument has been installed, and the ground and HV cables fitted, the mains supply cable
can be connected, and after ensuring no risk of shock to any personnel, the instrument can be turned on.
We recommend disconnecting the mains supply when making adjustments or alterations to electrodes,
or the HV cables supplying them.
The green switch will illuminate when turned on. The on-off button on the front panel should be pressed
briefly and the screen will illuminate.
The instrument, as supplied, is set with default parameters to comply with BS 62230. These settings may
be suitable, but there is a wide range of adjustments which may be customised to tailor the instrument