Initial start-up2
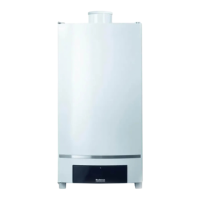
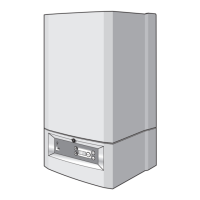
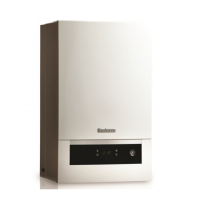
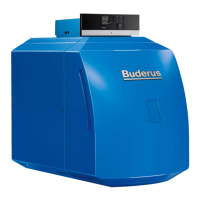
Wall-mounted condensing gas boiler Buderus 800 - Subject to modifications resulting from technical improvements!
30
Ensure all disturbed joints and connections are checked
for gas tightness on completion of tasks.
2.2.4 Checking and setting the gas/air ratio
The gas/air ratio can be checked and set in two different
ways:
– using a pressure gauge;
– in accordance with the CO
2
content.
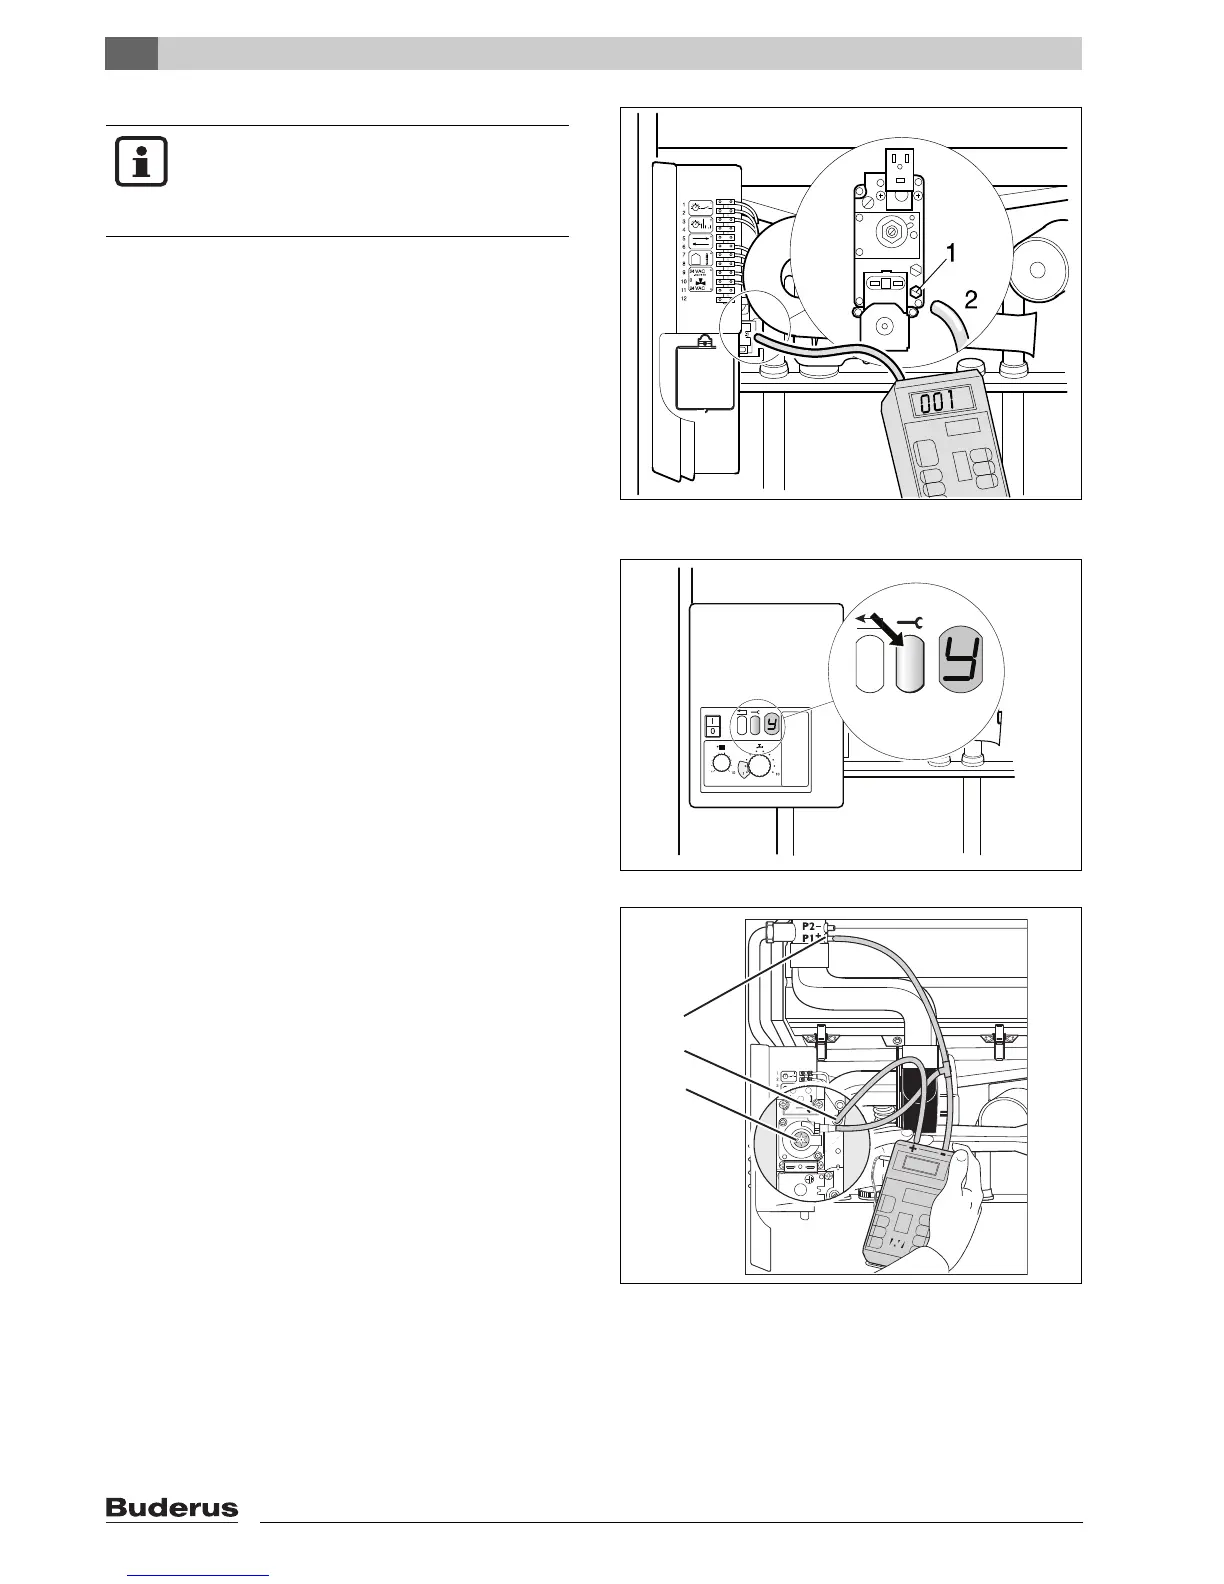
Setting the gas/ratio using a pressure gauge:
Move the mains switch and chimney sweeper switch
to "0".
Pull off the bottom hose attached P1 (fig. 38, item 1)
and fit a hose with Tee in between.
Connect the Tee to the negative port of the pressure
gauge.
Loosen the screw in the burner pressure measuring
nipple on Honeywell gas units (fig. 38, item 2) two
turns, comple-
tely unscrew the screw on SIT gas units (fig. 39, item
1).
Connect the positive port of the pressure gauge with
a hose to the burner pressure measuring nipple
(fig. 38, item 2 or fig. 39, item 1).
Move the mains switch to "I" and the chimney sweep-
er switch to "1".
When the burner has fired after approx. 30 seconds,
press the service button (fig. 37) until "Y" is shown on
the display.
fig. 36 Measuring the gas distribution pressure (SIT gas
units)
NOTE
If the required connection pressure is not
available or too high, contact your gas
supplier or TRANSCO.
fig. 37 Service button
fig. 38 Checking and adjusting the gas/air ratio (Honeywell
gas unit)