9
EN
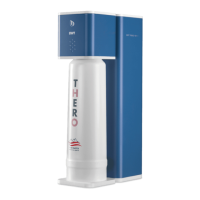
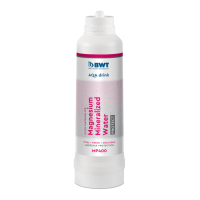
Reverse osmosis was activated.
Fig. 5: Switch on the RO device
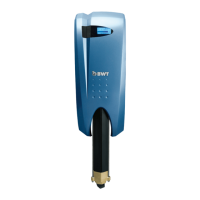
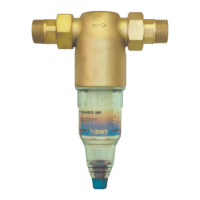
3.2 Setting the water quality using the
blending valve
Observe: The standard setting at the
filter head is “0” (no blending
function).
The filter heads for adjusting the blend are lo-
cated under the top front cover plate. The
quantity of bypass water can be adjusted on
the integrated RO filter head. The bypass/
blend is adjusted by turning the cap. Press but-
ton “a” and turn the cap right or left until the
desired blend quantity is reached. The bypass
setting of the RO filter head can be set con-
tinuously, regardless of the locking positions
0,1,2,3 displayed.
Fig. 6: Setting head for water blending.
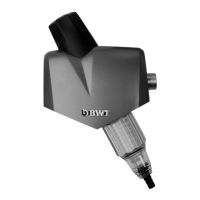
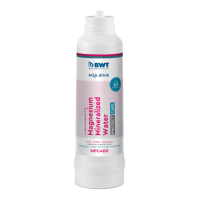
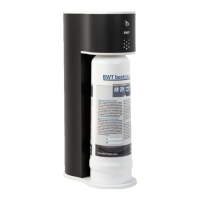
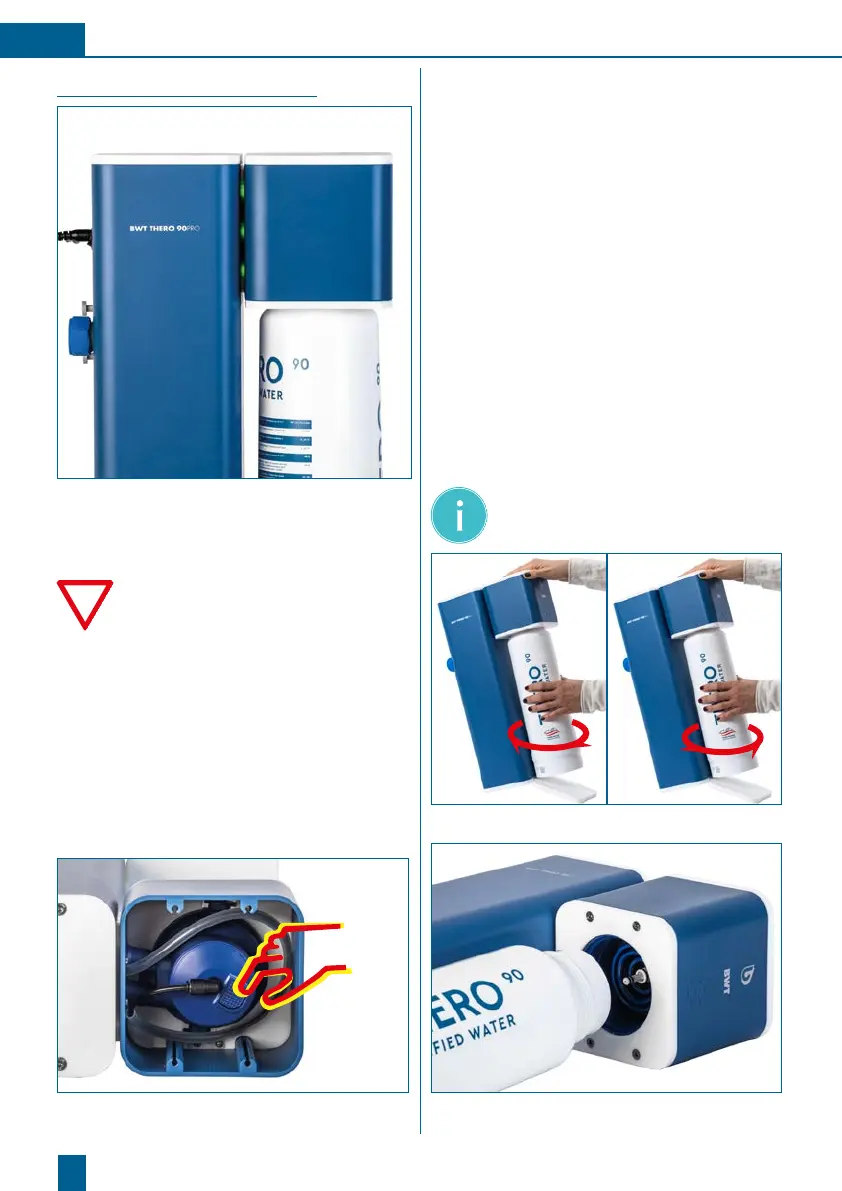
3.3 Removing/installing a new
RO cartridge
• Switch off the BWT THERO 90PRO (On/Off
switch on back of device). Ensure that the
status LED is no longer lit.
• Take the new filter cartridge out of the pack-
aging and remove the hygiene cap.
• Before installing a filter cartridge, write the
date of installation and the date of replace-
ment (no more than 12 months later) on its
product label.
• Tip the coffeebox backwards slightly to gain
better access to the filter cartridge to be
replaced.
• Turn the old filter cartridge clockwise to
remove it from the filter head.
• Turn the new filter cartridge anticlockwise to
insert it into the filter head.
• Switch the device on again and check the
system for leaks.
Note: After each RO cartridge change,
run the device for 5 minutes to rinse
the new cartridge (approx. 5 l).
Fig. 7: Removing / installing the RO cartridge
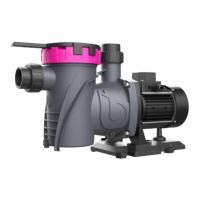
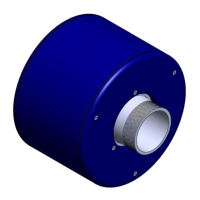
Fig. 8: RO cartridge change