11
4 Replacing Assembly Units
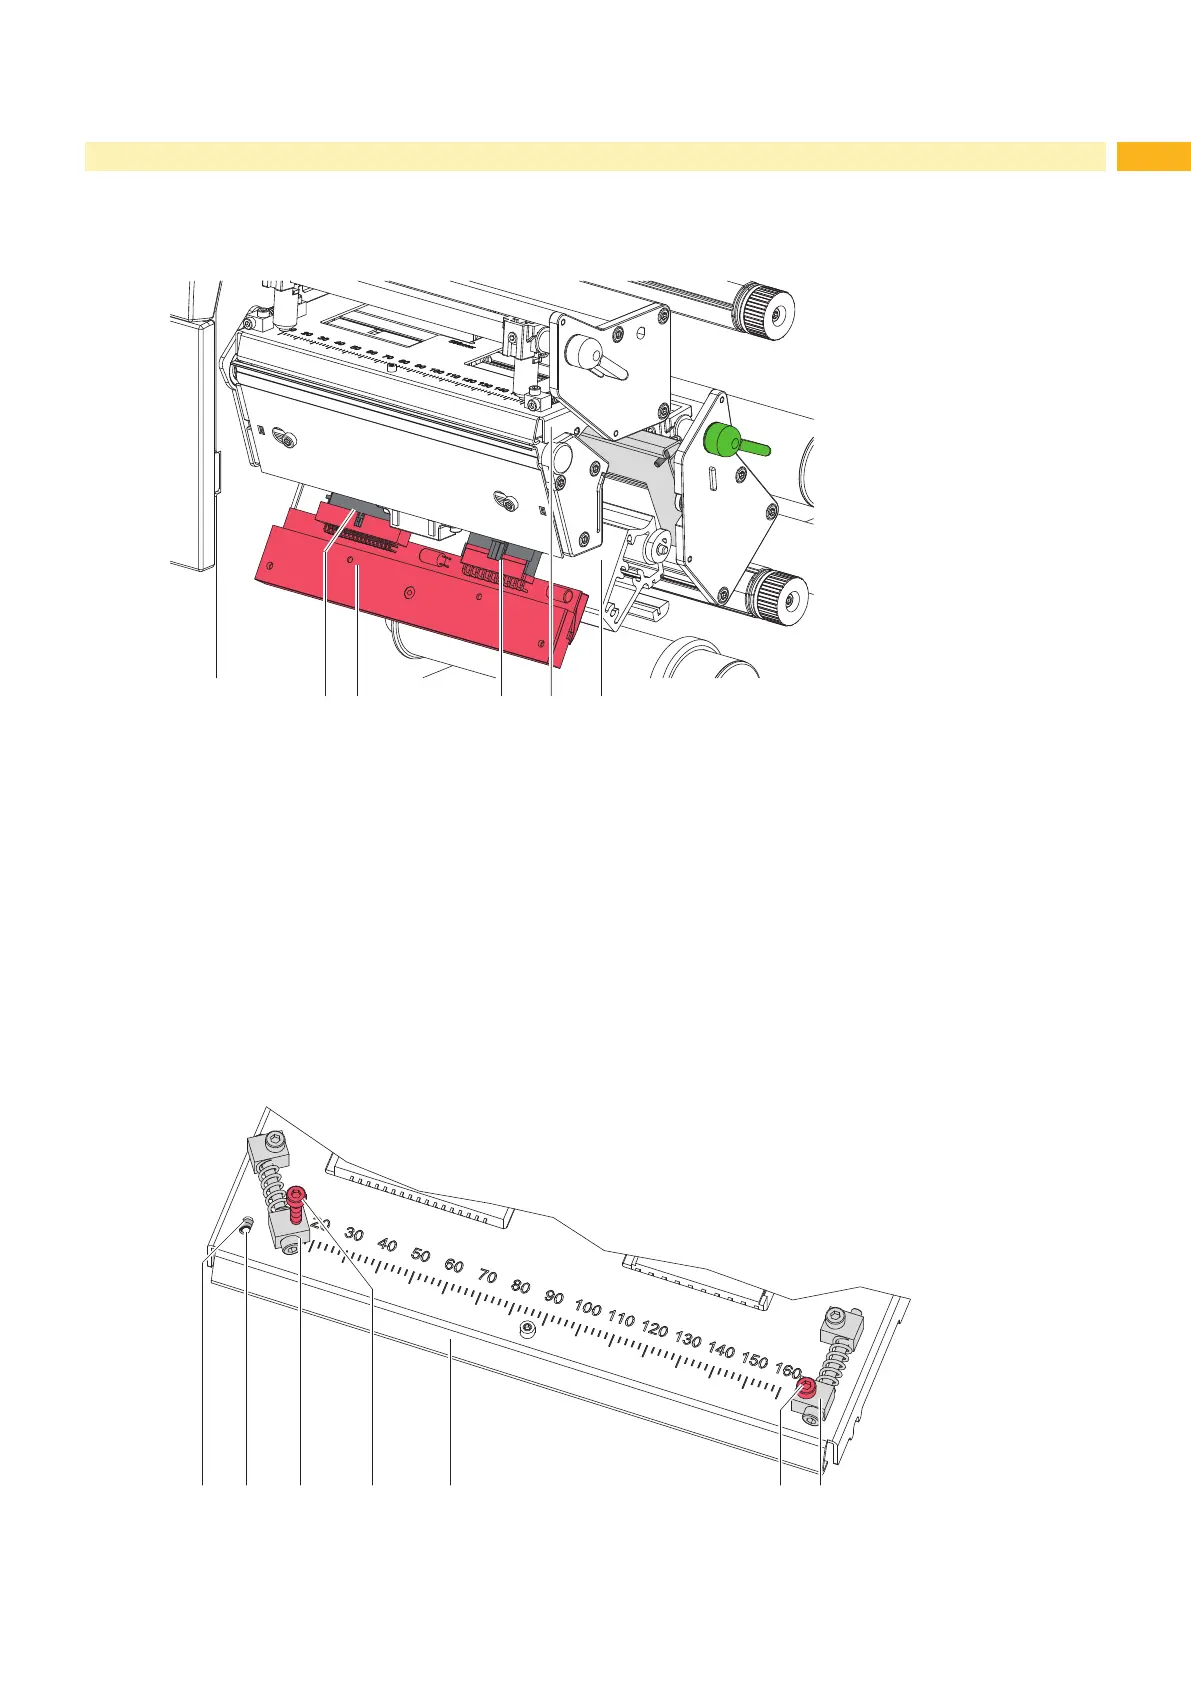
6. For replacing the lower printhead remove the lower print roller 4.2 on page 12 and guide the printhead
downward between the print units (8,9).
7. Loosen both plug connections (2, 3) on the printhead.
12 3 98
Fig. 7 Replacing the lower printhead XC6
Installing the printhead
1. Attach plug connections (2, 3).
2. For mounting the lower printhead and push up the printhead between the print units (8,9) to the lower printhead
carriage and re-mount the lower print roller.
3. Swing the adjustment elements (11) sidewards to uncover the slots (10) in the printhead carriage.
4. Put in the printhead into the printhead carriage and swing down the printhead assembly by hand and hold it.
5. Position the printhead in such a way that the threaded holes (4) of the printhead are centered into the slots (10) of
the printhead carriage (7).
6. Swing back the adjustment elements (11) to the home position.
7. Insert and tighten the screws (6).
8. Reload labels and transfer ribbon.
410 7611 116
Fig. 8 Mounting the printhead XC6
 Loading...