*1: To reassemble the unit after replacement, follow the procedures in the reverse order.
General notes:
- Make sure that the flexible cables and wires in the harness are in the proper position and connected
correctly. See 2-2. Disassembly & Reassembly Procedures or the Parts Catalog for details.
- Do not drop the ferrite core, which may cause damage.
- Protect electrical parts from damage due to static electricity.
- Before removing a unit, after removing the power cord, allow the machine to sit for approx. 1 minute
(for capacitor discharging to protect the logic board ass'y from damages).
- Do not touch the timing slit strip film, timing slit disk feed film, and timing slit disk eject film. No
grease or abrasion is allowed.
- Protect the units from soiled with ink.
- Protect the housing from scratches.
- Exercise caution with the screws, as follows:
i. The screws of the paper feed motor may be loosened only at replacement of the paper feed
motor unit (DO NOT loosen them in other cases).
ii. Before loosening the 3 screws that fix the carriage rail to the main chassis, mark the screw
positions so that the carriage rail will be re-attached to the main chassis in its original
position. [See 2-2. Disassembly & Reassembly Procedures, (7) Carriage unit removal, for
details.]
strip film Procedures, and Parts Catalog.
- Upon contact with the film, wipe the film
with ethanol.
- Confirm no grease is on the film. (Wipe
off any grease thoroughly with ethanol.)
- Do not bend the film.
1. Perform print head alignment.
In the service mode:
2. Print the nozzle check pattern.
3. Perform LF / Eject correction (only when
uneven printing or streaks appear on printouts
after replacement).
[See 3-3. Adjustment and Settings in Service
Mode, for details.]
Timing slit
disk feed
film
Timing slit
disk eject
film
Print head In the user mode:
1. Perform print head alignment.
In the service mode:
2. Print the integrated inspection pattern.
Wireless
LAN
oard ass'y
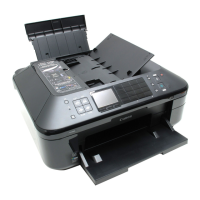
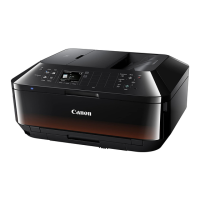
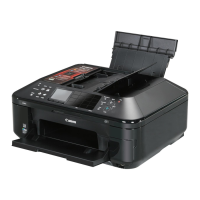
(1) Cassette unit
(2) Left and right side covers
(3) Document pressure plate unit
(4) Scanner unit
(5) Main case
(6) WLAN board
In the user mode:
1. Reset the LAN settings.
In the service mode:
2. Print the integrated inspection pattern, and
confirm that the WLAN MAC address is
properly updated.
<2-1. Major Replacement Parts and Adjustment>