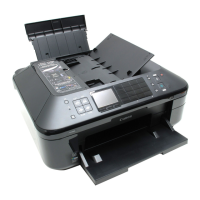
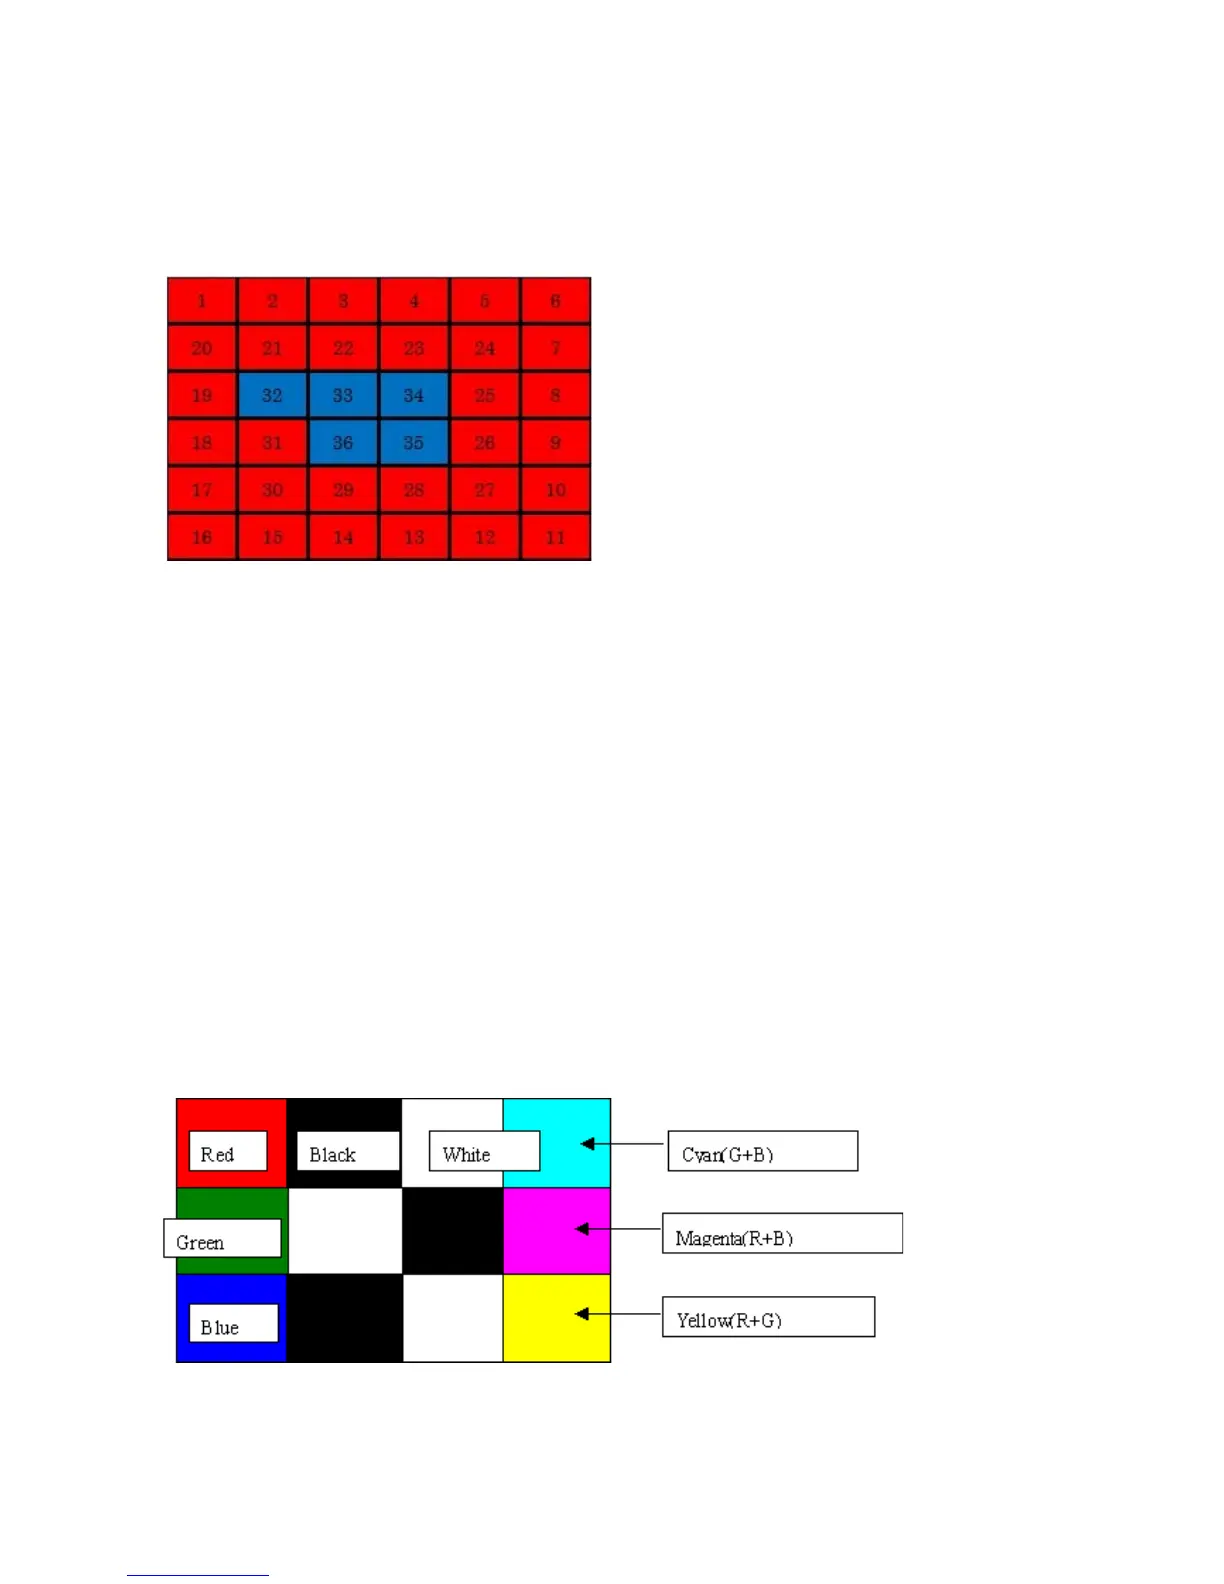
2) Button check
2-1) Press the Black button. All the LED's on the machine turn on and the LCD turns blue, waiting for a button
to be pressed.
2-2) Press each button of the operation panel, to see if every button functions properly.
2-3) The LCD is divided into 36 segments, representing each button. The color of a segment corresponding to
the pressed button changes to red. If 2 or more buttons are pressed at the same time, only one of them is
considered to be pressed, and the other buttons are ignored.
3) Scroll Wheel check
3-1) Press the Black button. The color pattern is displayed on the LCD.
3-2) Visually confirm that the patterns are displayed properly.
3-3) Press the ON button. The machine returns to be ready for another function in the service mode.
1. ON
2. Stop
3. COPY
4. FAX
5. SCAN
6. CARD
7. Setup
8. Black
9. Color
10. Redial/Pause
11. Coded Dial
12. Hook
13. [+], up cursor
14. 1
15. Up cursor, 2
16. 3
17. [-], OK
18. Left cursor, 4
19. OK, 5
20. Right cursor, 6
21. Back, down cursor
22. 7
23. Down cursor, 8
24. 9
25. Back
26. *
27. 0
28. #
29. Left function button
30. Center function button
31. Right function button