23
ENG
“compactsteam” +0300092IE - rel. 1.2 - 14.01.2021
4. STARTING
IMPORTANT WARNINGS:
Before starting:
1. check that the humidier is in perfect condition,
2. make sure there are no water leaks and that the electrical components
are dry.
Do not connect the power supply if the humidier is damaged or even
partially wet!
When installation is completed, ush the supply hose for around 10
minutes by piping water directly into the drain, without sending it into
the humidier; this will eliminate any scale or processing residues that
may cause foam when boiling.
IMPORTANT: when starting the humidier with a new or empty
cylinder, it may take some time (several hours) for the water to reach a
sucient concentration of minerals as to allow nominal steam production.
4.1 Checks when starting
Before starting the humidier, check that:
• The water supply is connected, the line has been ushed and the taps are
open.
• The drain is connected as explained in the paragraph 3.5 (ood prevention
funnel and drain trap under the unit).
• The power supply is connected in accordance with the instructions, the
laws in force and the rating labels on the unit.
• The power fuses are installed and intact.
• Any air ow switch is wired to open if there is no air ow.
• Any limit humidistat is wired to open if the humidity increases above the
set value.
• All the wire connectors on the unit are tight.
• The steam and condensate hoses are installed correctly, without kinks or
twisting, and are correctly sloped in compliance with the manual.
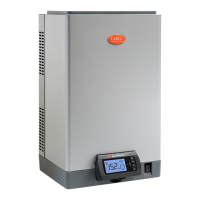
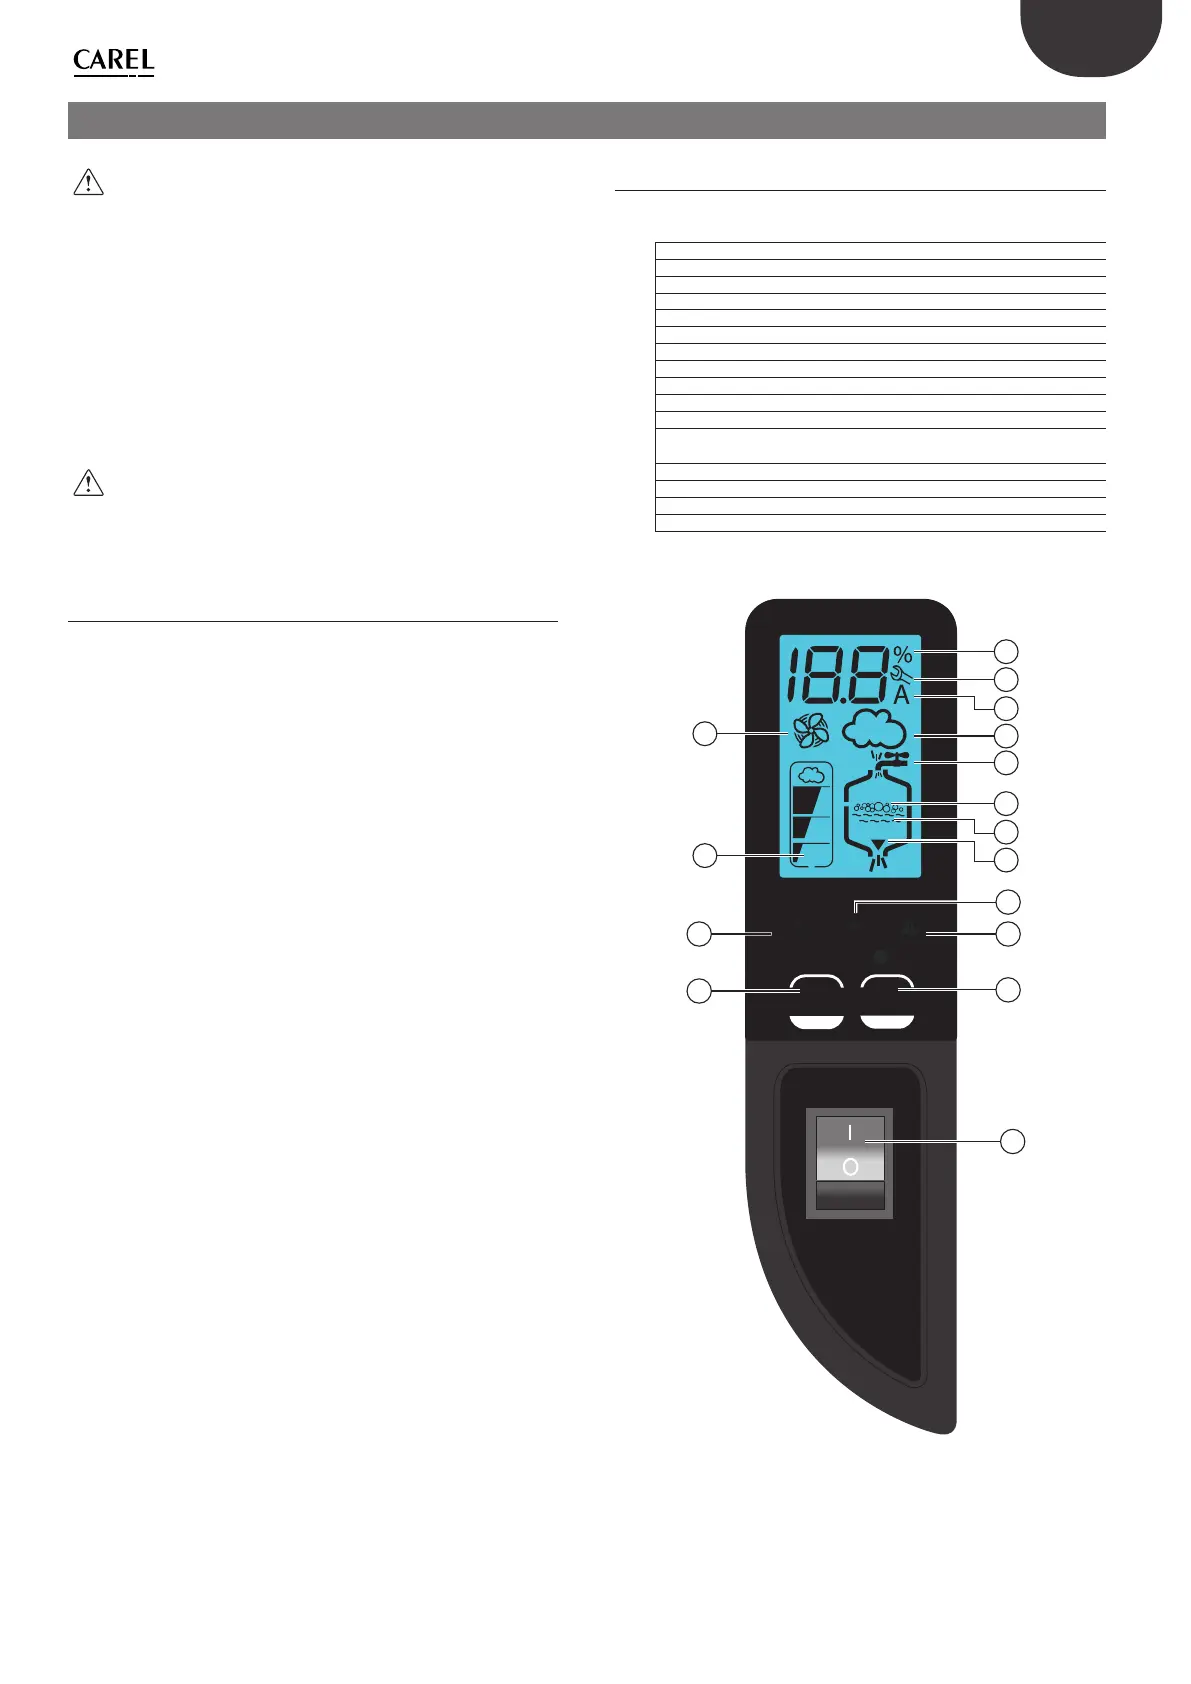
4.2 CompactSteam control device
The compactSteam control device features an LCD that, using icons and
numbers, displays the operation of the system:
1 Steam production as a % of rated capacity
2 Active alarm icon
3 Instant current ow in amperes (default display)
4 Steam production in progress
5 Cylinder ll in progress
6 Foam detected inside the cylinder
7 Water inside the cylinder
8 Cylinder drain in progress
9 Red LED: alarm
10 Yellow LED: power supply
11 Green LED: operation
12 Drain button for manually emptying the cylinder and conrming the
values set for the parameters
13 On/O button
14 “Reset” button to reset alarms and access the parameters
15 Level of steam production: 33%, 66%, 100%
16 Fan relay active
Tab. 4.a
sel
RESET
SEL
DRAIN
ENT
1
2
4
5
6
15
16
3
7
8
13
9
12
10
14
11
Fig. 4.a