Page | 41
In each case, it is important that you position the target directly above the point on the ground that is being surveyed.
In the case of a manually held target fixed on a tall pole, it is essential that the pole is straight and that there is a
levelling bubble fixed on the pole to help ensure that it is held upright.
As a rough guide, if your Quarryman Pro is up to 150 m away from the hole collars, you should use a target at least
35 cm square. The target should be painted white, made from a rigid material and mounted in line with the survey
pole. Mark a diagonal cross on the target to identify its centre. To assist ranging, attach some reflective tape at the
centre of the target if required.
Change the target height at any time in the survey by accessing the main menu and selecting Point and shoot
mode.
Enter the instrument height and target height in metres, to the nearest centimetre. If imperial units have been
selected in the Saved settings screen, then enter the measurements in feet, to the nearest hundredth of a foot.
Note that the target height is automatically set to zero when FastScan or AutoFix modes are activated. In these
cases the instrument will always be directly shooting to the feature being surveyed – such as a rock face or stockpile
– rather than to a target held above the feature.
7.3 Notes on FastScan options
7.3.1 Defining the scan window
After selecting FastScan operations, you must define the scan window. The scan window outlines the area that the
Quarryman Pro will ‘fill-in’ with scan points.
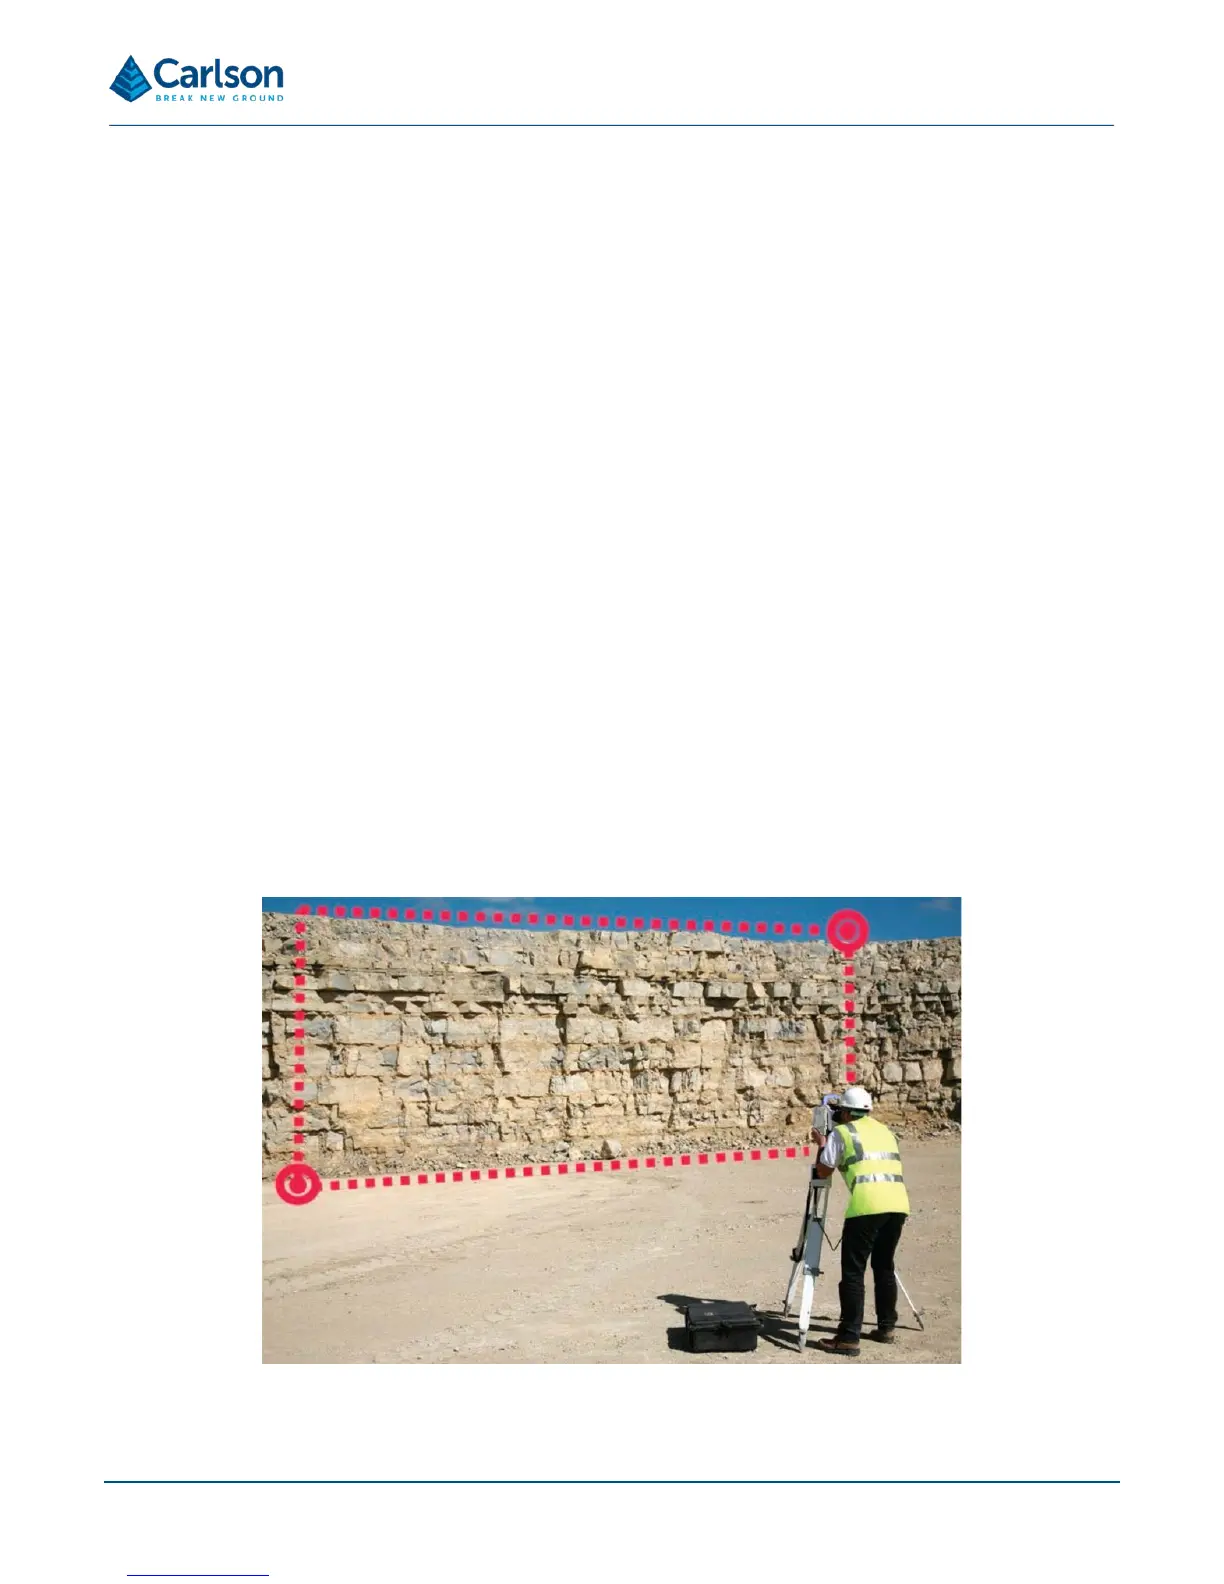
Use the telescope to aim single observations just outside the outlying edges of the scene. Use a minimum of two
points and a maximum of 25 points to define the scan window. The points can be selected in any order.
If using two points, select diagonally opposite corners of the rectangle which encompasses the scan window.
If the Quarryman Pro is situated in the middle of a long face and only two points are selected to define the polygon,
 Loading...